
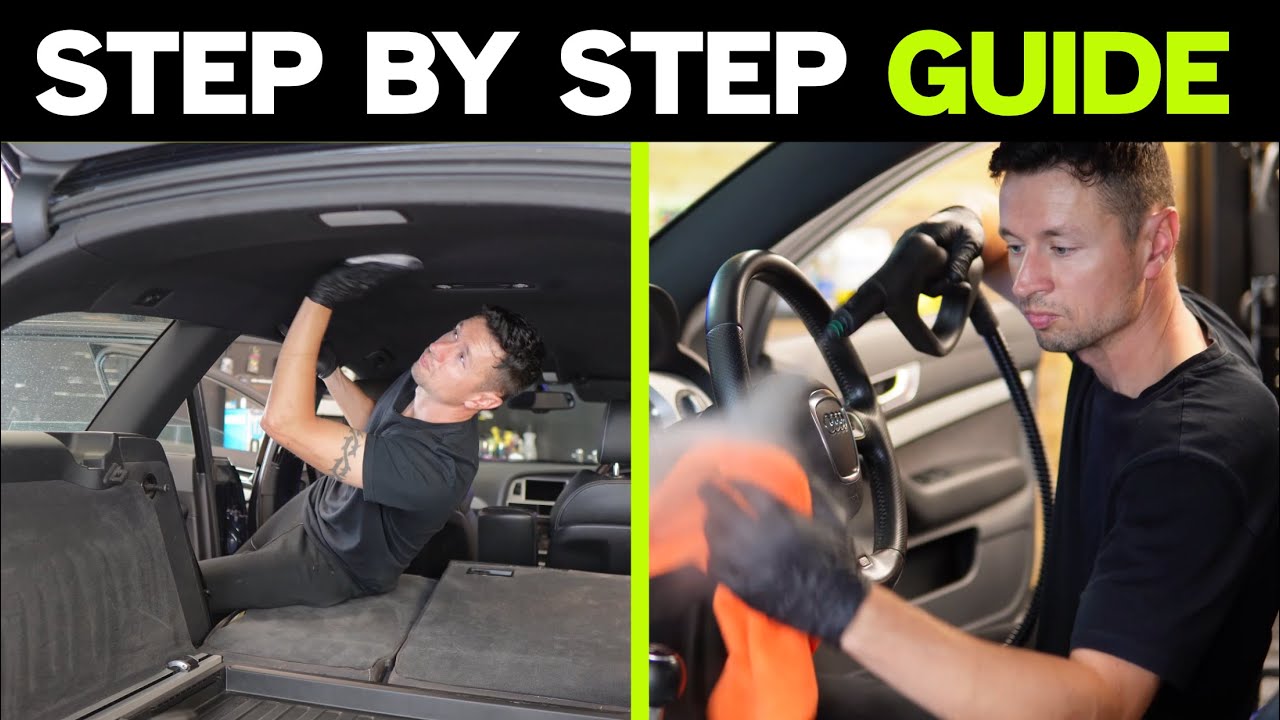
Want your car to look brand new every time you take it out? Detailing your car is the secret that can make your vehicle shine like it just rolled off the showroom floor.
But where do you start? You might think it’s complicated or time-consuming, but with the right steps, you can easily transform your car’s appearance and protect its value. In this post, you’ll discover simple, effective steps in detailing a car that anyone can follow.
Ready to give your car the care it deserves? Keep reading—you’re about to unlock the secrets to a spotless, stunning ride.
Preparing Your Car
Preparing your car properly is the first step in detailing. It helps get the best results and saves time.
This guide covers gathering supplies, choosing a good spot, and doing an initial check of the car.
Gathering Essential Supplies
Collect all the tools and products you need before starting. This keeps the process smooth and organized.
- Car wash soap
- Microfiber towels
- Buckets and sponges
- Clay bar kit
- Polish and wax
- Vacuum cleaner
- Glass cleaner
Choosing The Right Location
Pick a clean, shaded area to detail your car. Direct sunlight can dry products too fast.
| Location Feature | Reason |
| Shaded spot | Prevents quick drying and streaks |
| Flat surface | Keeps car stable and safe |
| Access to water | Makes rinsing easier |
| Good lighting | Helps spot dirt and scratches |
Initial Inspection
Look over your car carefully before you start cleaning. This helps spot areas that need special care.
- Check for scratches and dents
- Note any bird droppings or stains
- Inspect tires and rims
- Look at windows and mirrors for spots
- Check the interior for dirt and clutter
Exterior Wash
Washing your car’s exterior helps keep it clean and protects the paint. A proper wash removes dirt, dust, and grime that build up over time.
Follow these steps to wash your car safely and effectively. Start with loose dirt removal and finish with detailed cleaning of wheels and tires.
Pre-rinse To Remove Loose Dirt
Begin by rinsing the car with water. This removes loose dirt and prevents scratches during washing. Use a hose or pressure washer for best results.
Using The Two-bucket Method
This method protects the paint by reducing dirt transfer. Use one bucket for soapy water and another for rinsing your wash mitt.
- Fill one bucket with clean water for rinsing.
- Fill the second bucket with car wash soap and water.
- Dip the wash mitt into the soapy water and clean a section of the car.
- Rinse the mitt in the clean water bucket to remove dirt.
- Repeat for all car sections, changing water if it gets too dirty.
Cleaning Wheels And Tires
Wheels and tires often hold brake dust and grime. Clean them with a separate brush and cleaner to avoid paint damage.
| Item | Purpose | Tip |
|---|---|---|
| Wheel Cleaner | Breaks down brake dust and dirt | Use a cleaner safe for your wheel type |
| Tire Brush | Scrubs tire sidewalls | Use firm bristles but not too hard to avoid damage |
| Wheel Brush | Reaches inside wheel spokes | Choose a soft brush to protect the finish |
Claying The Surface
Claying a car’s surface removes tiny particles that washing cannot. It makes the paint smooth and ready for polishing or waxing.
This process helps to get rid of bonded contaminants like tree sap, brake dust, and industrial fallout. Claying improves the look and feel of your car.
Purpose Of Clay Bar
The clay bar cleans the paint by pulling out dirt stuck deep in the surface. It helps to avoid scratches during polishing.
- Remove embedded dirt and grime
- Prepare surface for polishing and waxing
- Improve paint smoothness and shine
- Prevent swirl marks and scratches
- Extend the life of the finish
Proper Clay Bar Technique
Use a lubricant spray to keep the clay bar and surface wet. Rub the clay gently over the paint in straight lines.
| Step | Action | Tip |
| 1 | Wash the car thoroughly | Remove loose dirt before claying |
| 2 | Spray lubricant on a small section | Keep clay moving smoothly |
| 3 | Rub clay bar gently back and forth | Do not press too hard |
| 4 | Check clay for dirt and fold it | Use a clean side frequently |
| 5 | Wipe surface with a microfiber towel | Remove residue and dry surface |
When To Skip Claying
Claying is not always needed. Avoid it if the surface is very damaged or already smooth and clean.
- The paint has many deep scratches or clear coat damage
- The car was clayed recently within a few months
- The surface is free of bonded contaminants after washing
- You do not have proper clay bar or lubricant
Credit: www.youtube.com
Polishing And Paint Correction
Polishing and paint correction improve a car’s appearance by fixing surface flaws. These steps bring back shine and remove marks.
Careful polishing protects the paint while making it smooth and glossy. It needs the right tools and products.
Identifying Paint Defects
Look closely at the car’s paint to find scratches, swirl marks, or oxidation. These defects make the paint look dull.
Use good lighting and clean surfaces to spot problems easily. Knowing the defects helps choose the right polish and method.
- Scratches: Thin lines that cut into the paint
- Swirl Marks: Circular fine scratches from washing
- Oxidation: Faded, chalky paint from sun damage
- Water Spots: Mineral deposits that leave marks
Choosing The Right Polish
Pick a polish based on the paint defects you found. Different polishes fix different problems.
A heavy polish removes deep scratches. A fine polish adds shine and removes light marks. Use the mildest polish needed.
- Compound polish: For deep scratches and heavy damage
- Polishing polish: For moderate scratches and swirls
- Finishing polish: For light swirls and enhancing gloss
Using A Dual-action Polisher
A dual-action polisher spins and moves in circles to protect paint. It is safer than rotary polishers for beginners.
Use the right pad and polish on low speed. Work in small sections, moving the polisher evenly over the paint.
- Attach a foam or microfiber pad
- Apply polish to the pad or paint surface
- Start polisher on low speed
- Move polisher slowly in overlapping passes
- Wipe off residue with a clean microfiber cloth
Applying Sealant Or Wax
Protecting your car’s paint is key to keeping it shiny and safe. Applying sealant or wax adds a strong layer that guards against dirt and water.
Both sealants and waxes help your car look great, but they work in different ways. Knowing their benefits and how to apply them will improve your car care routine.
Sealant Vs. Wax Benefits
| Feature | Sealant | Wax |
| Durability | Lasts 4-6 months | Lasts 2-4 weeks |
| Protection Type | Strong chemical barrier | Natural, soft protection |
| Finish | Glossy, synthetic shine | Warm, deep shine |
| Application Time | Quick drying | Needs buffing |
Application Tips
- Wash and dry your car before applying.
- Use a foam applicator or microfiber cloth.
- Apply sealant or wax in thin, even layers.
- Work in small sections to avoid streaks.
- Allow sealant to cure or wax to haze before buffing.
- Buff gently with a clean microfiber towel for best shine.
Frequency Of Application
How often you apply sealant or wax depends on your car use and environment. Regular application keeps your paint protected and looking fresh.
- Apply wax every 3-4 weeks for a warm, natural shine.
- Use sealant every 4-6 months for long-lasting protection.
- Increase frequency if you park outdoors or in harsh weather.
- Check your car’s surface after rain or washing for dull spots.

Credit: www.temu.com
Detailing The Interior
Detailing the interior of a car makes it clean and comfortable. A tidy car interior improves your driving experience.
Let’s explore the steps to make your car’s interior fresh and welcoming.
Vacuuming And Carpet Cleaning
Start with vacuuming to remove dirt and dust. This makes cleaning easier and more effective.
- Use a vacuum cleaner with a hose attachment.
- Focus on carpets, seats, and corners.
- Remove floor mats and vacuum them separately.
Cleaning Dashboard And Panels
The dashboard and panels collect dust and fingerprints. Clean them to keep the interior looking new.
Use a microfiber cloth and a gentle cleaner. Avoid harsh chemicals that can damage surfaces.
Conditioning Leather And Upholstery
Leather and upholstery need care to stay soft and durable. Conditioning prevents cracking and fading.
| Material | Care Product |
| Leather | Leather Conditioner |
| Fabric | Upholstery Cleaner |
| Vinyl | Vinyl Protectant |
Glass And Trim Care
Keeping your car’s glass and trim in top shape is crucial. It improves visibility and maintains the car’s look.
Follow these steps to ensure streak-free glass and protect your car’s trim and seals.
Streak-free Glass Cleaning
Cleaning your car’s glass can be tricky. Streaks can form if not done right. Use a quality glass cleaner and a microfiber cloth.
- Spray glass cleaner evenly on the surface.
- Wipe with a microfiber cloth in circular motions.
- Ensure the glass is completely dry to avoid streaks.
Restoring Exterior Trim
Exterior trim can fade over time. Restoring it keeps your car looking new. Use a dedicated trim restorer for the best results.
Apply trim restorer with a soft cloth. Rub it gently on the trim. Let it sit for a few minutes, then buff with a clean cloth.
Protecting Rubber Seals
Rubber seals keep water and dirt out. Over time, they can crack. Protect them to avoid leaks and damage.
| Seal Type | Protection Method |
| Door Seals | Apply silicone-based protectant |
| Window Seals | Use rubber conditioner |
| Trunk Seals | Regularly clean and condition |
Final Touches
After cleaning and polishing your car, the final touches make it look its best. These steps protect your work and add shine.
Paying attention to small details improves your car’s appearance and helps maintain its condition.
Tire Dressing Application
Apply tire dressing to make tires look clean and new. It also protects rubber from cracking and fading.
- Use a tire applicator pad for even coverage.
- Apply a thin layer to avoid sling onto the paint.
- Allow the dressing to dry before driving.
- Choose water-based products for a natural finish.
Inspecting For Missed Spots
Check the entire car carefully for spots you might have missed. This helps keep the finish flawless.
| Area | Common Missed Spots |
| Doors | Edges and door jambs |
| Windows | Lower corners and seals |
| Mirrors | Underneath and edges |
| Bumpers | Grilles and crevices |
Maintaining Your Shine
Keep your car shiny by following simple maintenance tips. This extends the life of your detailing work.
Try these tips to keep your shine:
- Wash regularly with a gentle soap.
- Use microfiber cloths to avoid scratches.
- Park in shaded areas to protect from sun damage.
- Reapply wax or sealant every few months.

Credit: autospa360.com
Frequently Asked Questions
What Are The Essential Steps In Detailing A Car?
Car detailing involves washing, claying, polishing, and waxing the exterior. Inside, vacuuming, shampooing, and conditioning are key. These steps remove dirt, restore shine, and protect surfaces, ensuring the car looks and feels like new.
How Long Does A Complete Car Detailing Take?
A full car detailing usually takes 3 to 5 hours. Time varies based on car size, condition, and detailing depth. Thorough work ensures all areas are cleaned, polished, and protected properly.
Why Is Clay Bar Treatment Important In Car Detailing?
Clay bar treatment removes embedded contaminants from the paint surface. It smooths the paint, enhancing polish and wax effectiveness. This step prevents scratches and improves the car’s overall shine and protection.
Can I Detail My Car At Home Effectively?
Yes, home detailing is possible with the right tools and products. Follow proper steps like washing, claying, polishing, and waxing. It saves money but requires time and attention for best results.
Conclusion
Detailing a car keeps it clean and protects its value. Start with washing, then move to claying and polishing. Don’t forget the interior and wheels. Take your time for the best results. Regular care helps your car look new longer.
Try these steps to enjoy a shiny, fresh ride every day. Simple actions make a big difference. Keep your car looking great with easy detailing habits.


