
Have you ever wished you had proof during a tricky moment on the road? Installing a dash cam for both front and rear views can be a game-changer for your safety and peace of mind.
But if you’re unsure how to set it up correctly, don’t worry—you’re in the right place. This guide will walk you through simple, clear steps to install your dash cam so you get the best coverage without any hassle. Keep reading, and soon you’ll have your car fully protected from every angle.
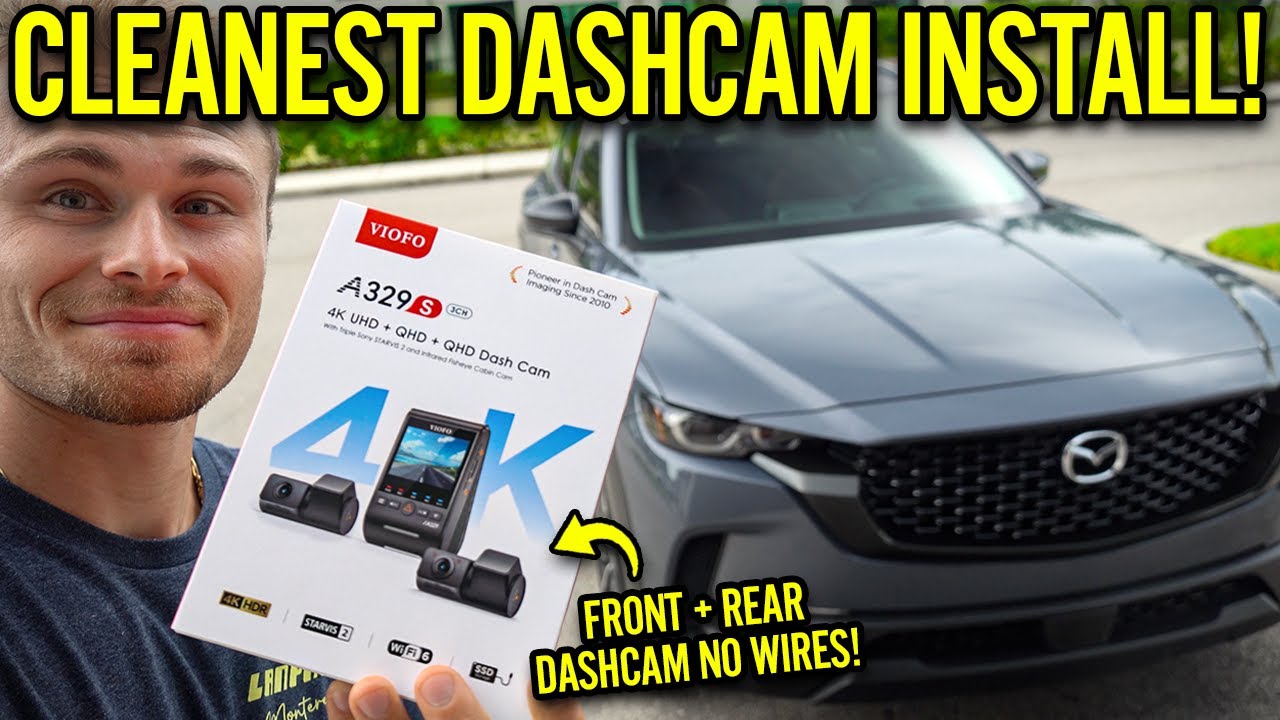
Choosing The Right Dash Cam
Installing a dash cam can improve your driving safety and record important moments. Choosing the right dash cam matters for your needs.
This guide helps you pick the best front and rear dash cams for your vehicle. Focus on camera types, features, and budget.
Front Vs Rear Cameras
Front cameras capture the road ahead. Rear cameras record behind your car. Both add protection in case of accidents.
- Front cameras show clear view of traffic and obstacles in front.
- Rear cameras help catch hit-and-run incidents from behind.
- Some dash cams combine front and rear cameras in one system.
- Rear cameras improve safety when parking or reversing.
Key Features To Consider
| Feature | Benefit |
| Resolution (1080p or higher) | Clear video for better evidence |
| Night Vision | Good footage in low light |
| Wide-Angle Lens | Covers more area around your car |
| Loop Recording | Automatically saves new videos by overwriting old ones |
| G-Sensor | Detects impacts and locks footage |
| Parking Mode | Records when car is parked and detects motion |
Choose features based on your driving habits and where you park. A good dash cam has reliable video and easy controls.
Budget And Brand Options
Dash cams come in many price ranges. Budget affects video quality and extra features.
- Low-cost models offer basic recording but may lack clear video.
- Mid-range dash cams balance price and quality with useful features.
- High-end dash cams have advanced tech like GPS and cloud storage.
- Choose brands known for reliability and good customer support.

Credit: www.youtube.com
Preparing For Installation
Installing a dash cam front and rear can improve your driving safety. Proper preparation makes installation easier and safer.
Before you start, gather tools, pick the right spots, and check if your car supports the dash cams.
Gathering Necessary Tools
Having the right tools helps the installation go smoothly. You will need tools for mounting and connecting the dash cams.
- Dash cam units (front and rear)
- Power cables and connectors
- Trim removal tool or plastic pry tool
- Micro SD card for storage
- Adhesive mounts or suction cups
- Electrical tape and zip ties
- Screwdriver set
- Car charger or hardwire kit
Selecting Installation Locations
Choose spots where cameras capture clear views without blocking your sight. Front dash cams go near the rearview mirror.
Rear dash cams should be placed on the back window facing backward. Avoid placing cameras where glare or dirt can block views.
- Front dash cam: behind or near the rearview mirror
- Rear dash cam: center of the rear windshield
- Keep cameras away from airbags and sensors
- Ensure cameras do not interfere with driving view
Checking Vehicle Compatibility
Not all cars support every dash cam type. Check your vehicle’s power sources and interior layout before buying.
Look for a 12V power outlet or fuse box access for wiring. Confirm your car’s rear window shape fits the rear camera mount.
- Check if your car has a 12V power outlet or fuse box access
- Confirm rear window size and shape for camera mount
- Inspect dashboard and interior for mounting space
- Review your car’s manual for electrical system details
Installing The Front Dash Cam
Installing a front dash cam helps record your driving and improve safety. This guide covers the key steps to set it up correctly.
Follow the instructions below to mount the camera, route the power cable, and connect it to your car’s power source.
Mounting The Camera
Choose a clear spot on the windshield behind the rearview mirror. Clean the area to ensure the mount sticks well.
- Attach the mounting bracket to the camera.
- Use the adhesive pad to fix the mount on the windshield.
- Adjust the camera angle to capture the full front view.
- Make sure the camera does not block your view while driving.
Routing The Power Cable
Keep the power cable neat and out of the way. Tuck it along the edges of the windshield and panels for safety and clean look.
- Start from the camera and run the cable to the car’s A-pillar.
- Use trim tools to gently lift the edge of the panel.
- Push the cable behind the panel and down toward the dashboard.
- Secure any loose sections with clips or tape.
Connecting To Power Source
Connect the dash cam power cable to the car’s power supply. Usually, this is the 12V socket or a fuse box connection.
| Power Source | Connection Type | Notes |
|---|---|---|
| 12V Cigarette Lighter Socket | Plug-in adapter | Easy to connect, but cable may be visible |
| Fuse Box | Hardwire kit | Cleaner look, powers on with ignition |
Credit: www.youtube.com
Installing The Rear Dash Cam
Installing a rear dash cam adds safety by recording what happens behind your car. This guide covers the key steps to install it properly.
Follow the instructions to position the camera, run the wiring, and secure all connections for a reliable setup.
Positioning The Rear Camera
Place the rear camera on the inside of the rear windshield. It should have a clear view without obstructions.
- Clean the glass area before attaching the camera.
- Mount the camera near the top center for the best view.
- Avoid spots where the camera lens may get dirty from the car’s exhaust.
- Make sure the camera does not block the driver’s view.
Running The Wiring
Carefully run the power and video cables from the rear camera to the front dash cam or power source.
Use this simple table to plan wiring routes:
| Route | Description |
|---|---|
| Headliner | Run cables along the edge of the roof inside the car |
| Pillars | Hide cables behind the side pillars for a neat look |
| Floor Trim | Guide cables under the floor trim toward the front console |
Securing Connections
Connect the rear camera cables firmly to the front dash cam or power source. Loose connections can cause failure.
- Check all plugs fit tightly and click into place.
- Use electrical tape to wrap exposed wire joints.
- Secure wires with cable ties to prevent movement.
- Test the camera before finalizing the installation.
Configuring And Testing
After installing your dash cam front and rear, you need to set it up correctly. Configuring and testing ensures the cameras work well.
This guide will help you adjust camera angles, set recording preferences, and verify the system’s functionality.
Adjusting Camera Angles
Position the front camera to capture the road ahead clearly. Avoid pointing it too high or low.
Set the rear camera to cover the entire back window for full view. Check for any obstructions.
- Front camera should show the full road and hood of the car
- Rear camera must cover the entire rear window
- Adjust cameras slowly and tighten mounts after positioning
Setting Recording Preferences
Choose how you want your dash cams to record. Options include loop recording, resolution, and audio.
Set the recording length for each video clip. Enable audio recording if you want sound captured.
- Enable loop recording to save space automatically
- Pick a video resolution suitable for your needs
- Turn audio on or off depending on privacy
- Set motion detection if your dash cam supports it
Verifying Functionality
Test both cameras to make sure they record properly. Review the video quality and angle coverage.
Check if the dash cam starts recording when you turn on your car. Also, test emergency recording features.
- Start your car and watch if cameras power on automatically
- Record a short video and play it back for clarity
- Test emergency or event recording buttons
- Ensure the memory card saves videos correctly
Maintenance Tips
Keeping your dash cam in good shape is important. It helps ensure clear recordings and long-lasting performance.
Regular maintenance can prevent many common problems. Let’s look at some easy ways to maintain your dash cam.
Cleaning The Lenses
Clean lenses give you clearer video footage. Dust and smudges can blur the view.
- Use a microfiber cloth to wipe the lenses gently.
- Avoid using harsh chemicals that could damage the lens.
- Check and clean the lenses weekly for best results.
Updating Firmware
Firmware updates can improve your dash cam’s performance. They can fix bugs and add new features.
Download updates from the manufacturer’s website. Follow their instructions to install them safely.
Troubleshooting Common Issues
Sometimes dash cams face issues like freezing or not recording. Troubleshooting can help fix these problems.
| Issue | Solution |
| Camera freezes | Restart the device |
| Not recording | Check storage space |
| Poor video quality | Clean the lens |

Credit: www.youtube.com
Frequently Asked Questions
How Do I Install A Front Dash Cam?
To install a front dash cam, clean your windshield first. Attach the mount near the rearview mirror. Connect the power cable to the car’s cigarette lighter or fuse box. Adjust the camera angle to capture the road clearly.
Where Should I Place The Rear Dash Cam?
Place the rear dash cam on the rear windshield, centered for the best view. Use the adhesive mount or suction cup provided. Route the cable discreetly along the car’s trim to the front dash cam or power source.
Can I Wire Dash Cams To The Car Battery?
Yes, you can wire dash cams directly to the car battery using a hardwire kit. This provides continuous power and parking mode. Make sure to use a fuse tap and follow safety instructions to avoid draining the battery.
How Do I Hide Dash Cam Wiring Neatly?
Tuck the dash cam wiring into the headliner and along the A-pillar. Use trim removal tools to avoid damage. Run cables under the dashboard for a clean, professional look. Secure wires with clips or tape to prevent sagging.
Conclusion
Installing front and rear dash cams helps protect your vehicle and drivers. Follow the steps carefully for a secure setup. Test both cameras to ensure clear recordings. Keep cables tidy to avoid distractions. Regularly check the dash cams for proper function.
This simple addition can improve your driving safety. Stay prepared on the road with reliable video evidence. A well-installed dash cam offers peace of mind every trip.


