
Have you ever wished you had clear proof of what happened behind your car during an accident or unexpected event? Installing a rear dash cam can give you that peace of mind.
It’s easier than you might think, and you don’t need to be a tech expert to do it yourself. In this guide, you’ll discover simple, step-by-step instructions to set up your rear dash cam quickly and correctly. Keep reading, and by the end, you’ll have your car fully equipped to capture everything that happens on the road behind you.

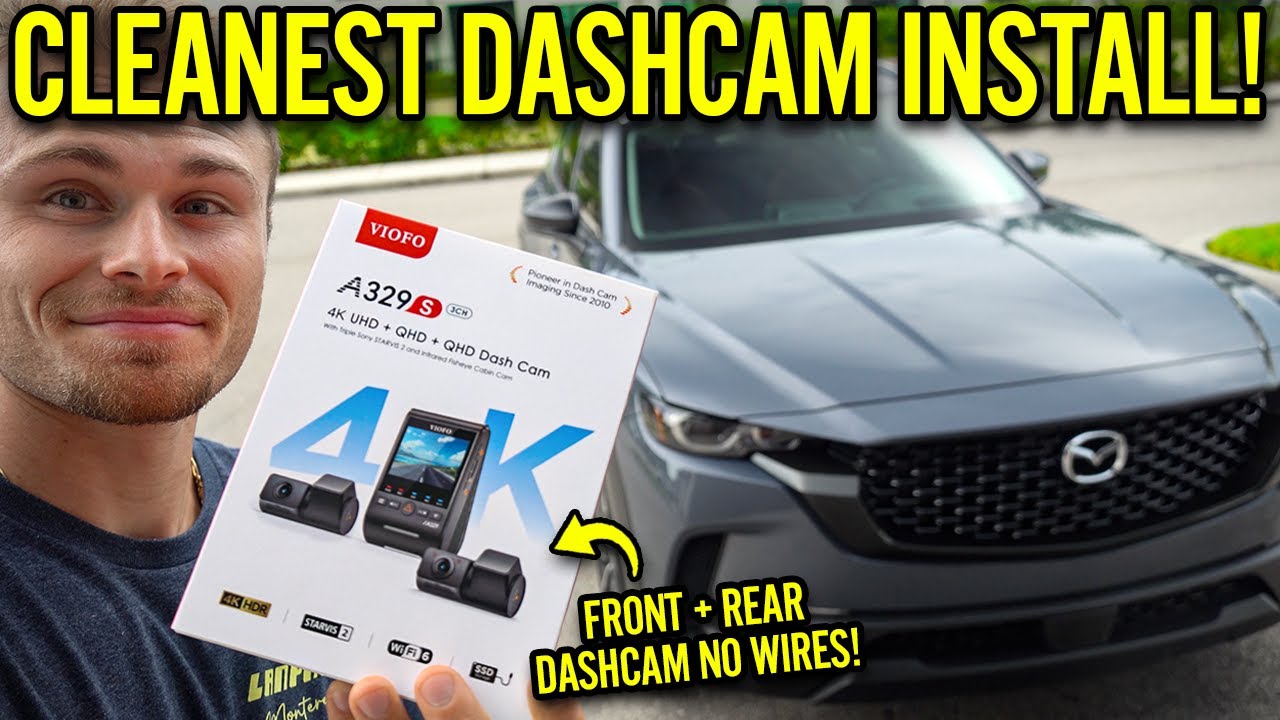
Credit: www.thedashcamstore.com
Choosing The Right Rear Dash Cam
Installing a rear dash cam can improve your safety on the road. It records what happens behind your car. Picking the right one is important for good results.
This guide helps you find a rear dash cam that fits your needs. We look at features, budget, and popular brands.
Key Features To Look For
Not all rear dash cams have the same features. Choose one with good video quality and easy installation. Night vision helps in the dark. Some models have parking mode to record when parked.
- High definition video (at least 1080p)
- Wide viewing angle (120 degrees or more)
- Night vision capability
- Loop recording to save space
- Parking mode to capture incidents while parked
- Easy mounting and power options
Budget Considerations
Rear dash cams come in many price ranges. You can find basic models for low prices. Higher-priced models often have extra features. Think about what you need and how much to spend.
| Price Range | Features | Who It’s For |
| Under $50 | Basic video, simple setup | Drivers on a tight budget |
| $50 – $100 | Better video, night vision, loop recording | Most drivers |
| Over $100 | Advanced features, parking mode, app support | Users wanting more protection |
Top Brands And Models
Some brands are known for reliable rear dash cams. They offer good quality and service. Checking reviews helps find the best model for you.
- Viofo: Known for clear video and easy use
- Vantrue: Offers models with parking mode
- Thinkware: Good for night vision and app control
- Nextbase: User-friendly with good customer support
- Garmin: Reliable with added GPS features
Credit: www.youtube.com
Preparing Your Vehicle
Installing a rear dash cam starts with preparing your car properly. This makes sure the camera works well and stays safe.
Take time to get your vehicle ready before you begin the installation process.
Cleaning The Rear Window
Clean the rear window to get a clear view for the dash cam. Dirt or dust can block the camera’s view and lower video quality.
- Use a glass cleaner spray and a soft cloth.
- Wipe the entire area where the camera will attach.
- Remove any stickers or residue on the glass.
- Dry the window fully before mounting the camera.
Gathering Necessary Tools
Collect the tools you need for a smooth installation. Having everything ready saves time and stress.
- Rear dash cam kit with mounting accessories
- Clean cloth and glass cleaner
- Flathead screwdriver or trim removal tool
- Electrical tape and zip ties
- Power cable and fuse tap (if required)
- Car charger or hardwire kit
Checking Power Sources
Find a good power source to keep your dash cam running. Check your vehicle’s options before installation.
| Power Source | Description | Notes |
| Cigarette Lighter Socket | Easy to access power outlet | Good for quick setup |
| Hardwire to Fuse Box | Connects directly to car’s electrical system | Provides constant power, needs wiring |
| OBD-II Port | Vehicle diagnostic port with power | Some models allow power draw here |
Mounting The Rear Dash Cam
Installing a rear dash cam helps capture important footage behind your car. Mounting it correctly ensures clear video and steady recording.
Follow these tips to place and secure your rear dash cam for the best results.
Selecting The Best Position
Choose a spot on the rear windshield that offers a wide view. Avoid placing the camera where it blocks your rearview mirror or defroster lines.
- Center the camera horizontally for balanced footage
- Keep it high enough to avoid obstruction by passengers or cargo
- Ensure the lens faces straight back without tilt
- Check that wires can reach the power source neatly
Attaching The Mount Securely
A firm mount stops the camera from shaking and keeps video clear. Use the adhesive or suction cup provided with the dash cam.
| Mount Type | Tips for Secure Attachment |
|---|---|
| Adhesive Mount | Clean glass surface first. Press firmly for 30 seconds. Let it set before driving. |
| Suction Cup Mount | Wet suction cup slightly. Press and lock lever if available. Check hold before starting. |
Double-check the mount’s grip after installation. Replace adhesive or reposition if loose.
Adjusting The Camera Angle
Correct angle helps capture the entire rear view. Adjust the camera so it points straight back without tilting up or down.
- Turn on the dash cam and view the live feed
- Move the camera slowly left or right to center the road
- Tilt up or down to avoid capturing too much of the sky or car trunk
- Tighten any adjustment screws or locks
- Test the view by recording a short clip and reviewing it
Connecting Power And Wiring
Installing a rear dash cam needs a steady power source. Proper wiring keeps your dash cam working safely.
This guide explains how to connect power and hide wires for a neat setup in your car.
Using The Cigarette Lighter Adapter
The cigarette lighter adapter is the easiest way to power your rear dash cam. You just plug it into the car’s 12V socket.
This method does not need special wiring and is good for quick setups or rentals.
- Plug the adapter into the cigarette lighter socket.
- Route the cable along the car’s trim to the dash cam.
- Make sure the plug fits tightly and does not wiggle.
Hardwiring To The Fuse Box
Hardwiring connects the dash cam directly to the car’s fuse box. This gives a clean and permanent power source.
This option needs some tools and basic knowledge of your car’s electrical system.
- Turn off the car and remove the fuse box cover.
- Use a fuse tap to connect the dash cam’s power wire to a fuse that turns on with the ignition.
- Connect the ground wire to a metal part of the car’s body.
- Check all connections before closing the fuse box.
Hiding And Securing Cables
Hiding cables keeps your car tidy and protects wires from damage. Secure cables so they don’t move or pull loose.
Use clips, trim panels, and cable ties to keep everything in place and out of sight.
- Run wires under the headliner and along door seals.
- Use plastic clips or adhesive cable holders to fix wires in place.
- Trim excess wire length and use cable ties to bundle cables neatly.
- Avoid blocking airbags or moving parts with cables.
Setting Up The Dash Cam
After installing your rear dash cam, you need to set it up for best use. Setting up includes adjusting video quality, setting the date and time, and testing the recording.
This guide helps you prepare your dash cam to capture clear videos and work correctly every time you drive.
Configuring Video Settings
Go to the dash cam menu and find the video settings section. Adjust the resolution, frame rate, and loop recording options.
Choose a resolution that balances video quality and file size. A higher frame rate gives smoother video but uses more storage.
- Set resolution to 1080p for clear video
- Choose 30 frames per second for smooth playback
- Enable loop recording to overwrite old files automatically
Setting Date And Time
Set the correct date and time on your dash cam. This helps you find videos by date and keeps records accurate.
Use the menu to enter the current date and time manually. Some dash cams sync time automatically if connected to GPS.
- Open settings and select date and time
- Enter current year, month, day, hour, and minute
- Check if GPS sync is available for automatic updates
Testing Recording And Playback
After setup, test if the dash cam records and plays videos correctly. Make a short test recording while parked.
Play back the video to check the quality and sound. Confirm the camera angle shows the rear view clearly.
- Start a recording and drive a short distance
- Stop recording and play the video on the dash cam
- Check for clear video, sound, and correct angle
- Adjust settings if the video is blurry or too dark
Credit: dashcamtalk.com
Maintaining Your Rear Dash Cam
Maintaining your rear dash cam is essential for clear recordings. Proper care ensures it works well over time.
Learn how to keep your dash cam in top condition with these tips. Regular upkeep prevents common issues.
Regular Cleaning Tips
Clean your rear dash cam to maintain clear video quality. Dust and dirt can block the lens.
Use a microfiber cloth to wipe the lens gently. Avoid harsh chemicals that might damage the camera.
- Check the lens weekly for dust
- Use a soft, dry cloth for cleaning
- Avoid spraying liquids directly on the camera
Firmware Updates
Updating firmware keeps your dash cam functioning well. Manufacturers release updates to fix issues.
Check the manufacturer’s website for the latest updates. Follow instructions carefully to install them.
- Visit the official website regularly
- Download updates to a USB drive
- Follow the guide for installation steps
Troubleshooting Common Issues
Sometimes, dash cams have problems like not recording. Simple checks can solve these issues.
Ensure the power cable is connected securely. Check the memory card for errors or full capacity.
- Verify power connections
- Format the memory card if needed
- Restart the camera to reset settings
Frequently Asked Questions
How Do I Install A Rear Dash Cam In My Car?
To install a rear dash cam, mount it on the rear windshield. Connect the power cable to the front dash cam or car’s power source. Hide wires along the car’s interior trim for a clean look. Test the camera to ensure it records properly.
Can I Use The Front Dash Cam’s Power For The Rear Cam?
Yes, most dual dash cam kits allow the rear cam to draw power from the front cam. This simplifies wiring by using a single power source. Ensure both cameras are compatible and properly connected for seamless operation.
What Tools Do I Need To Install A Rear Dash Cam?
You’ll need basic tools like a screwdriver, trim removal tool, and adhesive tape. Some kits include a fuse tap for power connection. Having a cable organizer helps keep wires tidy and secure inside the vehicle.
How Do I Hide Wires When Installing A Rear Dash Cam?
Tuck wires into the headliner and along door seals using a trim tool. Avoid loose cables to prevent distractions. Secure cables with clips or adhesive tape for neatness and safety during driving.
Conclusion
Installing a rear dash cam helps protect your car and records important moments. Follow the steps carefully for a safe setup. Test the camera to ensure clear video and proper angle. Keep wires neat to avoid distractions while driving. Regularly check the dash cam’s function for best performance.
This simple device adds extra security on the road. Stay safe and confident with your new rear dash cam.


