
Mounting tires on rims might seem tricky at first, but with the right steps, you can do it yourself and save time and money. Imagine having the confidence to change your tires whenever you need, without waiting for help.
This guide breaks down the process into simple, easy-to-follow steps that anyone can master. By the end, you’ll feel empowered and ready to handle your tire needs like a pro. Ready to get started? Let’s dive in!
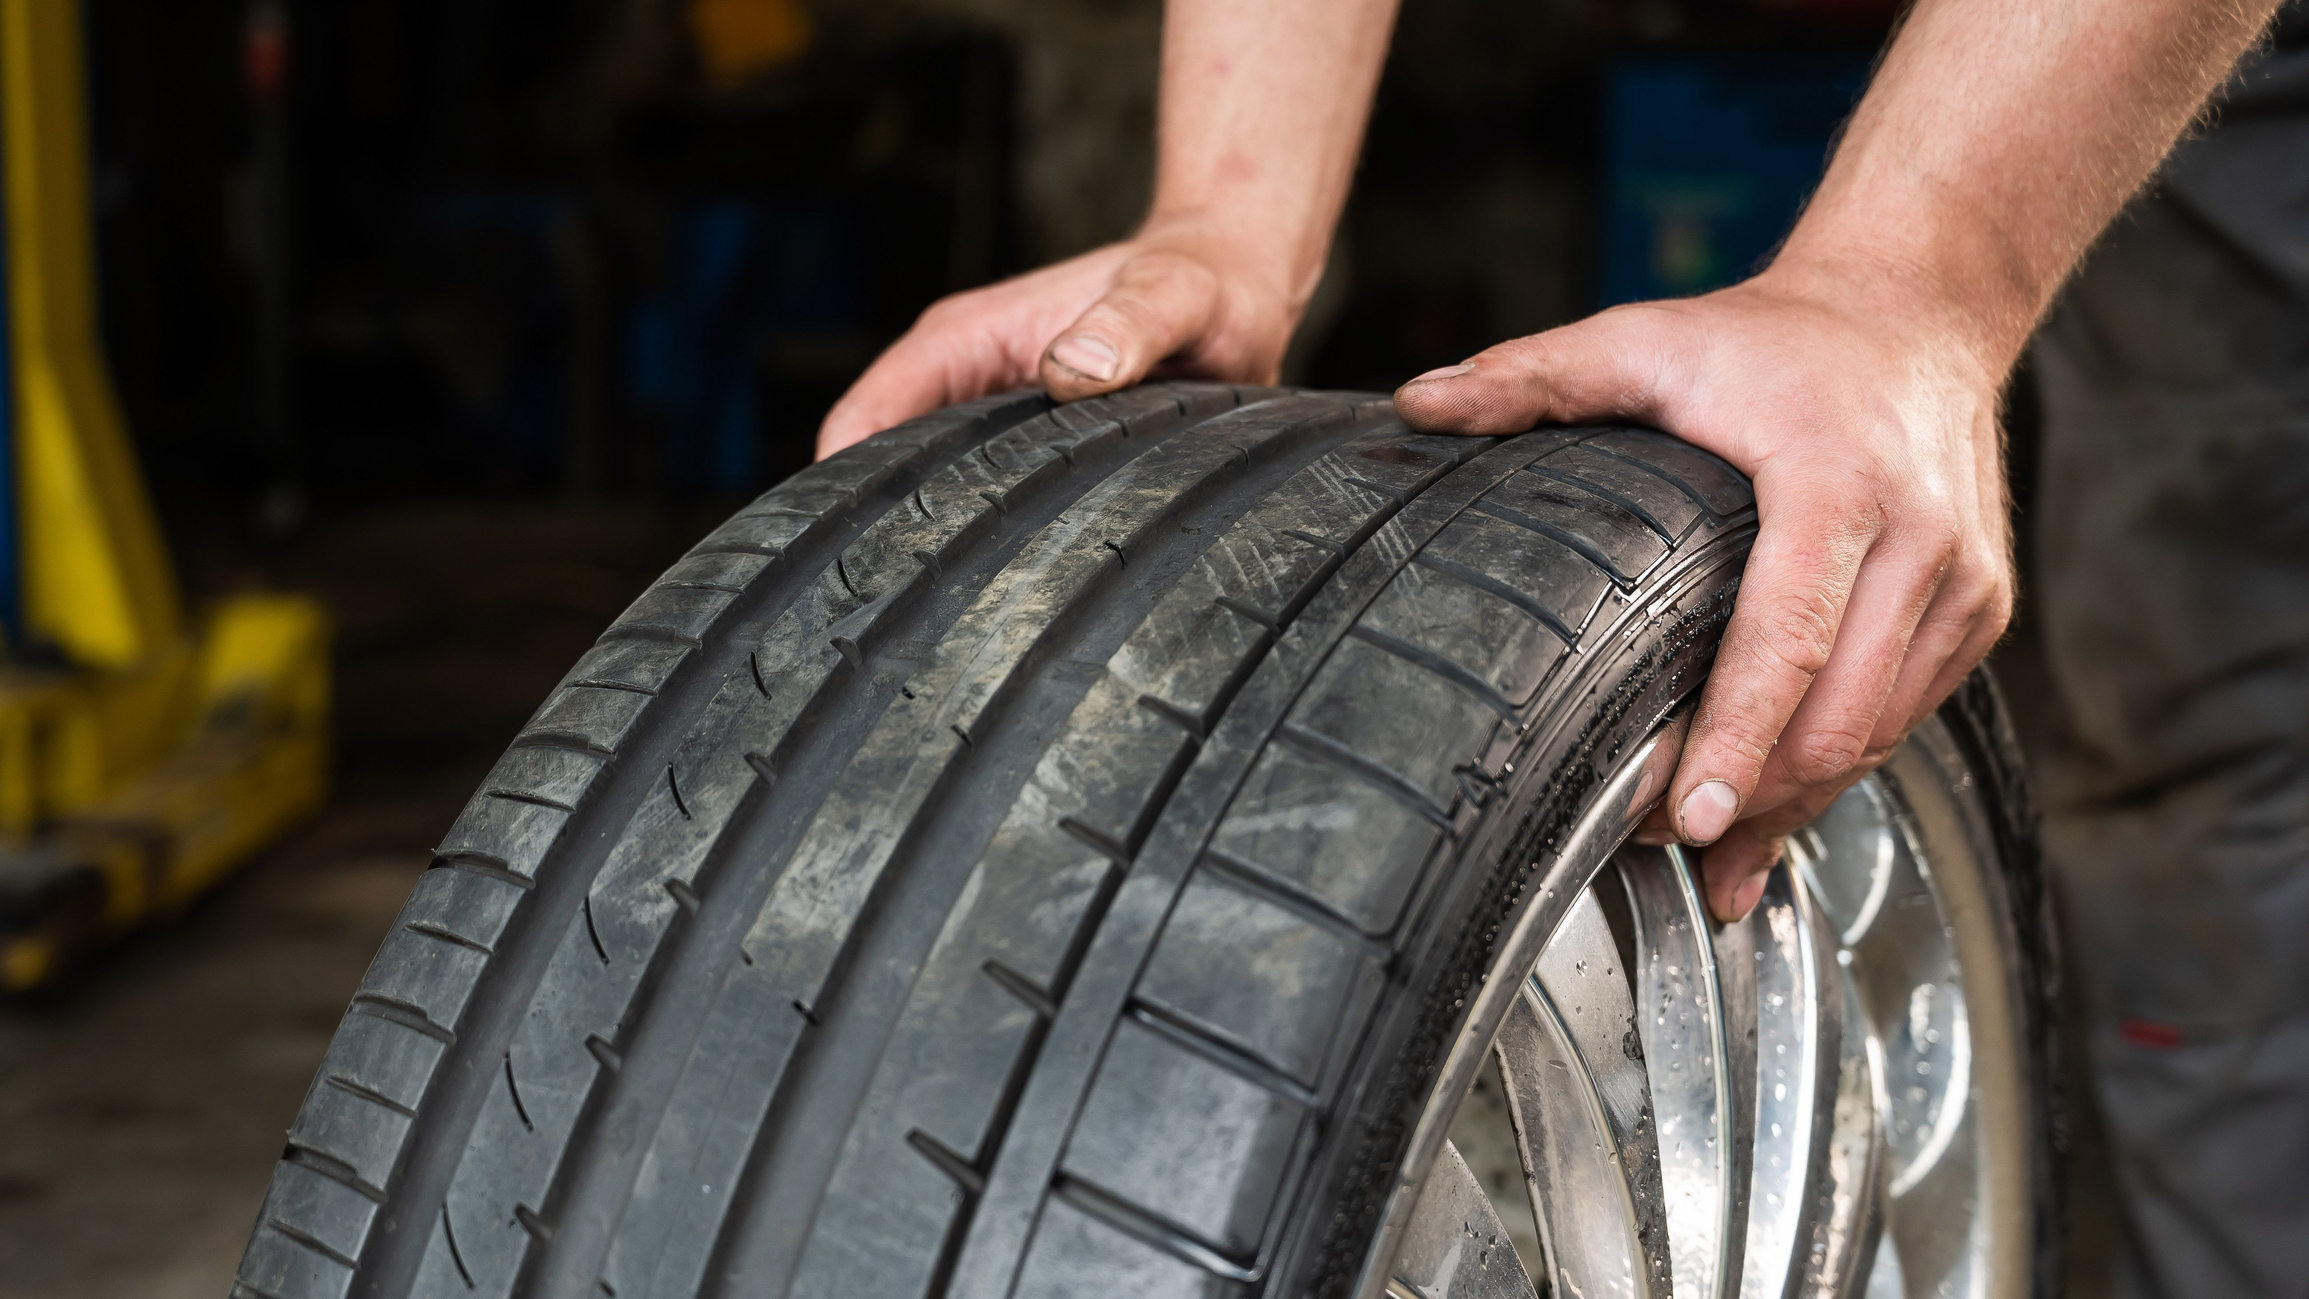
Credit: www.farmandfleet.com
Tools And Materials Needed
Mounting tires on rims requires specific tools and materials. Using the right items makes the job easier and safer.
This guide covers the essential tools, how to choose tires and rims, and the safety gear you need.
Essential Tools
You need several tools to mount tires on rims correctly. These tools help remove old tires and fit new ones without damage.
- Tire irons or tire levers
- Tire mounting lubricant
- Bead breaker tool
- Air compressor with tire inflator
- Valve core remover
- Wheel balancer (optional but recommended)
- Rim protectors to avoid scratches
Choosing The Right Tires And Rims
Select tires and rims that fit each other perfectly. The size must match to ensure safety and performance.
Check the tire size markings and rim diameter before buying. The tire width should also match the rim width.
- Match tire diameter with rim diameter
- Check tire width fits the rim width
- Consider the tire type for your vehicle
- Inspect rim condition for damage or rust
Safety Gear
Wearing safety gear protects you from injury during tire mounting. Tires can be heavy and tools sharp.
Always wear gloves to protect your hands and eye protection to guard against debris or lubricant spray.
- Protective gloves
- Safety goggles or glasses
- Closed-toe shoes
- Work clothes that cover arms and legs

Credit: www.youtube.com
Preparing The Rim And Tire
Mounting tires on rims requires careful preparation. Cleaning and inspecting both parts helps ensure safety.
Lubricating the tire bead makes the mounting process easier. Follow these steps for good results.
Cleaning The Rim
Start by cleaning the rim thoroughly. Dirt or rust can cause poor tire fit or air leaks.
Use a brush and soapy water to remove all grime. Dry the rim completely before moving on.
Inspecting The Tire
Check the tire for any damage like cuts or cracks. Look for signs of dry rot or deformities.
Make sure the tire size matches the rim size exactly. An incorrect size can be dangerous.
Lubricating The Bead
Apply a thin layer of lubricant to the tire bead. This helps the tire slide onto the rim smoothly.
Use a lubricant made for tires. Avoid using oils that can damage rubber.
- Spread lubricant evenly around the bead
- Do not use too much to avoid slipping
- Ensure lubricant is clean and safe for rubber
Mounting The Tire
Mounting a tire on a rim is a key step in tire installation. It ensures the tire fits correctly and safely on the wheel.
This guide explains how to position the tire, use manual methods, and operate a tire mounting machine.
Positioning The Tire On The Rim
Start by placing the rim on a flat surface. Check the tire’s direction and size markings.
Align the tire bead with the edge of the rim. Make sure the tire is centered before you begin mounting.
Using Manual Techniques
Manual mounting uses hands and simple tools to fit the tire on the rim. It requires strength and care.
Start by pushing one side of the tire bead over the rim edge. Work around the rim until the tire sits in place.
- Use tire levers to lift the bead if needed
- Apply lubricant to help the tire slide easily
- Avoid pinching the inner tube if using one
Using A Tire Mounting Machine
Tire mounting machines make the job easier and faster. They hold the rim firmly and guide the tire onto it.
Place the rim on the machine’s turntable. Use the mounting arm to position the tire bead over the rim edge.
- Lock the rim in place before starting
- Rotate the turntable slowly to roll the tire on
- Check the tire bead seats evenly all around
Seating The Tire Bead
Seating the tire bead is a crucial step in mounting tires on rims. It ensures the tire fits tightly against the rim to prevent air leaks.
Proper seating helps the tire stay secure and safe while driving. This guide covers key parts of this process.
Inflating The Tire Safely
Inflate the tire slowly to avoid sudden pressure that can damage the tire or rim. Use a safety cage or stand back during inflation.
- Check the valve stem for damage before inflating.
- Use a clip-on air chuck with a pressure gauge.
- Inflate in short bursts to seat the bead.
- Stop if you hear loud popping sounds.
- Keep a safe distance from the tire.
Checking Bead Placement
Check the bead placement all around the rim. The bead must sit evenly in the rim’s groove for a proper seal.
| Bead Area | Checkpoints |
| Left side | Even contact with rim flange |
| Right side | No gaps or bulges |
| Top and bottom | Centered around rim circumference |
Adjusting Air Pressure
Adjust air pressure to seat the bead fully. Too low pressure causes leaks; too high can damage the tire.
- Start inflating at recommended pressure for seating.
- Check bead seating after each increase.
- Use a pressure gauge to monitor air pressure.
- Do not exceed maximum pressure listed on the tire sidewall.
- Release some air if bead does not seat properly and try again.
Final Checks And Maintenance
After mounting tires on rims, it is important to perform final checks. These checks ensure safety and improve tire life. Regular maintenance keeps your wheels in good shape.
Pay close attention to leaks, wheel balance, and proper storage. These steps help avoid problems on the road.
Inspecting For Leaks
Check for air leaks around the tire bead and valve. Leaks can cause low tire pressure and unsafe driving.
Use soapy water on the tire edges and valve stem. Watch for bubbles that show escaping air.
- Apply soapy water to rim and tire edges
- Look for bubbles forming on the surface
- Check the valve stem for leaks
- Fix leaks before using the tire
Balancing The Wheel
Balancing the wheel stops vibrations during driving. It spreads the tire weight evenly around the rim.
Use a wheel balancer machine or take the wheel to a shop. Proper balance improves ride comfort and tire wear.
- Place the wheel on the balancer
- Spin to find heavy spots
- Add weights opposite heavy areas
- Recheck balance after adding weights
Storing And Handling Tips
Store tires and rims in a cool, dry place. Avoid direct sunlight and heat to keep rubber strong.
Handle tires carefully to avoid damage. Keep them upright and clean before storage.
- Keep tires away from heat and sunlight
- Store tires upright, not flat
- Clean rims and tires before storing
- Use tire covers to protect from dust

Credit: www.valoroffroad.com
Frequently Asked Questions
How Do I Mount A Tire On A Rim Safely?
To mount a tire safely, first deflate the tire completely. Use proper tools and lubricants. Align the tire bead with the rim edge. Work the tire onto the rim evenly. Avoid damage by not forcing the tire. Always check for proper seating afterward.
What Tools Are Needed To Mount Tires On Rims?
Essential tools include tire levers, bead lubricant, air compressor, and valve core remover. A tire mounting machine helps with difficult tires. Safety gloves and eye protection are recommended. Having these tools ensures a smooth and safe tire mounting process.
Can I Mount Tires On Rims Without Professional Help?
Yes, mounting tires at home is possible with the right tools and care. Follow step-by-step instructions and use lubricants to ease the process. Avoid rushing to prevent tire or rim damage. If unsure, consult a professional for assistance.
How Do I Check If The Tire Is Mounted Correctly?
Inspect the tire bead to ensure it is evenly seated on the rim. Look for any gaps or bulges. Inflate the tire to the recommended pressure. Listen for any leaks or irregular sounds. Proper mounting guarantees safety and optimal tire performance.
Conclusion
Mounting tires on rims is easier than it seems. Follow each step carefully and take your time. Use the right tools to avoid damage and ensure safety. Practice helps build confidence and skill. Soon, you will do it faster and better.
Remember, safety always comes first. Enjoy the satisfaction of doing the job yourself. Keep this guide handy for future tire changes. Simple steps lead to great results. Ready to take on the task?


