
Imagine having a car dash cam that you built yourself, tailored exactly to your needs, and running on a tiny, affordable device. That’s what a Raspberry Pi car dash cam can do for you.
Whether you want to capture every moment on the road, protect yourself from false claims, or simply experiment with tech, this DIY solution puts you in control. Ready to see how easy and powerful it can be? Keep reading, and you’ll discover everything you need to turn your Raspberry Pi into the perfect dash cam for your car.
Credit: www.digitalcameraworld.com
Choosing The Right Raspberry Pi Model
Building a car dash cam with Raspberry Pi needs the right model. The choice affects speed, size, and power use.
Selecting the proper Raspberry Pi helps your dash cam work well on the road.
Comparing Raspberry Pi Versions
Different Raspberry Pi models have varied features. Some are faster, others use less power.
Consider these factors to find the best fit for your dash cam project.
| Model | Processor Speed | RAM | Power Use | Camera Support |
|---|---|---|---|---|
| Raspberry Pi 4 | 1.5 GHz Quad-core | 2-8 GB | Higher | Yes |
| Raspberry Pi 3 B+ | 1.4 GHz Quad-core | 1 GB | Moderate | Yes |
| Raspberry Pi Zero 2 W | 1 GHz Quad-core | 512 MB | Low | Yes |
Essential Accessories And Components
You need more than the Raspberry Pi board for a dash cam. Accessories help connect and power the device.
Pick these parts carefully to ensure smooth recording and long operation.
- Camera module compatible with your Pi model
- Micro SD card for storage
- Power supply or battery pack
- Case to protect your setup
- GPS module (optional) for location data
- Cooling system for long drives
- Mounting hardware for the car
Selecting The Camera Module
Choosing the right camera module is important for a Raspberry Pi car dash cam. The camera must capture clear video while driving.
You need to think about which camera fits your needs and works well in different light conditions.
Camera Options For Dash Cam Use
You can use official Raspberry Pi camera modules or third-party USB cameras. Each has pros and cons.
The official Raspberry Pi Camera Module connects easily and offers good performance. USB cameras are more flexible but may need extra setup.
- Raspberry Pi Camera Module V2: 8MP, good video quality
- Raspberry Pi HQ Camera: higher image quality, supports lenses
- USB webcams: easy to find, plug and play
Lens And Resolution Considerations
The lens type affects the field of view and clarity of the video. Wide-angle lenses capture more of the road.
Resolution impacts video detail and file size. Higher resolution gives clearer video but uses more storage.
- Wide-angle lens: covers more area, good for road view
- Standard lens: less distortion, narrower view
- 1080p resolution: good balance of quality and file size
- Higher resolutions (2K or 4K): clearer video, bigger files
Setting Up Storage Solutions
Choosing the right storage is important for your Raspberry Pi car dash cam. It affects how much video you can save and how reliable the recordings are.
There are two main storage options: SD cards and external drives. Each has its own benefits and limits. Understanding them helps you pick the best one for your needs.
Sd Cards Vs External Drives
SD cards are small and easy to use. They fit directly into the Raspberry Pi. External drives connect through USB and offer more space.
SD cards work well for basic recording. External drives suit longer trips or high-quality video. Both need proper care to avoid data loss.
- SD Cards:Compact, affordable, easy to install
- External Drives:Larger capacity, faster speeds, more durable
- Power Needs:External drives may need extra power
- Portability:SD cards are more portable and less bulky
Managing Storage Capacity
Storage capacity determines how much video your dash cam can save. High capacity means longer recording time without deleting files.
Set up automatic file deletion to manage space. Old videos can be removed to free storage. This keeps your dash cam running smoothly.
- Check available space often
- Use loop recording to overwrite old files
- Choose storage size based on your video quality
- Consider file formats that save space
Power Supply And Wiring
Power supply and wiring are key parts of a Raspberry Pi car dash cam. They keep your device running and safe during long drives. Proper setup helps avoid power loss and damage.
Choosing the right power source and wiring method ensures continuous recording. It also protects your car’s electrical system and your dash cam.
Power Sources For Continuous Recording
Your dash cam needs a steady power source to record without interruption. Common options include the car battery, USB power banks, and 12V to 5V converters.
- Car Battery:Connect to the car’s fuse box with a voltage regulator to avoid damage.
- Power Bank:Use a high-capacity USB power bank with pass-through charging for mobile use.
- DC-DC Converter:Step down 12V from the car to 5V for the Raspberry Pi to ensure stable power.
Safe And Neat Wiring Practices
Good wiring keeps your dash cam safe and the car interior tidy. It prevents shorts, loose connections, and wire damage from vibration or heat.
| Practice | Description |
|---|---|
| Use Fuse Protection | Install a fuse inline to protect the circuit from overcurrent. |
| Secure Connections | Use soldered joints or quality connectors to avoid loose wires. |
| Route Wires Carefully | Hide wiring under trim panels and away from moving parts. |
| Label Wires | Mark wires to identify power and ground easily during maintenance. |
| Use Cable Ties | Bundle wires neatly to prevent tangling and wear. |
Installing The Operating System
Setting up your Raspberry Pi for a car dash cam starts with installing an operating system. The OS controls your device and runs the dash cam software.
Choosing the right OS and configuring it correctly will help your dash cam work smoothly and record reliably.
Choosing The Right Os
Select an OS that is easy to use and supports camera functions well. The OS should be stable and lightweight.
Popular OS choices for Raspberry Pi dash cams include Raspbian and specialized camera OSes. Each has its benefits.
- Raspbian:Official OS, easy to customize.
- MotionEyeOS:Designed for camera use, simple interface.
- Ubuntu Mate:More features, uses more resources.
Configuring For Dash Cam Use
After installing the OS, configure it to start recording when the car is on. Set file storage and video settings.
Enable camera support and install any needed software for video capture. Make sure the system saves files to a safe location.
- Enable camera interface in Raspberry Pi settings.
- Set up automatic recording on boot.
- Choose video resolution and file format.
- Configure file storage on SD card or USB drive.
- Set up power management to avoid corruption.
Configuring The Camera Software
Setting up your Raspberry Pi as a car dash cam requires configuring the camera software. This will enable features like motion detection and video quality optimization.
Proper configuration ensures the dash cam captures clear and timely footage. Let’s explore how to set up these features.
Setting Up Motion Detection
Motion detection helps the camera start recording only when there is movement. This saves storage space and battery life.
You can adjust the sensitivity and trigger settings. This ensures the camera records crucial moments without unnecessary footage.
- Open the camera software settings on your Raspberry Pi.
- Locate the motion detection option.
- Adjust sensitivity to balance false alarms and missed events.
- Set trigger areas to focus on specific parts of the view.
Optimizing Video Quality Settings
Optimizing video quality is important for clear recordings. You can adjust resolution, frame rate, and encoding settings.
Higher resolution captures more detail, while a balanced frame rate ensures smooth video. Efficient encoding reduces file size without losing quality.
| Setting | Recommendation |
| Resolution | 720p for good quality, 1080p for high detail |
| Frame Rate | 30 FPS for smooth video |
| Encoding | H.264 for efficient compression |
Mounting The Dash Cam
Mounting your Raspberry Pi Car Dash Cam correctly is important. It ensures a clear view and stable recording.
Let’s explore the best places to mount your dash cam. We will also ensure it remains stable and visible.
Best Mounting Locations
Choosing the right spot is key for clear footage. Common locations include the windshield and dashboard.
- Windshield: Offers a wide view of the road.
- Dashboard: Less obstructive and easy to access.
- Rearview Mirror: Provides a central vantage point.
Ensuring Stability And Visibility
Stability helps avoid shaky videos. Visibility ensures the camera captures everything.
| Factor | Importance |
| Mount Type | Secure attachment to avoid movement |
| Camera Angle | Wide field of view for better coverage |
| Sunlight Glare | Position to reduce glare for clear video |
Testing And Troubleshooting
Testing your Raspberry Pi car dash cam helps ensure it works properly. Troubleshooting fixes problems you may find during tests.
Use simple steps to check the video quality and solve common issues. This keeps your dash cam reliable on the road.
Checking Video Clarity
Clear video is very important for a dash cam. Check if the images are sharp and colors look natural.
Look for any blurriness, dark spots, or flickering in the video playback. These show if the camera needs adjustment.
- Clean the camera lens to remove dust or smudges.
- Check the focus and adjust the camera angle if needed.
- Test recordings in different light conditions.
- Make sure the video resolution is set to a high level.
Common Issues And Fixes
Some problems happen often with Raspberry Pi dash cams. Knowing fixes saves time and effort.
Try these solutions if your dash cam does not work as expected.
- Camera not recording:Check power supply and SD card space.
- Video files corrupted:Use a high-quality SD card and safely eject it.
- Poor video quality:Clean lens and adjust camera settings.
- Dash cam freezing:Update Raspberry Pi software and reboot device.
- No video feed:Confirm camera connection and enable camera interface.
Enhancing With Additional Features
Adding extra features to a Raspberry Pi car dash cam can improve its usefulness. These features can help track trips and detect sudden movements. They make the dash cam more reliable and functional.
Two common upgrades are GPS tracking and G-sensors. Both add important data to the video recordings. This helps with better analysis after an event.
Adding Gps Tracking
GPS tracking records the exact location of the car during recording. It shows where the car has been and its speed. This data can be useful for reviewing trips or accidents.
- Attach a GPS module to the Raspberry Pi
- Use software to log location data with video
- View the route on a map during playback
- Check speed and position at any time
Incorporating G-sensors
G-sensors detect sudden changes in motion. They measure forces like braking or collisions. This information helps mark important moments in recordings.
| G-Sensor Feature | Benefit |
| Detects acceleration and deceleration | Alerts to sudden stops or starts |
| Records impact forces | Marks collision events in videos |
| Triggers automatic file saving | Prevents important videos from deletion |

Credit: medium.com
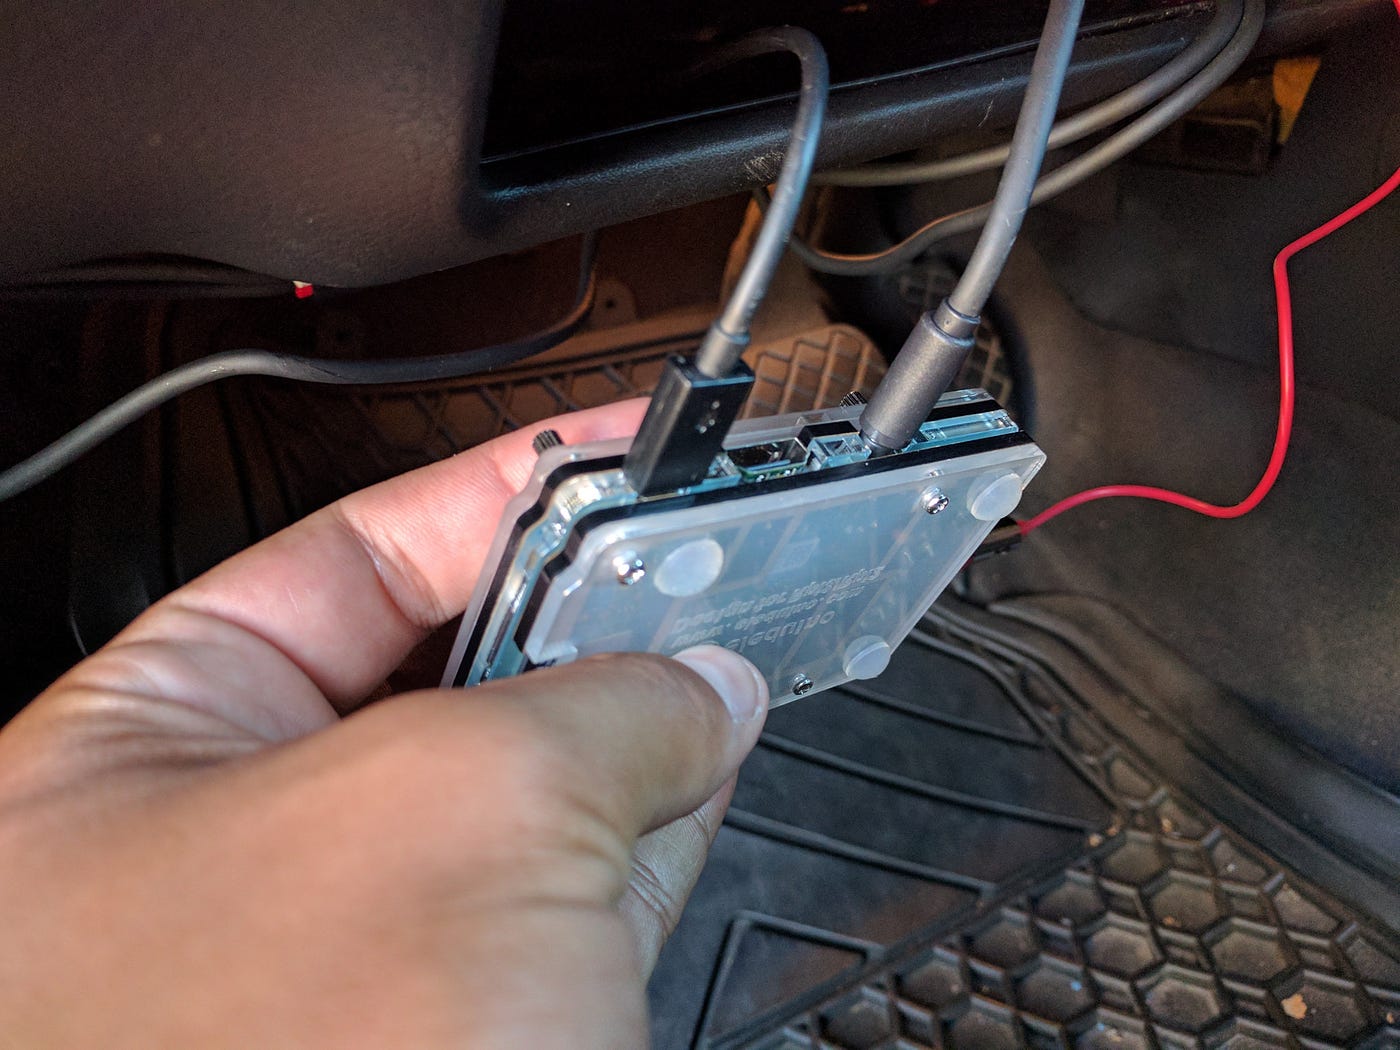
Credit: medium.com
Frequently Asked Questions
What Is A Raspberry Pi Car Dash Cam?
A Raspberry Pi Car Dash Cam is a DIY dash camera built using a Raspberry Pi. It records video footage while driving. It offers customization, affordability, and flexibility compared to commercial dash cams. It can include features like GPS, motion detection, and cloud storage.
How Do I Power A Raspberry Pi Dash Cam In My Car?
You can power the Raspberry Pi Dash Cam using a 12V to 5V car USB adapter. Connect it to the car’s cigarette lighter socket. Alternatively, use a power bank or hardwire it to the car battery with a voltage regulator for stable power.
What Camera Module Is Best For Raspberry Pi Dash Cam?
The official Raspberry Pi Camera Module V2 is the best choice. It offers 8 megapixels resolution and supports 1080p video recording. It’s compact, compatible, and provides clear footage for dash cam use. Third-party USB webcams can also work but may vary in quality.
Can Raspberry Pi Dash Cam Record While The Car Is Off?
Yes, with the right power setup, the Raspberry Pi Dash Cam can record when the car is off. Use a continuous power source like a power bank or a battery backup. This setup enables parking surveillance and motion-triggered recording.
Conclusion
Building a Raspberry Pi car dash cam can save money and add fun. It records your drives and helps keep proof in case of accidents. You can customize it to fit your needs and learn new skills. The parts are small, cheap, and easy to find.
With a little time, you create a useful tool for your car. Try it yourself and see how simple it can be. Safe driving and clear footage go hand in hand. A Raspberry Pi dash cam is a smart choice.


