
Are you thinking about giving your car a fresh new look? Painting your car can transform its appearance and protect it from damage.
But it’s not just about picking a color—you need to understand the process to get the best results. Whether you want to fix scratches, cover rust, or completely change your car’s style, this guide will help you make smart choices.
Keep reading to discover what you need to know before you start painting your car and how to make your vehicle stand out on the road.

Credit: www.eastwood.com
Choosing The Right Paint
Painting a car is a big job. Picking the right paint makes the car look great and last long.
There are many types of paint and finishes to choose from. Knowing the options helps you decide.
Types Of Car Paint
Car paint comes in several types. Each type has different looks and durability.
- Enamel paint is thick and shiny. It lasts well but can crack over time.
- Lacquer paint dries fast and is easy to apply. It fades quicker than others.
- Urethane paint is strong and flexible. It resists chips and lasts a long time.
- Water-based paint is eco-friendly. It is safe and becoming more popular.
Selecting Color And Finish
Color changes the car’s style and feel. Pick a color that suits your taste and use.
The finish affects how the paint looks in light. Common finishes include:
- Glossy finish shines bright and looks new.
- Matte finish has no shine and looks modern.
- Satin finish is between glossy and matte. It has a soft shine.
- Metallic finish has small metal flakes for sparkle.
Quality Vs. Cost
High-quality paint lasts longer and looks better. It costs more but saves money over time.
Cheaper paint may look good at first. It can fade, peel, or chip faster.
- High quality: better protection, more durability, higher price
- Low quality: lower price, less durability, may need repainting
Credit: medium.com
Preparing The Surface
Preparing the car surface is the first step before painting. A clean and smooth surface helps paint stick better.
Proper preparation improves the finish and makes the paint last longer.
Cleaning And Degreasing
Remove dirt, grease, and old wax from the car’s surface. Use a cleaner made for cars to avoid damage.
Cleaning well ensures the paint will not peel or bubble later.
- Wash the car with soap and water first
- Use a degreaser to remove oily residues
- Dry the surface with a clean cloth
- Wipe with a tack cloth to remove dust
Sanding Techniques
Sanding smooths the surface and removes old paint or rust. Use the right sandpaper grit for the job.
Start with coarse grit to remove damage, then use finer grit to smooth the surface.
- Use 80-120 grit sandpaper for rust or old paint
- Switch to 220-400 grit for smoothing the surface
- Sanding by hand or with a block helps keep it even
- Clean dust after sanding before painting
Repairing Imperfections
Fix dents, scratches, and holes before painting. Use filler or putty to fill damaged areas.
After applying filler, sand it smooth to match the car’s surface.
- Apply body filler to dents and holes
- Let the filler dry completely
- Sand the filler smooth and level with the surface
- Clean the area to remove dust before painting
Setting Up Your Workspace
Preparing your workspace is key for a smooth car painting project. A well-organized area helps you work faster and cleaner.
This guide covers how to pick a good environment, what tools you need, and safety tips.
Choosing A Painting Environment
Pick a space that is clean, dry, and well-lit. Avoid places with dust or strong wind. A garage or covered area is best.
Good ventilation is important to keep paint fumes away. Make sure there is fresh air but no strong air flow that spreads dust.
Essential Tools And Equipment
Having the right tools makes painting easier and the finish better. Here are the basics you will need:
- Spray gun or paint brushes
- Compressor for spray painting
- Sandpaper and sanding blocks
- Masking tape and plastic sheets
- Protective gloves and coveralls
- Paint thinner and cleaning rags
Safety Precautions
Painting a car involves chemicals that can harm your health. Follow these safety rules to stay safe:
| Safety Item | Purpose |
| Respirator Mask | Protect lungs from fumes |
| Gloves | Keep skin safe from paint |
| Eye Protection | Prevent paint splashes in eyes |
| Coveralls | Protect clothes and skin |
| Good Ventilation | Reduce inhaling harmful gases |
Credit: proautobodyshop.ca
Applying Primer
Applying primer is an important step before painting a car. It helps the paint stick better and lasts longer.
In this guide, we explain why primer is needed, the types available, and tips for applying it correctly.
Purpose Of Primer
Primer creates a smooth base for paint to stick. It also protects the metal from rust and damage.
- Improves paint adhesion
- Prevents rust and corrosion
- Fills small surface imperfections
- Enhances paint durability
Types Of Primer
| Type | Use | Features |
| Epoxy Primer | Metal surfaces | Strong adhesion, rust protection |
| Urethane Primer | Filling imperfections | Good sanding, smooth finish |
| Self-Etching Primer | Bare metal | Etches metal for better grip |
| High-Build Primer | Body filler cover | Thick layer, easy to sand |
Application Tips
- Clean the surface well before priming
- Use thin, even coats to avoid drips
- Allow each coat to dry completely
- Sand primer lightly between coats
- Wear protective gear for safety
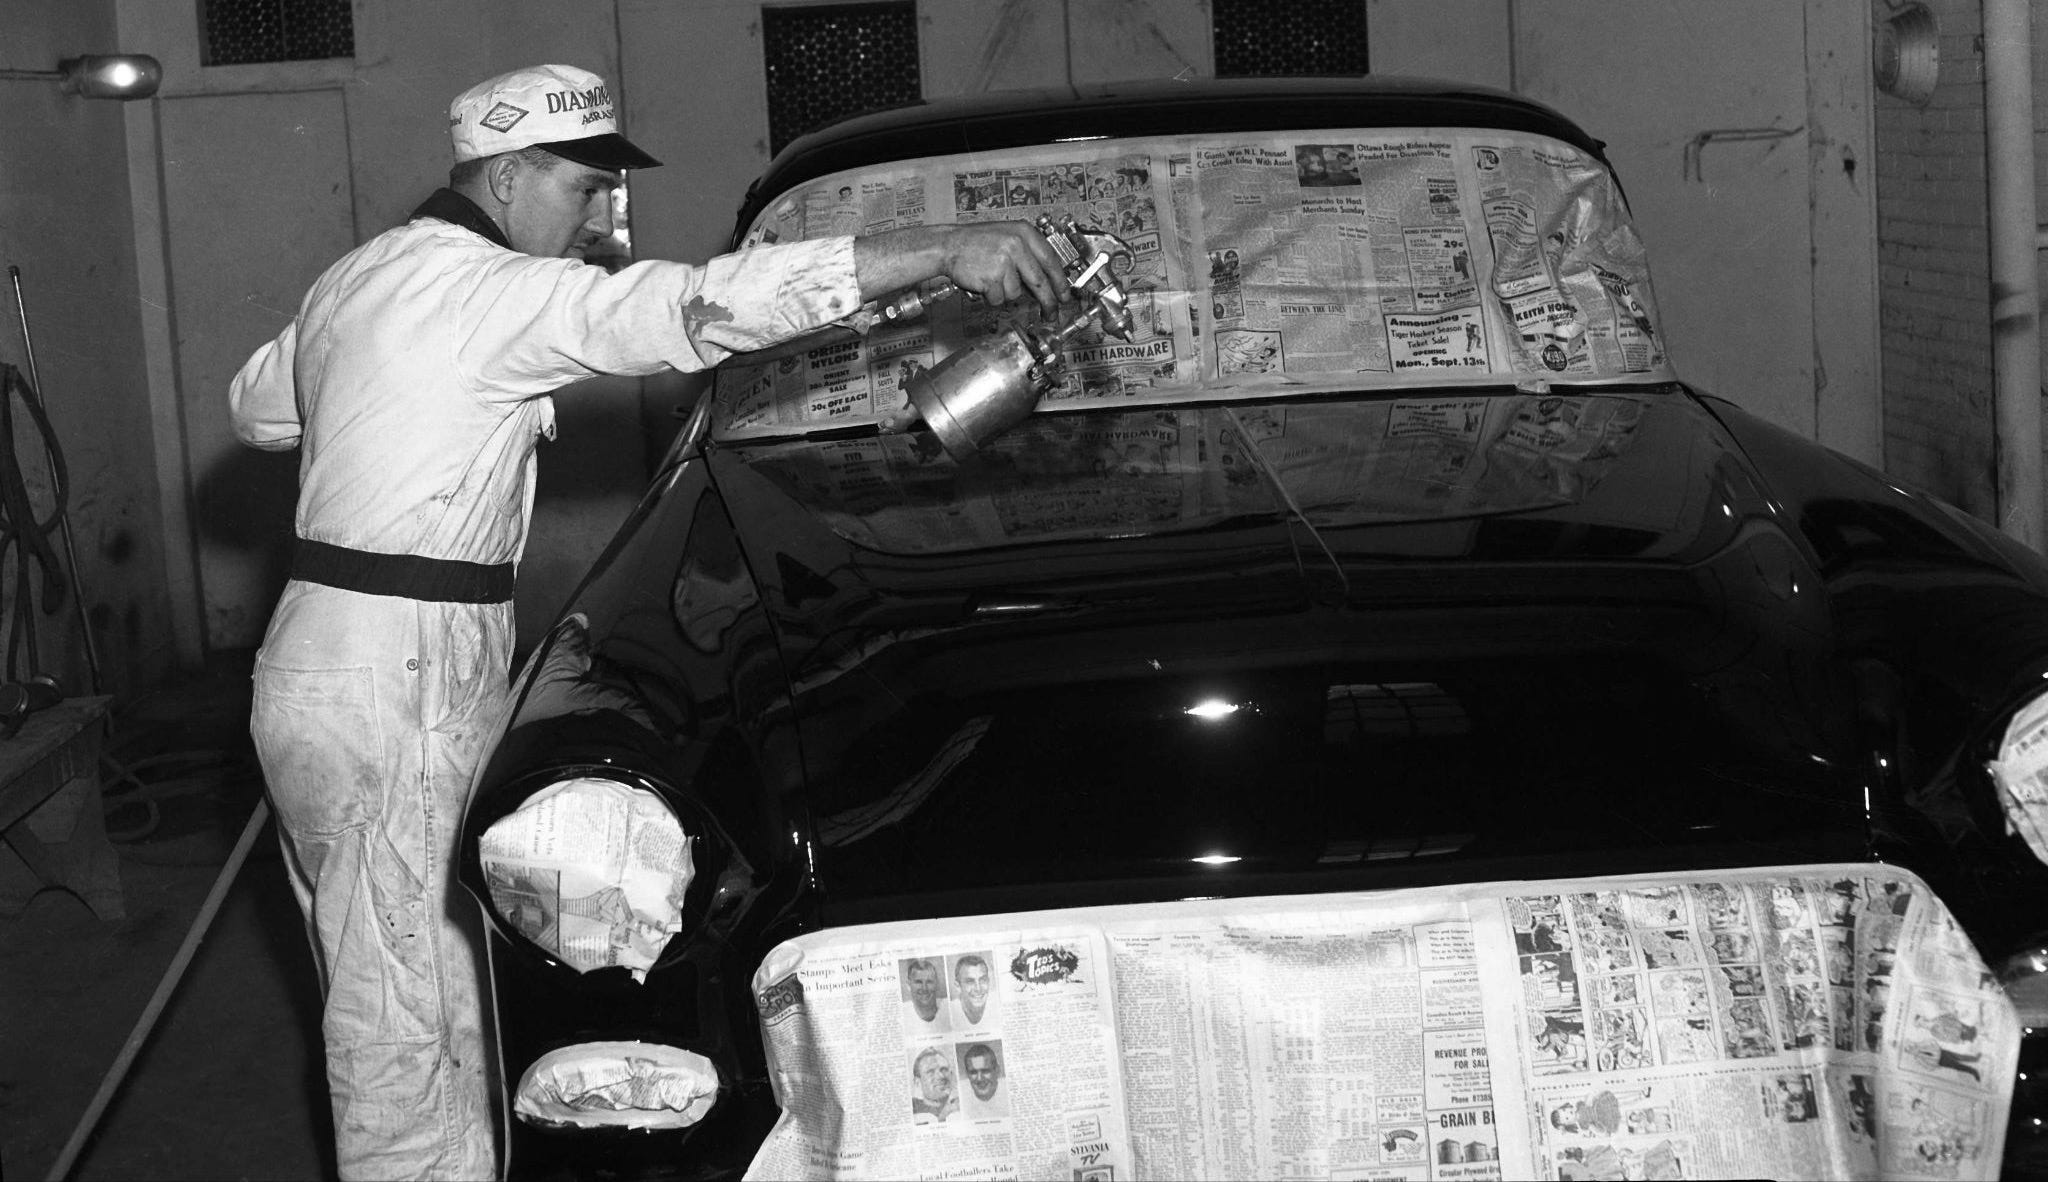
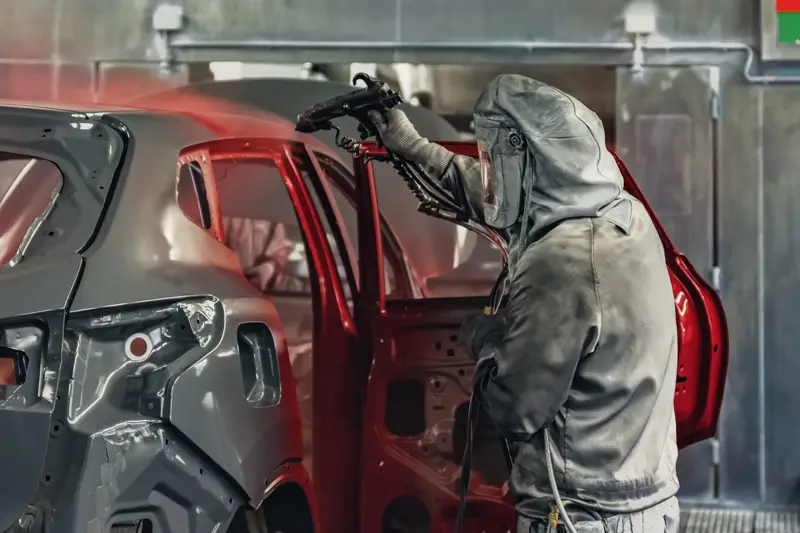
Painting Process
Painting a car is a detailed process. Each step is important for a smooth finish. Proper technique ensures lasting results.
Understanding the painting process helps you achieve a professional look. Let’s explore the key steps involved.
Mixing Paint Correctly
Mixing paint is crucial for color consistency. Use the right ratio of paint to thinner. Check the manufacturer’s instructions.
A clean mixing container is essential. Stir the paint thoroughly for a smooth blend. Avoid lumps and inconsistencies.
- Use a mixing stick for even consistency
- Measure the paint and thinner accurately
- Mix slowly to prevent bubbles
Spray Gun Techniques
The spray gun is a key tool in car painting. Hold it at a consistent distance from the car surface. Keep the gun moving steadily.
Adjust the spray pattern and pressure. Practice on a test panel first. This helps in achieving an even coat.
- Maintain a distance of 6-8 inches from the surface
- Use overlapping strokes for uniform coverage
- Clean the nozzle regularly to prevent clogging
Layering And Drying Times
Layering the paint properly ensures depth and shine. Apply multiple thin coats instead of one thick coat. This prevents drips.
Allow each layer to dry before adding the next. Drying times can vary based on temperature and humidity.
- Wait 15-20 minutes between coats
- Use a fan for faster drying in humid conditions
- Check dryness by lightly touching an inconspicuous area
Adding Clear Coat
Adding a clear coat to your car’s paintwork provides protection and shine. It is a crucial step in car painting that ensures durability and an attractive finish.
Clear coat acts like a barrier, safeguarding the paint from elements like UV rays and dirt. It enhances the car’s appearance, making it look glossy and new.
Benefits Of Clear Coat
Clear coat offers many advantages for your car’s paint. It extends the life of the paint and keeps the car looking fresh.
- Protects from sun damage
- Prevents scratches and chips
- Adds a glossy finish
- Makes cleaning easier
Application Methods
Applying clear coat requires careful preparation and technique. Proper application ensures the best results and long-lasting protection.
- Ensure the base paint is dry
- Use a clean spray gun
- Apply in thin, even layers
- Allow drying between coats
Avoiding Common Mistakes
Common mistakes can ruin the finish of your clear coat. Being aware of these helps achieve a professional look.
- Avoid applying in humid conditions
- Do not rush the drying process
- Avoid using dirty equipment
- Do not over-apply the product
Finishing Touches
Painting a car involves many steps. The final stages bring out the best look. Finishing touches make the paint smooth and shiny.
These steps protect the paint and keep it looking new. Let’s explore wet sanding, buffing, and protecting your car’s paint.
Wet Sanding And Polishing
Wet sanding removes small bumps and dust from the paint. It smooths the surface before polishing. Use fine sandpaper and water for best results.
- Use 1500 to 3000 grit sandpaper
- Saturate the surface and sandpaper with water
- Sand in gentle, circular motions
- Keep the surface wet to avoid scratches
- Dry and inspect the surface before polishing
Buffing For Shine
Buffing removes fine scratches and brings out the shine. Use a polishing compound and a buffing machine or pad. Work in small sections for even results.
| Polishing Compound Type | Purpose | Use |
| Cutting Compound | Removes deep scratches | Start here |
| Polishing Compound | Refines surface | After cutting |
| Finishing Polish | Brings high gloss | Final step |
Protecting The Paint
Protection keeps the paint safe from dirt and damage. Wax or sealant creates a barrier on the surface. Regular care extends the paint’s life.
- Wash the car regularly with mild soap
- Apply wax or sealant every 3 to 6 months
- Park in shaded or covered areas
- Avoid harsh chemicals and abrasive cleaners
Troubleshooting
Painting a car can sometimes lead to issues that affect the final look. Knowing how to fix common problems saves time and effort.
This guide covers common paint defects, how to fix runs and sags, and ways to handle orange peel texture.
Common Paint Defects
Paint defects often appear as uneven surfaces or marks. They can result from wrong technique, poor preparation, or bad conditions.
- Blistering: bubbles under the paint surface
- Cracking: paint splits into small lines
- Fish Eyes: small round holes caused by contamination
- Runs: paint flows downward before drying
- Orange Peel: a bumpy texture like an orange skin
Fixing Runs And Sags
Runs and sags happen if paint is too thick or sprayed too close. They look like drips that spoil the finish.
- Wait for the paint to dry completely.
- Use fine sandpaper (1500-2000 grit) to smooth the run.
- Clean the area with a tack cloth to remove dust.
- Apply a thin coat of paint over the sanded spot.
- Finish with clear coat and polish when dry.
Dealing With Orange Peel
Orange peel looks like small bumps on the paint. It happens if the paint does not flow out smoothly.
| Cause | Solution |
|---|---|
| Spraying too fast | Slow down spray speed for even coverage |
| Wrong spray gun settings | Adjust air pressure and nozzle size |
| Paint too thick | Thin paint with recommended reducer |
| Poor surface preparation | Sand and clean surface before painting |
Frequently Asked Questions
How Long Does Painting A Car Usually Take?
Painting a car typically takes 3 to 5 days. This includes prepping, priming, painting, and drying. Complex jobs may take longer. Timelines vary based on paint type and repair extent.
What Are The Best Paints For Car Painting?
Acrylic enamel, acrylic urethane, and basecoat/clearcoat are popular car paints. They offer durability, shine, and color depth. Urethane paints are often preferred for a long-lasting finish.
How Much Does Professional Car Painting Cost?
Professional car painting costs range from $500 to $5,000. Prices depend on paint quality, car size, and repair complexity. Custom jobs and luxury finishes cost more.
Can I Paint My Car Myself At Home?
Yes, but it requires proper tools, space, and skill. Home painting may lack durability and finish quality. Professionals ensure a smooth, lasting coat.
Conclusion
Painting a car can change its look and protect its surface. Choosing the right paint and tools makes a big difference. Taking time to prepare the car well helps the paint stick better. A smooth, even coat gives the best results.
Practice and patience improve your skills over time. A fresh paint job can make your car feel new again. Keep your car clean to protect the paint longer. Simple steps lead to a great finish anyone can achieve. Give your car the care it deserves with good paint work.


