
Have you ever wished you had proof during a tricky driving situation? Installing a car camera can be your best move to protect yourself on the road.
Imagine capturing every moment – from unexpected accidents to scenic drives – all recorded clearly. This simple addition can save you time, stress, and even money. If you want to know how to install a car camera easily and make your driving safer, keep reading.
You’re just a few steps away from turning your car into a smart, secure ride.
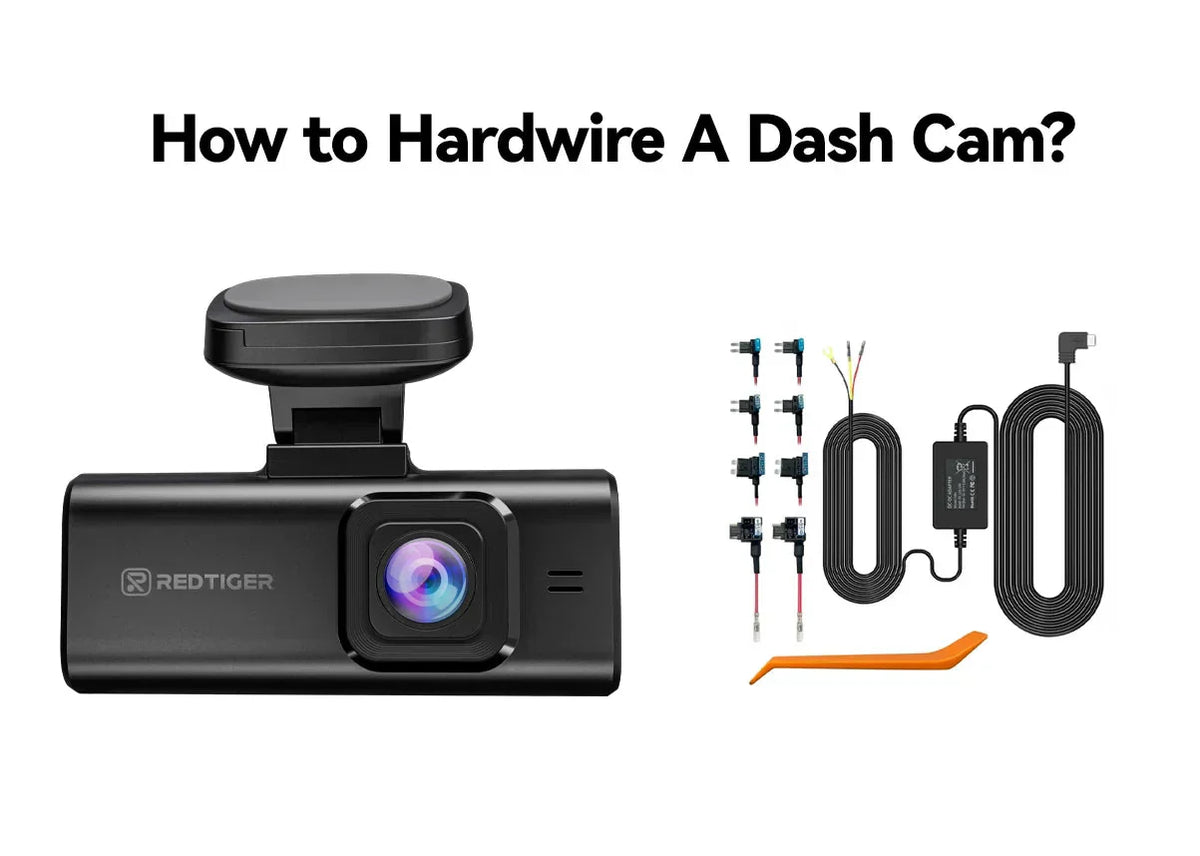
Credit: www.redtigercam.com
Choosing The Right Car Camera
Car cameras help you record your drives. They can protect you in accidents and theft cases.
Picking the right camera depends on your needs and car type. Learn what to look for below.
Types Of Car Cameras
There are many car cameras. Each type has different features and uses.
- Dash Cams: Fixed to the windshield, record front view.
- Rear Cameras: Mounted at the back, capture rear traffic.
- Dual Cameras: Combine front and rear views in one device.
- 360-Degree Cameras: Cover all angles around the car.
- Wireless Cameras: Connect without cables for easy setup.
Key Features To Consider
Look for features that match your driving habits and safety needs.
- Video Quality: Clear images help identify details in accidents.
- Night Vision: Records well in low light or at night.
- Loop Recording: Saves space by overwriting old videos.
- G-Sensor: Detects impacts and locks important footage.
- Storage Capacity: Enough space to hold your recordings.
- Parking Mode: Records when your car is parked and hit.
Budget Vs Quality
Cheap cameras may lack important features. Expensive ones offer better quality and options.
Balance your budget with the features you need. Good quality cameras last longer.
- Low Budget: Basic video, fewer features, limited durability.
- Mid Range: Good video quality, essential features, fair durability.
- High End: High resolution, full features, strong build quality.
Preparing For Installation
Installing a car camera needs some planning before you start. Preparing well helps the process go smoothly.
Knowing what tools and parts you need saves time. You also want to pick the best spot for the camera.
Tools And Materials Needed
Gathering the right tools and materials makes installation easier. It also reduces mistakes during the process.
- Screwdriver set (Phillips and flathead)
- Wire strippers and cutters
- Electrical tape or heat shrink tubing
- Car camera with mounting kit
- Power cable and connectors
- Cleaning cloth and alcohol wipes
- User manual for the camera
Selecting The Best Mounting Location
Choose a spot that gives a clear view of the road. The camera should not block your view while driving.
Common places are behind the rearview mirror or near the windshield top center. Make sure the spot is stable.
- Avoid areas with direct sunlight glare
- Check if the mount fits well without shaking
- Keep the camera lens clean and free from obstructions
- Ensure the cable can reach the power source easily
Checking Vehicle Compatibility
Not all cameras fit every vehicle type. Check your car’s model and electrical system first.
Look for voltage requirements and power connections that match your car. Some cars need adapters for the camera.
- Review your car manual for power outlet details
- Confirm the camera supports your car’s voltage
- Check if the camera needs constant or switched power
- Test the power source before connecting the camera
Step-by-step Installation Process
Installing a car camera is a simple way to increase your driving safety. This guide helps you install it correctly and safely.
Follow these steps carefully to mount the camera, route the wires, connect power, and test your setup.
Mounting The Camera
Choose a clear view point on your windshield or dashboard. Clean the surface well before mounting.
Use the supplied mount or adhesive to fix the camera in place. Make sure it does not block your vision.
Routing The Wires
Run the camera wires along the edges of your car’s interior. Tuck them under trim or headliner to hide them.
Avoid sharp edges or moving parts that can damage the wires. Keep them away from airbags and controls.
- Start from the camera location
- Follow the windshield edge
- Hide wires under trim panels
- Secure wires with clips or tape
Connecting To Power Source
Locate your car’s fuse box or a 12V power outlet. Connect the camera power cable to a suitable power source.
Use a fuse tap or adapter to avoid cutting wires. Connect the ground wire to a metal part of the car.
- Find a constant or switched power source
- Use proper connectors or fuse taps
- Attach ground wire securely
- Check for any loose connections
Testing The Setup
Turn on your car to power the camera. Check the camera’s display or app for a live video feed.
Adjust the camera angle if needed. Verify the camera records properly and saves files.
- Power on the car and camera
- View live feed on screen or app
- Adjust camera for best view
- Check recording and playback
Securing Your Car Camera
Installing a car camera helps protect your vehicle and record important moments. Securing the camera is important to keep it safe from theft and damage.
This guide covers ways to prevent theft, use protective covers, and add locking mechanisms or alarms for your car camera.
Preventing Theft And Tampering
Thieves can target car cameras if they are easy to see or reach. Use these tips to keep your camera safe and avoid tampering.
- Install the camera in a hidden spot, like behind the rearview mirror.
- Use tamper-proof screws or bolts to attach the camera firmly.
- Park in well-lit or busy areas to discourage thieves.
- Regularly check your camera to catch any signs of damage or tampering.
Using Protective Covers
Protective covers shield your car camera from weather and physical damage. They also make the camera less visible to thieves.
| Type of Cover | Protection | Benefit |
| Clear Plastic Cover | Rain and dust | Keeps lens clean and visible |
| Tinted Cover | Sun glare and scratches | Reduces glare, hides camera |
| Shockproof Case | Physical impact | Protects against drops and bumps |
Locking Mechanisms And Alarms
Adding locks or alarms helps prevent theft and alerts you if someone tries to remove the camera.
- Use lockable mounts or cages for the camera.
- Install vibration or motion alarms near the camera.
- Connect alarms to your car’s security system for instant alerts.
- Choose cameras with built-in anti-theft features.
Optimizing Camera Performance
Installing a car camera is just the start. To get the best footage, you must optimize its performance. This guide covers key ways to improve your camera’s view and quality.
Adjusting angles, setting configurations, and lens care all play a role in clear recording. Each step helps the camera capture important details clearly and reliably.
Adjusting Camera Angles
Set the camera angle to cover the road ahead without obstruction. A slight downward tilt reduces glare from sunlight and headlights at night.
- Mount the camera behind the rearview mirror for a wide view.
- Aim the lens slightly down to avoid sky glare.
- Check the side edges to ensure no blind spots.
- Test the view in daylight and at night.
Configuring Settings
Adjust the camera settings to match your needs. Proper settings improve video clarity and file management.
| Setting | Recommended Value | Reason |
| Resolution | 1080p or 720p | Clear footage with manageable file size |
| Frame Rate | 30 fps | Smooth video playback |
| Loop Recording | On | Automatic overwrite of old videos |
| Exposure | Auto | Adjusts to light changes |
Maintaining Camera Lens
Keep the lens clean and scratch-free. Dirt or damage lowers video quality and may block important details.
Follow this simple cleaning routine:
- Turn off the camera before cleaning.
- Use a soft microfiber cloth.
- Apply gentle pressure to remove dust and smudges.
- For stubborn dirt, use lens-safe cleaning fluid.
- Do not use paper towels or rough materials.

Credit: www.supertekmodule.com
Troubleshooting Common Issues
Installing a car camera can improve your driving experience. Sometimes, issues arise that need troubleshooting.
Let’s explore common problems and how to solve them quickly and easily.
Power And Connectivity Problems
Car cameras need power to operate. Check your power connections if the camera isn’t turning on.
Make sure cables are secure and not damaged. Try another power source if the problem persists.
- Inspect the power cable for any visible damage
- Ensure the camera is properly plugged into a working outlet
- Test with a different power cable if available
Video Quality Fixes
Blurry or unclear videos can be frustrating. Clean the camera lens to improve clarity.
Check your camera settings for resolution. Adjust settings for better quality if needed.
- Use a microfiber cloth to clean the lens
- Set the resolution to the highest setting available
- Ensure the camera is mounted securely for stability
Storage And Recording Errors
Insufficient storage can stop recordings. Check your memory card if recordings fail.
Format the memory card in the camera to prevent errors. Replace it if it’s full or faulty.
- Check the available space on the memory card
- Format the card using the camera’s settings menu
- Consider a higher capacity card for more storage
Upgrading And Expanding Your Setup
Installing a car camera can enhance safety and provide peace of mind. With advancements, upgrading is easier than ever.
Explore options for adding rear and interior cameras. Learn how to integrate with vehicle systems. Decide between wireless and wired options for your setup.
Adding Rear And Interior Cameras
Rear and interior cameras increase coverage and security. They capture more angles and events inside and outside the car.
- Rear cameras help in parking and reversing safely.
- Interior cameras monitor passengers and the driver.
- Both types can deter theft and vandalism.
Integrating With Vehicle Systems
Modern car cameras can connect with existing vehicle systems. This integration enhances functionality and ease of use.
| Feature | Function |
| GPS | Tracks location and speed |
| Bluetooth | Syncs with smartphone |
| Display | Shows camera feed on screen |
Wireless Vs Wired Options
Choose between wireless and wired setups based on your needs. Each has its pros and cons.
Wireless:Easy to install, fewer cables, but may have connectivity issues.
Wired:Stable connection, no signal interference, but requires more installation effort.

Credit: www.supertekmodule.com
Frequently Asked Questions
What Tools Are Needed For Installing A Car Camera?
You need a car camera kit, screwdriver, trim removal tool, and electrical tape. A voltage tester helps ensure safe wiring. These tools make installation easier and safer.
Where Is The Best Place To Mount A Car Camera?
Mount the camera behind the rearview mirror or on the windshield’s top center. This spot offers a clear view without obstructing your vision.
How Do I Power A Car Camera Properly?
Connect the camera to the car’s fuse box or cigarette lighter power outlet. Use a hardwire kit for a neat, permanent power connection.
Can I Install A Car Camera Myself?
Yes, DIY installation is possible with basic tools and instructions. Follow the manual carefully to avoid damage or incorrect wiring.
Conclusion
Installing a car camera helps protect your vehicle and improve safety. It records important moments on the road. Setting it up is easier than you might think. Choose a good spot and connect the power source. Test the camera before driving.
This small device gives peace of mind during every trip. Stay alert and let the camera do its job. Simple steps lead to better protection on the road.


