
Have you noticed those annoying chips in your car’s paint? They might seem small, but left untreated, they can lead to rust and bigger problems that cost you more money.
The good news is, you don’t have to be a pro to fix them. In this guide, you’ll learn simple, step-by-step tips to repair chipped paint on your car quickly and effectively. Keep reading, and you’ll soon have your car looking smooth and protected again—saving you time, hassle, and extra expenses.
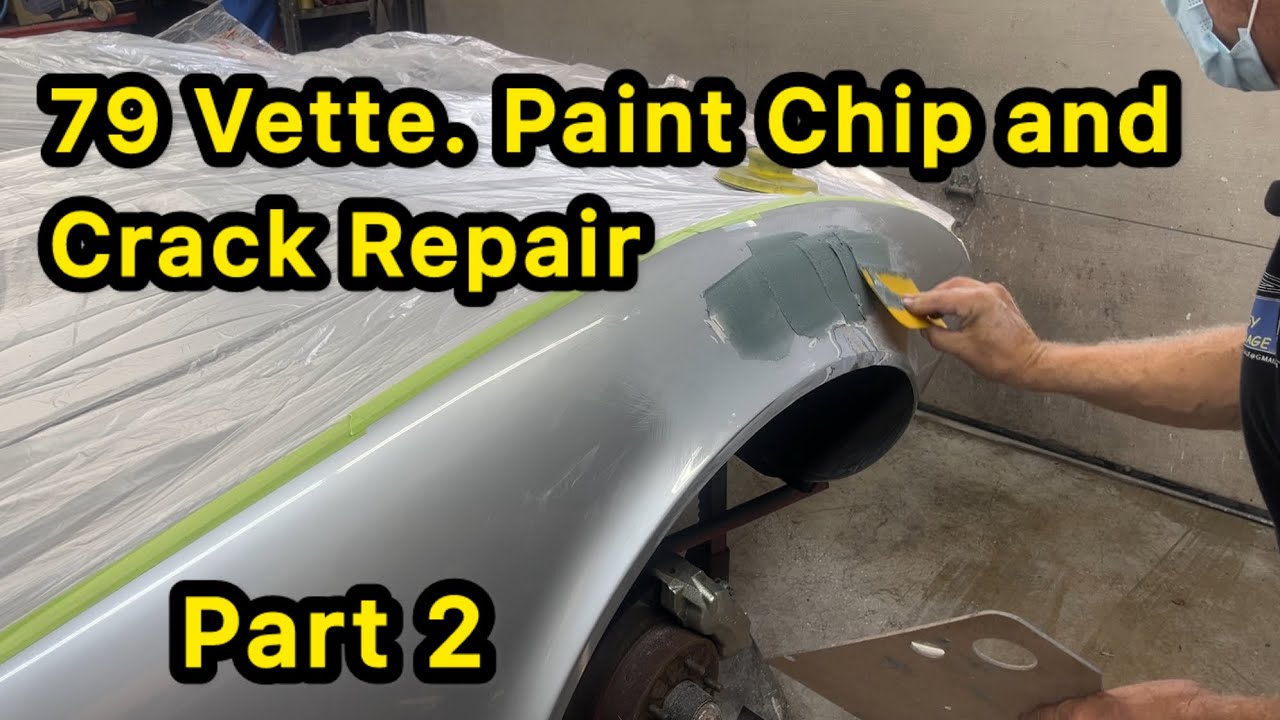
Credit: www.youtube.com
Identify The Damage
Before you repair chipped paint on your car, you need to know the extent of the damage. Identifying the type and size of the chip helps you choose the right repair method. Careful inspection is important to avoid bigger problems later.
Look closely at the chipped area and check for any signs of rust. Rust can spread and cause more damage under the paint. Understanding the condition will save time and money in repairs.
Assess The Chip Size
Measure how big the paint chip is. Small chips are easier to fix at home. Large chips might need professional help. Use a ruler or compare the chip to a coin.
- Small chips: less than 1/4 inch
- Medium chips: 1/4 to 1/2 inch
- Large chips: more than 1/2 inch
Check For Rust
Rust appears as a reddish-brown spot on the metal under the paint. It weakens the metal and spreads quickly. Look inside the chip and around its edges for rust signs.
| Rust Status | Repair Tip |
| No Rust | Clean and touch up the chip |
| Surface Rust | Sand off rust, then prime and paint |
| Deep Rust | Consider professional repair to prevent damage |

Credit: www.reddit.com
Gather Necessary Tools
Fixing chipped paint on your car needs the right tools. Gather everything before you start. This makes the repair easier and cleaner.
Organize your supplies in a clean space. Check each item to be sure it is ready to use. Proper tools help get a smooth finish.
Paint Matching Supplies
Getting the right paint is key. Your car’s color code helps find a perfect match. Use touch-up paint that fits your car’s brand and model.
- Touch-up paint bottle or pen
- Automotive primer
- Clear coat for sealing
- Color code or paint chip from your car
Cleaning Materials
Clean the chipped area well. Dirt or oils stop paint from sticking. Use gentle cleaning products for best results.
| Material | Purpose |
| Soap and water | Remove dirt and dust |
| Rubbing alcohol | Remove grease and oils |
| Microfiber cloth | Dry and wipe clean |
| Sandpaper (fine grit) | Smooth rough edges |
Application Tools
Use the right tools to apply paint carefully. This controls how much paint goes on and keeps edges neat.
- Fine-tip paintbrush or applicator
- Small mixing tray or palette
- Masking tape to protect areas
- Gloves to keep hands clean
- Toothpicks for tiny spots
Prepare The Area
Fixing chipped paint starts with preparing the area carefully. Proper prep helps new paint stick well.
Clean and smooth the damaged spot before you apply any paint. This makes the repair last longer.
Clean The Surface
Remove dirt, grease, and wax from the chipped area. A clean surface allows paint to bond better.
- Wash the area with soap and water
- Use a wax and grease remover
- Dry the spot completely with a clean cloth
Sand The Edges
Sanding smooths rough edges around the chip. It also helps new paint blend with old paint.
| Tool | Use |
| Fine-grit sandpaper (600-800 grit) | Gently sand edges of the chip |
| Coarser sandpaper (400 grit) | Remove loose paint flakes |
| Clean cloth | Wipe away sanding dust |
Apply Primer
Applying primer is an important step in fixing chipped paint on your car. It helps the new paint stick well and protects the metal from rust.
Make sure to prepare the surface before you start. Clean and sand the area to get the best results with your primer.
Choose The Right Primer
Pick a primer that fits your car’s paint type. Using the wrong primer can cause peeling or poor finish.
- Use an automotive primer made for metal surfaces.
- If your car has a clear coat, choose a primer that bonds well with it.
- Consider a rust-inhibiting primer if the metal is exposed.
- Check the primer’s drying time and choose one that fits your schedule.
Apply Even Coats
Applying primer in even coats ensures a smooth base for your paint. Too much primer can cause runs or bubbles.
| Tip | Details |
|---|---|
| Shake the primer well | Mix the primer before use for uniform coverage. |
| Use thin layers | Spray or brush thin coats to avoid drips. |
| Allow drying time | Let each coat dry fully before applying the next one. |
| Sand between coats | Lightly sand to smooth the surface if needed. |
Paint The Chip
Fixing a chipped paint spot on your car needs care and the right tools. Painting the chip correctly stops rust and keeps your car looking good.
This guide helps you paint the chip with the right paint and technique. Follow simple steps to get a smooth finish.
Use Correct Paint Type
Choose paint that matches your car’s color and type. Using the wrong paint can cause the repair to fail or look bad.
- Find your car’s paint code on the driver’s side door frame.
- Buy touch-up paint from your car dealer or an auto parts store.
- Use paint made for cars, not general-purpose paint.
- Select paint that matches the finish, like matte or glossy.
- Use primer and clear coat if recommended for better protection.
Layer Paint Carefully
Apply paint in thin layers to fill the chip smoothly. Thick layers can peel or crack later.
| Layer | What to Do | Dry Time |
| 1 | Apply a thin base coat inside the chip | 10-15 minutes |
| 2 | Let it dry, then add more paint to build up | 10-15 minutes |
| 3 | Finish with a clear coat for shine and protection | 20-30 minutes |
Finish With Clear Coat
Chipped paint on a car can be a real eyesore. To make your car look new again, you need to finish with a clear coat. This seals the repair and protects the paint from future damage.
Applying a clear coat is the final step in repairing chipped paint. It adds shine and durability to your car’s surface.
Protect The Paint
Protecting the paint is crucial when you repair chipped areas. It helps maintain the car’s value and appearance.
Use painter’s tape to cover areas you do not want to spray. This ensures only the chipped area gets the clear coat.
- Mask windows and tires
- Cover nearby panels
- Use plastic sheets for larger areas
Smooth The Surface
A smooth surface is key before applying the clear coat. Sand the chipped area to remove rough edges and old paint.
Start with fine-grit sandpaper for the best finish. Sand in gentle circles until smooth.
- Use 1500 grit sandpaper
- Clean with a microfiber cloth
- Check for smoothness by touch
Polish And Blend
Repairing chipped paint on a car involves careful polishing and blending. This ensures the area looks seamless with the rest of the vehicle.
Proper technique is essential to achieve a smooth finish. Let’s explore how to buff the area and match surrounding paint effectively.
Buff The Area
Buffing helps remove surface imperfections and prepares the area for paint application. A smooth surface is crucial for a flawless look.
- Clean the chipped area thoroughly with soap and water.
- Use a microfiber cloth to dry the area completely.
- Apply a small amount of automotive polish to a buffing pad.
- Gently buff the area in circular motions.
- Wipe off excess polish with a clean cloth.
Match Surrounding Paint
Matching the paint color ensures the repair blends with the car’s original finish. It’s important to find the right shade for a seamless appearance.
| Paint Code | Location |
| Located on driver’s door jamb | Check your vehicle’s manual |
| Check under the hood | Look near the engine bay |
| Contact the dealership | Provide your VIN number |
Maintain The Repair
Fixing chipped paint on your car is only the first step. You need to take care of the repair to keep it looking good. Proper maintenance helps protect your car from rust and further damage.
Simple habits can keep the repaired area in great shape for a long time. Regular care prevents small problems from becoming big ones.
Regular Cleaning
Keep the repaired area clean to avoid dirt buildup. Dirt can wear down the paint and expose the metal underneath. Wash your car gently using mild soap and water.
Dry the surface with a soft cloth to stop water spots. Avoid harsh chemicals or rough scrubbing near the repaired spot.
- Wash the car every two weeks
- Use soft sponges or cloths
- Rinse thoroughly to remove soap
- Dry with a microfiber towel
Touch Up Minor Flaws
Small chips or scratches can appear even after repair. Fix these minor flaws quickly to stop rust from forming. Use touch-up paint that matches your car’s color.
Apply the paint carefully with a fine brush. Let it dry fully before driving or washing the car. Regular checks help you catch new flaws early.
- Inspect the repaired area monthly
- Use correct color touch-up paint
- Apply paint in thin layers
- Let paint dry for 24 hours

Credit: www.youtube.com
Frequently Asked Questions
How Do I Fix Chipped Paint On My Car?
To fix chipped paint, clean the area, sand it lightly, apply primer, and use matching touch-up paint. Finish with clear coat for protection.
What Tools Are Needed To Repair Car Paint Chips?
You need sandpaper, primer, touch-up paint, clear coat, and fine brushes or applicators for precise repair.
Can I Repair Car Paint Chips Myself?
Yes, small chips can be repaired at home with proper tools and patience, saving time and money.
How Long Does It Take To Repair Paint Chips On A Car?
A small paint chip repair usually takes 30 minutes to an hour, including drying time.
Conclusion
Fixing chipped paint on your car helps keep it looking good. Small chips can lead to rust if ignored. Use the right tools and take your time. Clean the area well before applying paint. Let each layer dry fully for best results.
Regular care protects your car’s surface and value. This simple repair saves money and avoids bigger problems. A little effort keeps your car shining longer. Try it yourself to see how easy it can be.


