
Are you tired of your car’s tinted windows blocking your view or making your ride feel too dark? Removing tinted glass from your car windows might seem tricky, but it doesn’t have to be.
Whether you want to get rid of old, peeling film or just prefer a clearer look, this guide will walk you through simple steps you can follow right now. By the end, you’ll know exactly how to remove tinted glass safely and effectively—giving your car a fresh, clean appearance you’ll love.
Keep reading, and let’s get started!
Tools Needed
Removing tinted glass from car windows requires specific tools. Using the right supplies makes the job easier and safer.
This guide covers the essential supplies and safety gear you need before starting.
Essential Supplies
Gather all supplies before you begin. This helps avoid interruptions during the removal process.
- Heat gun or hair dryer to soften adhesive
- Plastic scraper or razor blade for peeling film
- Spray bottle with soapy water to loosen tint
- Microfiber cloths for cleaning glass
- Utility knife for trimming edges
- Adhesive remover to clean residue
- Bucket with warm water
Safety Gear
Protect yourself while removing window tint. Safety gear reduces risks from sharp tools and chemicals.
| Gear | Purpose |
| Safety glasses | Protect eyes from glass shards and chemicals |
| Gloves | Protect hands from cuts and irritation |
| Face mask | Prevent inhaling fumes from adhesive remover |
| Long-sleeve shirt | Protect skin from scratches and chemicals |
Credit: fixitautoglass.ae
Preparing The Car
Removing tinted glass from car windows needs careful preparation. This helps the process go smoothly and safely.
Start by getting your car ready. Clean and clear the area around the windows before you begin.
Choose A Workspace
Pick a quiet and well-lit place to work on your car. This helps you see the tint clearly and avoid mistakes.
Make sure the area is dry and free from dust. Avoid windy places that can blow dirt onto the windows.
- Use a garage or covered space if possible
- Check that the workspace has good lighting
- Work on a flat surface to keep tools steady
- Keep pets and children away from the area
Clean The Windows
Wipe the windows to remove dirt and dust before removing the tint. Clean glass helps the tint peel off better.
Use a glass cleaner and a soft cloth. Avoid harsh chemicals that can damage the window surface.
- Spray glass cleaner evenly on the window
- Use a microfiber cloth to wipe gently
- Remove all grease and fingerprints
- Let the window dry before starting work
Removing The Tint
Removing tinted film from car windows can be done at home. It takes patience and the right tools. Using heat helps soften the adhesive.
Careful peeling removes the tint without damaging the glass. Follow simple steps to get clear windows again.
Heat Application Methods
Applying heat softens the glue that holds the tint. This makes it easier to peel off the film. Use safe heat sources to avoid damage.
Common heat sources include hair dryers and heat guns. Keep the heat moving to prevent the glass from cracking.
- Hold the heat source about 6 inches from the glass
- Heat the tint in small sections
- Heat until the tint feels warm and soft
- Avoid overheating to protect the window
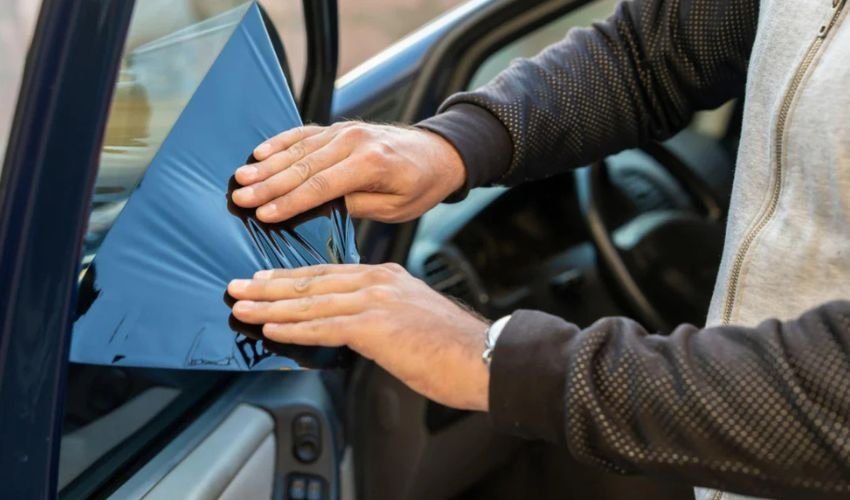
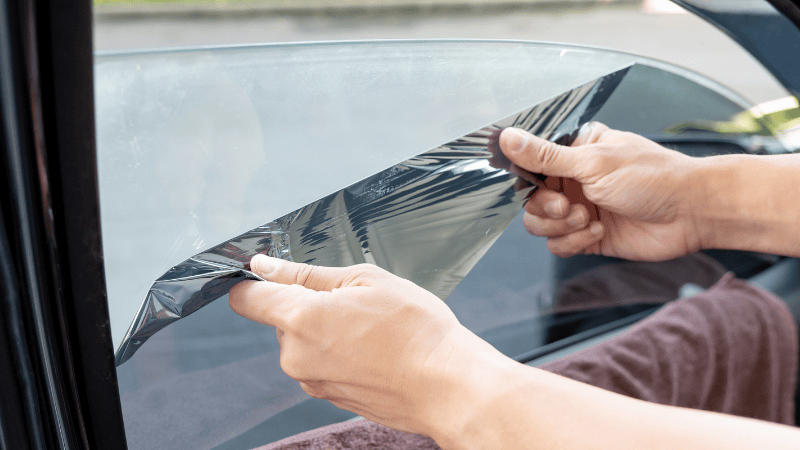
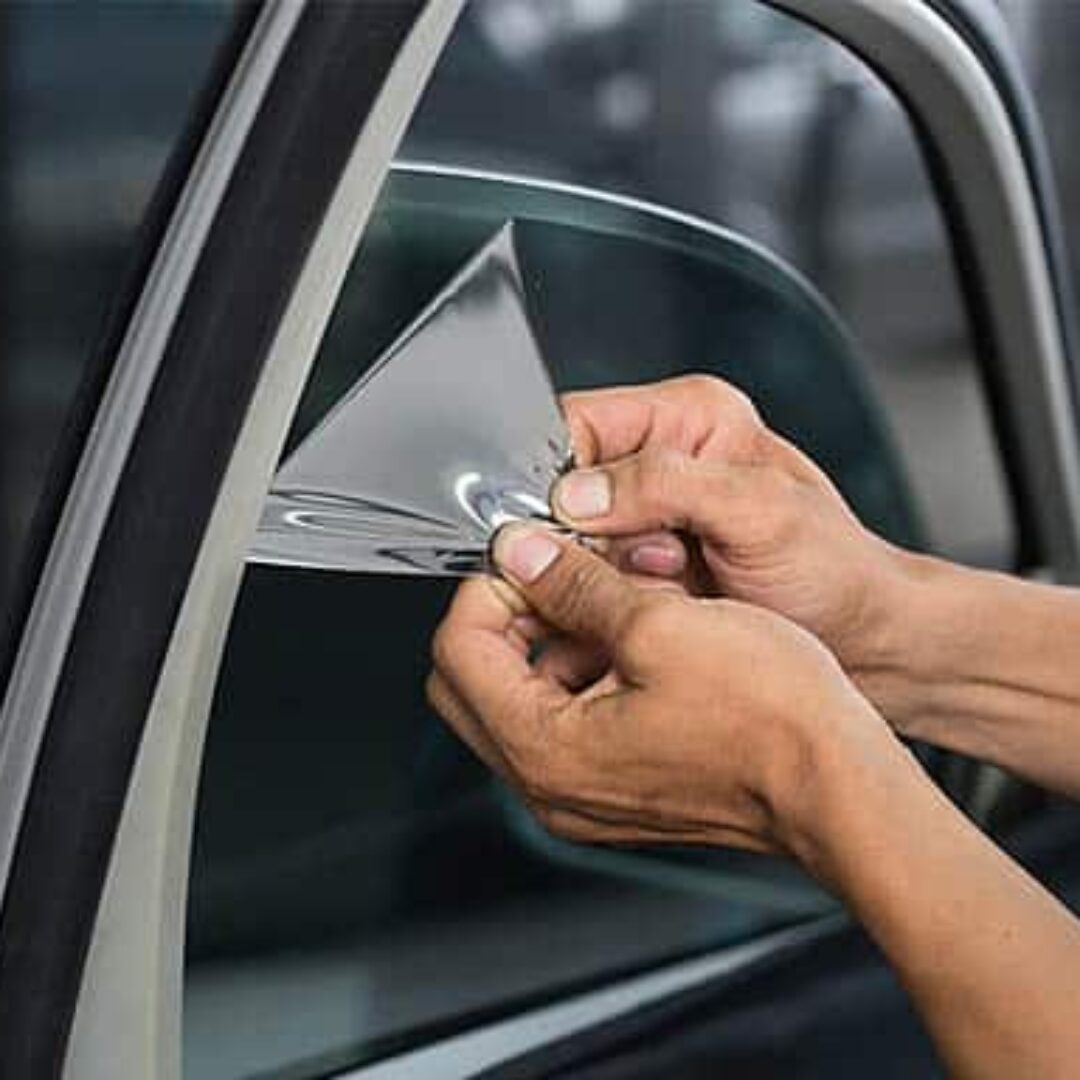
Peeling Off The Film
Start peeling the tint from one corner after heating. Pull the film slowly to avoid tearing. Use a plastic card to lift edges if needed.
Remove any leftover glue with a cleaning solution. Wipe the window clean to restore clarity.
- Find a loose corner to begin peeling
- Pull the film gently and steadily
- Use a plastic scraper or card for stuck areas
- Clean the glass after removing the tint
Credit: carlikefilm.com
Cleaning Residue
Removing tinted glass from car windows often leaves sticky residue behind. This residue can be tough to clean. Proper cleaning is important for clear, streak-free windows.
Use safe methods to avoid scratching or damaging the glass. Gentle cleaning helps restore the window’s original look.
Removing Adhesive
Adhesive residue can be soft or hard depending on the tint type and age. Start by gently scraping off large glue pieces with a plastic scraper. Avoid metal tools that can scratch glass.
- Apply an adhesive remover or rubbing alcohol to soften the glue.
- Let the solution sit for a few minutes to break down the residue.
- Use a microfiber cloth to wipe away the softened adhesive.
- Repeat the process if residue remains stubborn.
- Clean the area with warm soapy water to remove any leftover chemicals.
Final Window Cleaning
After removing all adhesive, clean the window thoroughly to remove streaks and dirt. Use a glass cleaner and a lint-free cloth for best results.
| Cleaning Tool | Purpose | Tip |
| Microfiber Cloth | Wipes residue without scratching | Use damp cloth for better cleaning |
| Glass Cleaner | Removes streaks and dirt | Spray lightly to avoid drips |
| Plastic Scraper | Removes glue pieces safely | Use gentle pressure to avoid damage |
Tips For Tough Spots
Removing tinted glass film on car windows can be hard in some areas. Small spots may hold glue tightly.
Using the right tools and methods helps clear these tough spots well. Take care to protect the glass.
Dealing With Stubborn Areas
Stubborn spots often have thick glue or old tint layers. Use a razor blade carefully to lift edges.
Apply heat with a hairdryer to soften glue before scraping. Work slowly to avoid scratches.
- Heat the area for 1-2 minutes
- Use a plastic scraper first
- Switch to a razor blade if needed
- Peel tint slowly to avoid tearing
- Clean residue with glass cleaner
Avoiding Window Damage
Protect your windows by using soft tools and gentle cleaning solutions. Avoid harsh chemicals.
Do not use metal tools directly on the glass surface. Always test a small area first.
- Use plastic or nylon scrapers
- Keep razor blades at a low angle
- Do not press too hard while scraping
- Use warm soapy water to clean glass
- Wear gloves to protect hands
When To Seek Professional Help
Removing tinted glass from car windows can be tricky. Sometimes, professional help is the best option. Here are the signs to look for when considering expert assistance.
Complex Tint Removal
If your car has multiple layers of tint, it may be difficult to remove them yourself. Professionals have the right tools and experience to handle complex situations.
Potential Damage Risk
Removing tint can damage defroster lines or antennas. Professionals know how to avoid these risks, ensuring your car’s features remain intact.
Time And Effort
Removing tint can be time-consuming. If you’re short on time or patience, hiring a professional can save you both.
Special Tools Required
Some tint removals need special tools. If you lack these tools, a professional can handle the job efficiently.
- Heat Guns
- Adhesive Removers
- Specialized Blades
Credit: www.drifted.com
Frequently Asked Questions
How Do I Safely Remove Tinted Film From Car Windows?
To safely remove tint, use a heat gun or hairdryer to warm the film. Peel it slowly from the edges. Avoid sharp tools to prevent glass damage. Clean residue with adhesive remover or soapy water for a clear finish.
Can I Remove Window Tint Without Professional Help?
Yes, you can remove tint at home with basic tools like a heat gun and razor blade. Patience is key to avoid glass scratches. Follow step-by-step guides to ensure safe and effective removal.
How Long Does It Take To Remove Tint From Car Windows?
Removing tint usually takes 30 minutes to 2 hours, depending on film type and window size. Professional removal may be quicker. DIY efforts can take longer if you’re cautious and thorough.
What Tools Are Needed To Remove Tinted Window Film?
You’ll need a heat gun or hairdryer, razor blade or utility knife, adhesive remover, gloves, and microfiber cloths. These tools help loosen the film and clean the glass without damage.
Conclusion
Removing tinted glass from car windows takes patience and care. Use the right tools and follow each step slowly. Avoid rushing to prevent damage to your windows. Clean the glass well after removing the tint. This keeps your car looking neat and clear.
Doing it yourself saves money and gives you control. Now, you can enjoy clear windows and better visibility. Simple steps make the job easier and safer. Try it carefully, and your car will look great again.


