
Looking to add extra space for your gear on your car? Installing a roof rack is one of the best ways to carry bikes, luggage, or camping equipment without crowding your interior.
But if you’re unsure where to start, don’t worry—you can do it yourself with the right steps. In this guide, you’ll learn exactly how to install a car roof rack quickly and safely. By the end, you’ll be ready to hit the road with confidence and carry everything you need.
Keep reading to unlock the simple process that makes your car more versatile instantly.
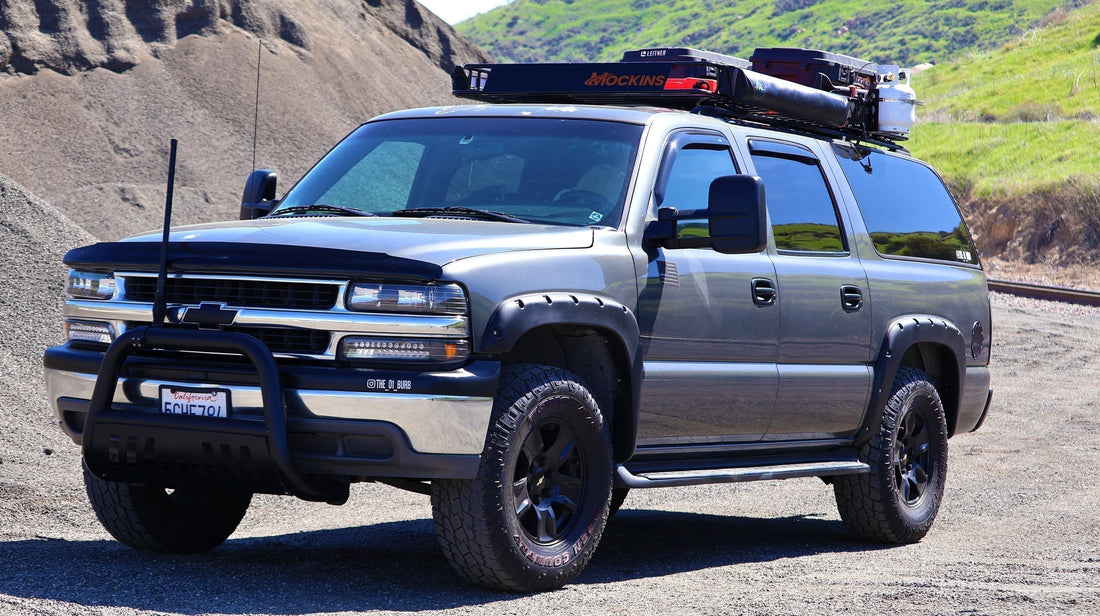
Credit: mockins.com
Choosing The Right Roof Rack
Installing a car roof rack helps carry extra gear on trips. Picking the right roof rack is important for safety and fit.
This guide explains how to choose the best roof rack for your vehicle and needs.
Types Of Roof Racks
Roof racks come in different styles. Each type fits different uses and cars.
- Raised Rail Racks: Fit cars with raised side rails.
- Flush Rail Racks: Attach to low-profile rails.
- Fixed Point Racks: Use built-in mounting points on the car roof.
- Bare Roof Racks: Clamp directly to the roof without rails or mounts.
Choose a type that matches your car’s roof style for easy installation.
Compatibility With Your Vehicle
Not all roof racks fit every car. Check your vehicle’s roof design before buying.
- Look for roof rails or fixed points on your car.
- Measure roof width and length for the rack size.
- Check your car’s manual for roof rack instructions.
- Make sure the rack fits your car make and model.
Using a compatible rack avoids damage and keeps your load secure.
Weight Limits And Capacity
Each roof rack has a weight limit. This limit keeps your car safe while driving.
| Roof Rack Part | Typical Weight Limit |
|---|---|
| Crossbars | 75-220 lbs (34-100 kg) |
| Roof Rails | 100-165 lbs (45-75 kg) |
| Load Capacity | Check vehicle and rack manuals |
Do not exceed weight limits. Overloading can cause accidents or damage.

Credit: www.youtube.com
Gathering Necessary Tools
Installing a car roof rack needs the right tools. Gathering them before you start makes the job easier.
Using correct tools helps avoid damage to your car or the roof rack parts.
Common Tools Needed
You will need some basic tools to install the roof rack properly. These tools help secure the rack tightly.
- Socket wrench set for tightening bolts
- Screwdrivers, both flathead and Phillips
- Measuring tape to align the rack
- Rubber mallet to gently tap parts into place
- Allen keys for hex screws
Safety Equipment
Safety equipment protects you during the installation. Always use them to avoid injuries.
- Protective gloves to guard your hands
- Safety glasses to protect your eyes
- Non-slip shoes to prevent falls
- Work clothes that cover your skin
Preparing Your Vehicle
Before installing a car roof rack, it is important to prepare your vehicle. Proper preparation helps ensure a safe and secure fit.
Focus on cleaning the roof and checking the roof rails or mount points. These steps make installation easier and more effective.
Cleaning The Roof Area
Start by cleaning the roof area where the rack will be placed. Dirt and debris can cause scratches or damage.
Use a soft cloth and mild soap with water to wipe down the surface. Dry the area completely before installation.
- Remove leaves, dust, and dirt
- Check for any sticky residue
- Dry the roof to prevent slipping
Checking Roof Rails Or Mount Points
Inspect your roof rails or mounting points closely. Make sure they are clean and free of damage.
Look for rust, loose screws, or cracks. Tighten any loose parts before fitting the roof rack.
- Ensure rails are firmly attached
- Check mount points for wear
- Replace damaged parts if needed
Installing The Roof Rack
Installing a car roof rack helps you carry extra gear safely. Follow simple steps to fix the rack on your vehicle.
Proper installation ensures the rack stays secure during travel. Take your time to place and tighten everything correctly.
Positioning The Rack
Place the roof rack on your car roof where it fits best. Check your car’s manual for recommended rack positions.
Make sure the rack is centered and balanced. This helps keep your load stable while driving.
- Align the rack with the roof rails or mounting points
- Keep equal distance from the front and back of the car
- Ensure the rack does not block windows or doors
Securing The Mounts
Attach the roof rack mounts to the roof rails or fixed points on your car. Use the parts that came with your rack.
Check that the mounts fit tightly around the rails or brackets. Loose mounts can cause noise or damage while driving.
- Place mounts on the rails or factory mounting points
- Adjust mounts to fit snugly without gaps
- Use protective pads if provided to avoid scratches
Tightening The Fasteners
Use the correct tools to tighten all bolts and screws on the rack. Make sure each fastener is secure but do not overtighten.
Check all fasteners after installation to keep the rack safe during travel. Tighten again if needed before each trip.
- Use a wrench or screwdriver as needed
- Tighten bolts evenly on both sides
- Do not force fasteners to avoid damage
- Double-check all fasteners before use
Checking Stability And Security
After installing your car roof rack, it is important to check its stability and security. This ensures your rack stays safe on the road and protects your gear.
Checking stability helps you avoid accidents caused by loose racks. Secure racks hold tight during driving, even on bumpy roads.
Testing For Movement
Gently shake the roof rack from different sides to test for any movement. Small shifts mean the rack is not tight enough.
Check the base where the rack meets the car roof. If it moves or feels loose, it needs adjustment before driving.
- Push the rack forward and backward
- Pull the rack side to side
- Lift the rack slightly to check for gaps
Adjusting As Needed
If you find any movement, tighten the clamps or bolts on the rack. Use the tools that came with your rack or a wrench.
After tightening, repeat the movement test. Keep adjusting until the rack feels firm and does not move at all.
- Use a torque wrench for even tightening
- Do not overtighten to avoid damage
- Check all attachment points carefully
- Recheck stability after driving a short distance

Credit: www.youtube.com
Maintaining Your Roof Rack
A roof rack is a great addition to any car. It helps you carry extra luggage or gear. To keep it in good shape, regular maintenance is key.
Proper care ensures your roof rack lasts longer and stays safe. Here’s how you can maintain it effectively.
Regular Inspections
Check your roof rack often to make sure it is secure. Look for any loose bolts or parts.
Inspect the rack for rust or damage. Fix any issues right away to avoid bigger problems.
- Tighten loose bolts
- Check for rust
- Look for damaged parts
Cleaning And Care Tips
Keep your roof rack clean to prevent rust. Wash it with mild soap and water.
Use a soft cloth to wipe it dry. Do this after long trips or exposure to salt and dirt.
- Wash with mild soap
- Rinse thoroughly
- Dry with a soft cloth
Common Installation Mistakes
Installing a car roof rack can seem easy, but mistakes happen. These errors can impact safety and performance. Learn how to avoid common installation mistakes.
Overtightening Bolts
Bolts need to be tight, but not too tight. Overtightening can damage the rack or your car. It might also make removal hard.
Check your manual for the right torque settings. Use a torque wrench if possible. It helps apply the correct pressure.
Ignoring Weight Limits
Every car and rack has a weight limit. Exceeding it can damage your car or cause accidents. Always know how much weight your roof can handle.
- Check the car manual for weight limits
- Consider the weight of the rack itself
- Distribute weight evenly across the rack
Improper Rack Positioning
A rack must be positioned correctly for safety. Incorrect placement can cause noise or drag while driving. It may also become loose.
Align the rack with your car’s roof rails. Ensure it sits flat and does not tilt. Double-check all connections before driving.
Frequently Asked Questions
How Do I Choose The Right Roof Rack For My Car?
Selecting the right roof rack depends on your car model and intended use. Check weight limits and compatibility. Choose between crossbars, towers, or a custom fit. Review product specifications and user reviews for best results.
Can I Install A Car Roof Rack Myself?
Yes, most roof racks come with clear instructions for DIY installation. Basic tools like a wrench or screwdriver are usually needed. Ensure proper alignment and secure mounting to avoid damage or accidents.
How Much Weight Can A Car Roof Rack Hold?
Weight limits vary by rack and vehicle model. Typically, racks support between 75 to 165 pounds. Always check the manufacturer’s guidelines and your car’s roof load capacity to avoid safety issues.
Do Roof Racks Affect Fuel Efficiency?
Yes, roof racks can slightly reduce fuel efficiency. They increase wind resistance and drag, causing more fuel consumption. Removing the rack when not in use helps maintain better mileage.
Conclusion
Installing a car roof rack can make travel easier and more fun. Follow the steps carefully to ensure a safe fit. Check all parts before starting to avoid mistakes. Tighten bolts securely to keep the rack stable. Test the rack by gently shaking it once installed.
Remember, a properly installed rack carries your gear safely. Take your time and enjoy the extra space for your trips. Simple tools and clear instructions help anyone do it right. Ready to hit the road with your new roof rack?


