
If you’ve noticed your brakes feeling soft or unresponsive, it might be time to bleed your brakes. But don’t worry—bleeding brakes at home is easier than you think.
You don’t need expensive tools or a mechanic’s help to get your brake system working perfectly again. In this guide, you’ll learn simple, step-by-step instructions to safely bleed your brakes and restore that firm, reliable pedal you want. Keep reading, and by the end, you’ll have the confidence to handle this important car maintenance task all by yourself.
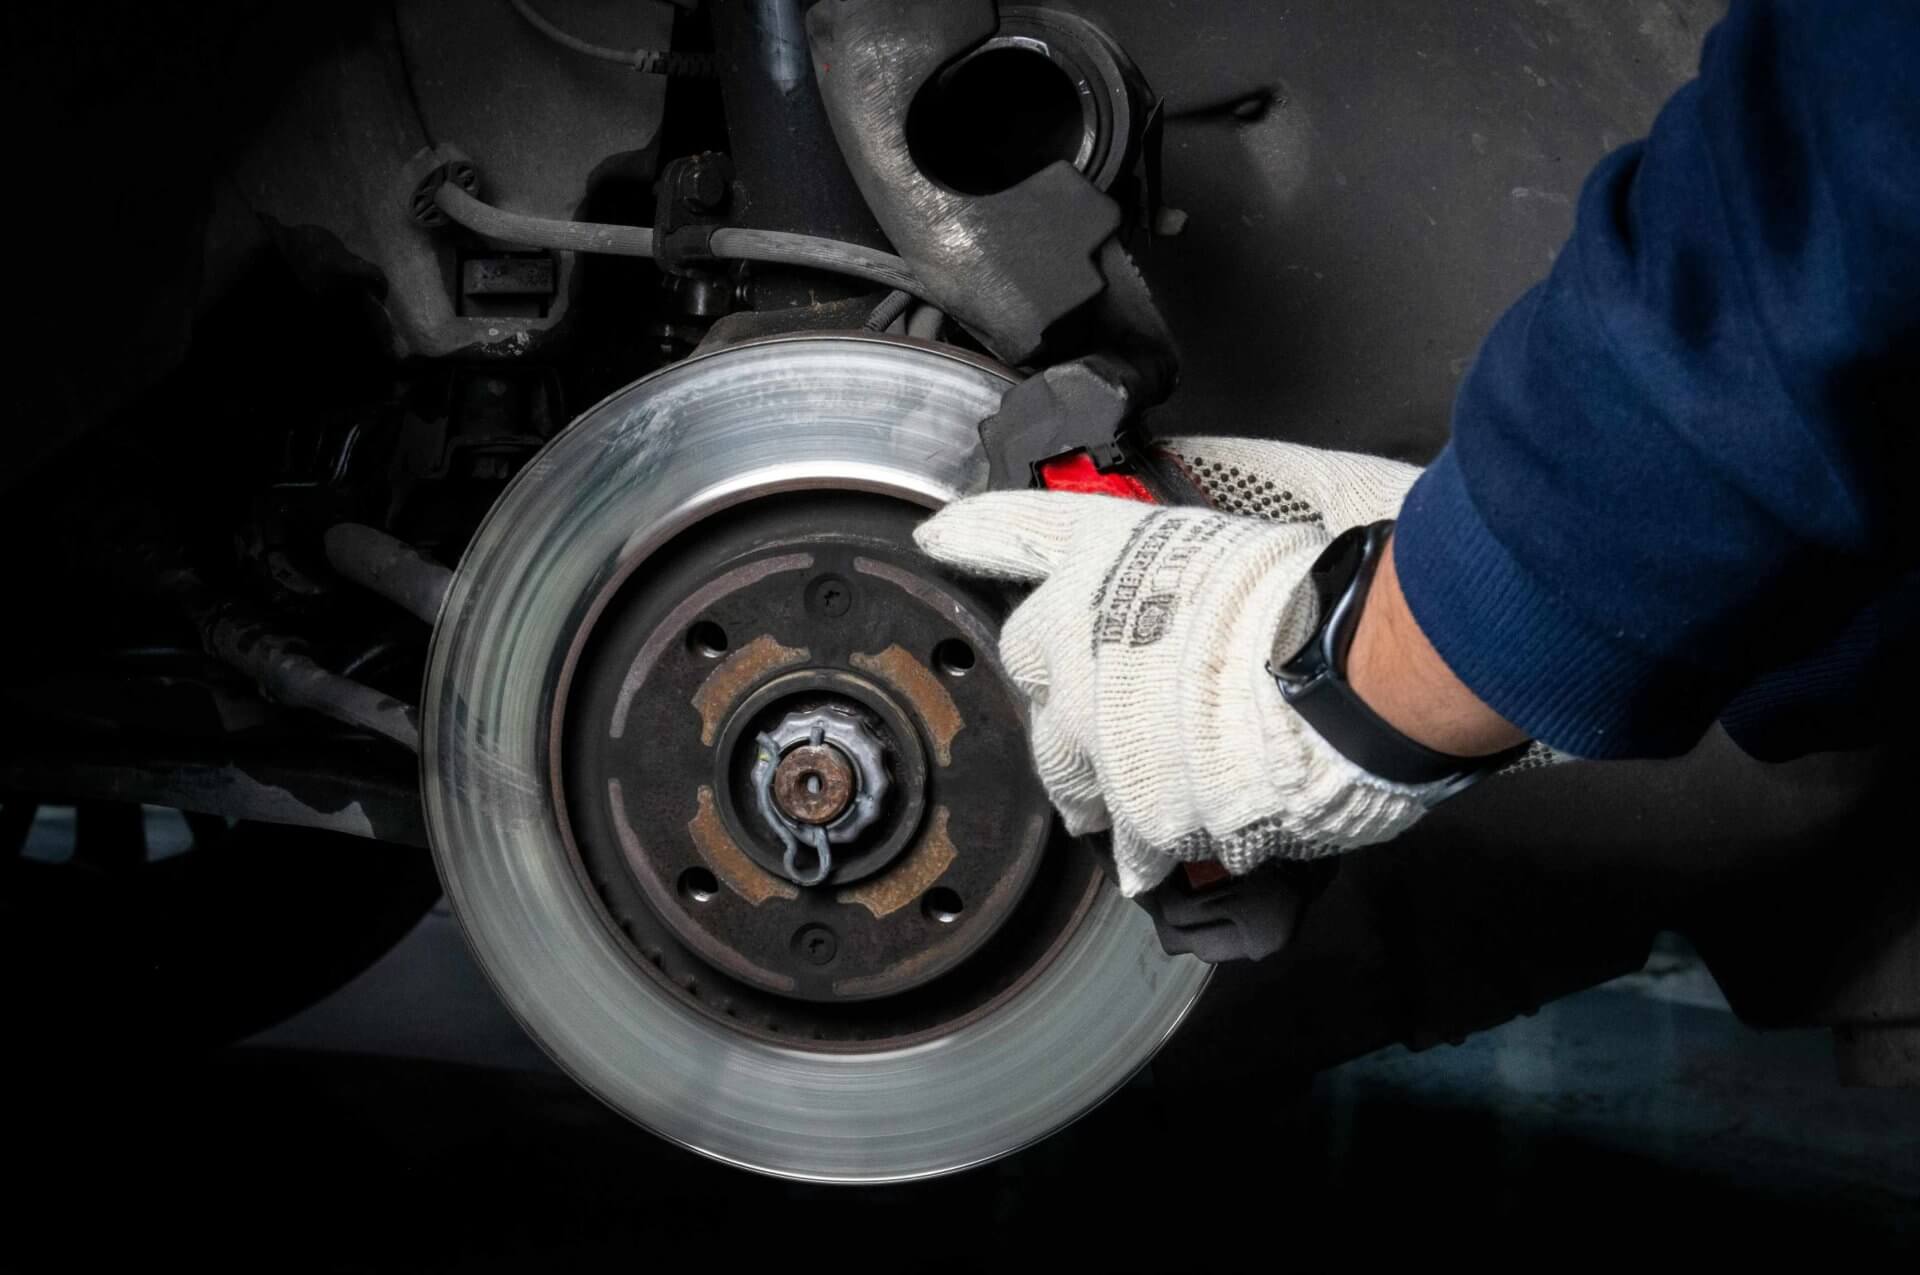
Credit: www.clickmechanic.com
Tools And Materials Needed
Bleeding brakes at home requires the right tools and materials. Using proper items makes the job easier and safer.
Before starting, gather everything you need. This guide covers brake fluid types and essential tools to have on hand.
Brake Fluid Types
Choose the correct brake fluid for your vehicle. Different fluids have different properties and boiling points.
| Type | Color | Use |
| DOT 3 | Clear to Amber | Common in older cars |
| DOT 4 | Clear to Yellow | Used in many modern vehicles |
| DOT 5 | Purple | Silicone-based, not for ABS |
| DOT 5.1 | Clear | High-performance, for ABS systems |
Essential Tools List
Having the right tools helps you bleed brakes correctly and safely. Keep these tools ready before you begin.
- Brake fluid compatible with your car
- Wrench set for brake bleeder screws
- Clear tubing to attach to bleeder valves
- Catch container for old brake fluid
- Brake bleeder kit or vacuum pump (optional)
- Clean rags or paper towels
- Gloves and safety glasses
- Car jack and stands for wheel access

Credit: www.capitalgmcbuick.ca
Preparing Your Vehicle
Bleeding brakes at home helps keep your car safe. Before starting, you must prepare your vehicle properly.
Good preparation makes the job easier and prevents damage. Follow these steps to get your vehicle ready.
Safety Precautions
Safety is very important when bleeding brakes. Brake fluid is harmful and slippery. Wear gloves and eye protection.
Keep the car on a flat surface. Use wheel chocks to stop the car from moving. Never work under a car without support.
- Wear gloves and safety glasses
- Work on a flat, stable surface
- Use wheel chocks to block tires
- Use jack stands if you lift the car
- Keep brake fluid away from paint and skin
Locating The Bleeder Valves
Bleeder valves release air from the brake lines. You need to find them before starting the job.
They are usually near each wheel’s brake caliper or wheel cylinder. Look for small screws with a rubber cap.
- Front brakes: near the brake calipers
- Rear brakes: near the wheel cylinders or calipers
- Check for rubber dust caps covering the valves
- Use a flashlight if needed to see clearly
Bleeding Methods
Bleeding brakes removes air bubbles from brake lines. This helps brakes work well and stay safe.
You can bleed brakes at home using different ways. Each way has easy steps to follow.
Manual Bleeding Process
Manual bleeding uses a helper and simple tools. You need a wrench and clear tubing.
First, fill the brake fluid reservoir. Then, have your helper press the brake pedal slowly while you open the bleeder valve. Air and fluid will flow out.
- Attach clear tube to bleeder valve
- Place tube end in container with brake fluid
- Helper presses brake pedal slowly
- You open bleeder valve to release air and fluid
- Close valve before pedal returns
- Repeat until no air bubbles appear
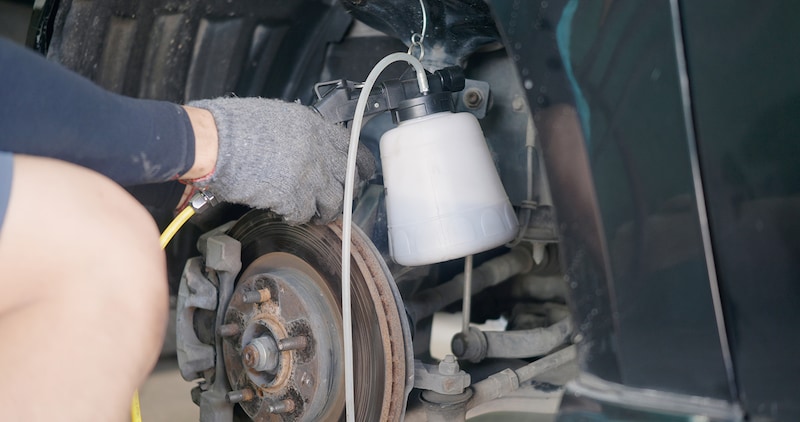
Using A Pressure Bleeder
A pressure bleeder uses air pressure to push fluid through brakes. It helps you do the job alone.
Fill the pressure bleeder with brake fluid and attach it to the reservoir. Pressurize the system and open the bleeder valves. Air and fluid push out without pressing pedals.
- Fill pressure bleeder with fluid
- Attach it to brake fluid reservoir
- Pressurize the bleeder
- Open brake bleeder valves one by one
- Close valves when fluid runs clear
- Release pressure from bleeder after finishing
Vacuum Bleeding Technique
Vacuum bleeding uses a vacuum pump to pull fluid and air out. It is clean and fast.
Attach a vacuum pump to the bleeder valve. Turn on the pump and open the valve. The pump draws brake fluid and air out until clean fluid flows.
- Connect vacuum pump to bleeder valve
- Turn on vacuum pump
- Open bleeder valve slowly
- Let pump pull fluid and air out
- Close valve when fluid is clear
- Turn off pump and remove hose
Step-by-step Bleeding Procedure
Bleeding brakes is important to keep your car safe. Old air or fluid can reduce brake power. You can do this job at home with simple tools.
Follow these steps carefully to remove old fluid and air from the brake system. Make sure you have fresh brake fluid ready before starting.
Removing Old Brake Fluid
Start by opening the brake fluid reservoir. Use a turkey baster or syringe to remove old fluid. Dispose of the old fluid properly. Clean the reservoir to avoid dirt.
- Remove the reservoir cap carefully.
- Use a turkey baster to suck out old fluid.
- Dispose of fluid in a safe container.
- Clean the reservoir with a lint-free cloth.
- Refill with fresh brake fluid up to the maximum line.
Pumping The Brake Pedal
Press the brake pedal several times to push old fluid out. This helps move air bubbles towards the bleeder valve. Keep the pedal pressed down when opening the valve.
- Sit in the driver seat and press the brake pedal down slowly.
- Hold the pedal down while a helper opens the bleeder valve.
- Close the valve before the pedal is released.
- Repeat until no more fluid comes out.
Checking For Air Bubbles
Look closely at the fluid coming out of the bleeder valve. Air bubbles mean you need to keep bleeding. Clear fluid without bubbles shows the brake lines are air-free.
Refilling Brake Fluid Reservoir
Keep the brake fluid reservoir full during bleeding. Low fluid levels let air enter the system. Check the fluid level often and add fresh fluid as needed.
- Check fluid level after each bleed cycle.
- Add fresh brake fluid to the maximum mark.
- Do not let the reservoir run dry.
- Replace the reservoir cap tightly when done.
Post-bleeding Checks
After bleeding your brakes, it is important to perform several checks. These ensure your brakes are safe and functioning well.
Thorough post-bleeding checks help maintain your vehicle’s braking efficiency. Let’s explore what you should do.
Testing Brake Pedal Firmness
Press the brake pedal firmly. It should feel solid and not spongy. A spongy pedal indicates air in the brake lines.
If the pedal is firm, your brakes are likely bled correctly. Test again if unsure.
Inspecting For Leaks
Check around each brake caliper for fluid leaks. Leaks can cause brake failure. Use a flashlight for better visibility.
If you find any wet areas, tighten connections. Re-bleed if necessary.
Road Test Tips
Before driving, test brakes in a safe, quiet area. Start slow and gradually increase speed.
Listen for unusual noises. Check if the car stops smoothly. If issues arise, recheck your work.
- Test brakes at low speed first
- Ensure vehicle stops without pulling to one side
- Listen for squealing or grinding sounds
Credit: www.chase.com
Common Problems And Fixes
Bleeding brakes at home can solve many common issues with your vehicle’s braking system. This process removes trapped air and old brake fluid to ensure proper brake function.
Below are some common problems you might face during brake bleeding and how to fix them safely and effectively.
Persistent Air In Lines
Air trapped inside brake lines causes poor brake performance. It makes the brake pedal feel soft or spongy. To fix this, make sure to bleed each brake caliper thoroughly.
- Start bleeding from the brake farthest from the master cylinder.
- Keep the brake fluid reservoir full to avoid new air entering.
- Use a clear hose to watch for air bubbles exiting the brake line.
- Repeat bleeding until no air bubbles appear in the fluid.
Brake Pedal Sponginess
A spongy brake pedal often means air is still inside the system or brake fluid is low. Check the fluid level and top it up if needed. If the problem remains, bleed the brakes again.
| Cause | Fix |
|---|---|
| Low brake fluid | Refill reservoir with correct brake fluid type |
| Air in brake lines | Bleed brakes until pedal feels firm |
| Leaking brake components | Inspect and replace damaged parts |
Uneven Braking
Uneven braking means your vehicle pulls to one side during stopping. This can be caused by stuck calipers or uneven brake pad wear.
- Check each brake caliper for proper movement.
- Inspect brake pads for uneven wear and replace if needed.
- Ensure brake fluid is flowing equally to all brakes.
- Clean and lubricate caliper slide pins.
Frequently Asked Questions
How Often Should You Bleed Brakes At Home?
Brake fluid absorbs moisture over time, reducing brake efficiency. Bleed brakes every 1-2 years or when you feel spongy brakes. Regular bleeding ensures safety and optimal brake performance.
What Tools Do I Need To Bleed Brakes Myself?
You’ll need a brake bleeder kit, wrench, clear tubing, brake fluid, and a helper. These tools help remove air bubbles and refill brake fluid efficiently.
Can I Bleed Brakes Without A Helper?
Yes, using a one-person brake bleeder kit or vacuum pump allows solo bleeding. These tools simplify the process by controlling fluid flow and air removal.
How Long Does It Take To Bleed Brakes At Home?
Bleeding all four brakes usually takes 30-45 minutes with proper tools. Time depends on experience and vehicle type but remains a straightforward task.
Conclusion
Bleeding brakes at home is simple with the right steps. Take your time and follow each part carefully. Clean brake fluid and no air means safer stops. Regular brake checks keep your car running well. You save money by doing it yourself.
Safety matters most—always use proper tools and work in a safe place. Practice makes perfect, so don’t rush. Soon, you’ll feel confident handling brake maintenance alone. Give it a try and keep your car in good shape.


