
Want your car to shine like new without spending hours or breaking the bank? You’re in the right place.
Waxing your car might sound tricky, but with the right tips, you can easily give your ride a smooth, glossy finish that turns heads. Imagine driving around with a car that looks freshly detailed every day—feels great, right? Stick with me, and you’ll discover simple, effective waxing tips that anyone can follow.
Ready to make your car look its best? Let’s dive in!

Credit: www.youtube.com
Choosing The Right Wax
Car waxing protects your car’s paint and makes it shine. Picking the right wax helps keep your car looking new.
There are many wax types. Each has different uses and results. Knowing them helps you choose the best one.
Types Of Car Wax
Car wax comes in several forms. The most common are paste, liquid, and spray waxes. Each type works differently.
- Paste waxlasts long but needs more effort to apply.
- Liquid waxis easier to spread and dries faster.
- Spray waxis quick to use but may not last as long.
Synthetic Vs. Natural Waxes
Synthetic waxes are made in labs. They protect paint longer and resist water well.
Natural waxes use carnauba from palm leaves. They give a deep shine but need more frequent applying.
- Synthetic wax:Longer protection, easier to maintain.
- Natural wax:Rich shine, needs regular use.
Best Wax For Beginners
Beginners should pick waxes that are easy to apply and remove. Liquid or spray waxes work well.
Look for waxes that dry slowly. This gives more time to work on the car’s surface.
- Liquid wax: Simple to use and spreads evenly.
- Spray wax: Fast application, good for quick shine.
- Avoid paste wax at first. It needs more skill and effort.
Credit: www.fresh-layer.com
Preparing Your Car
Getting your car ready before waxing is very important. Proper preparation helps the wax stick well and last longer.
Cleaning and checking your car’s surface ensures the best results. Follow these tips to prepare your car correctly.
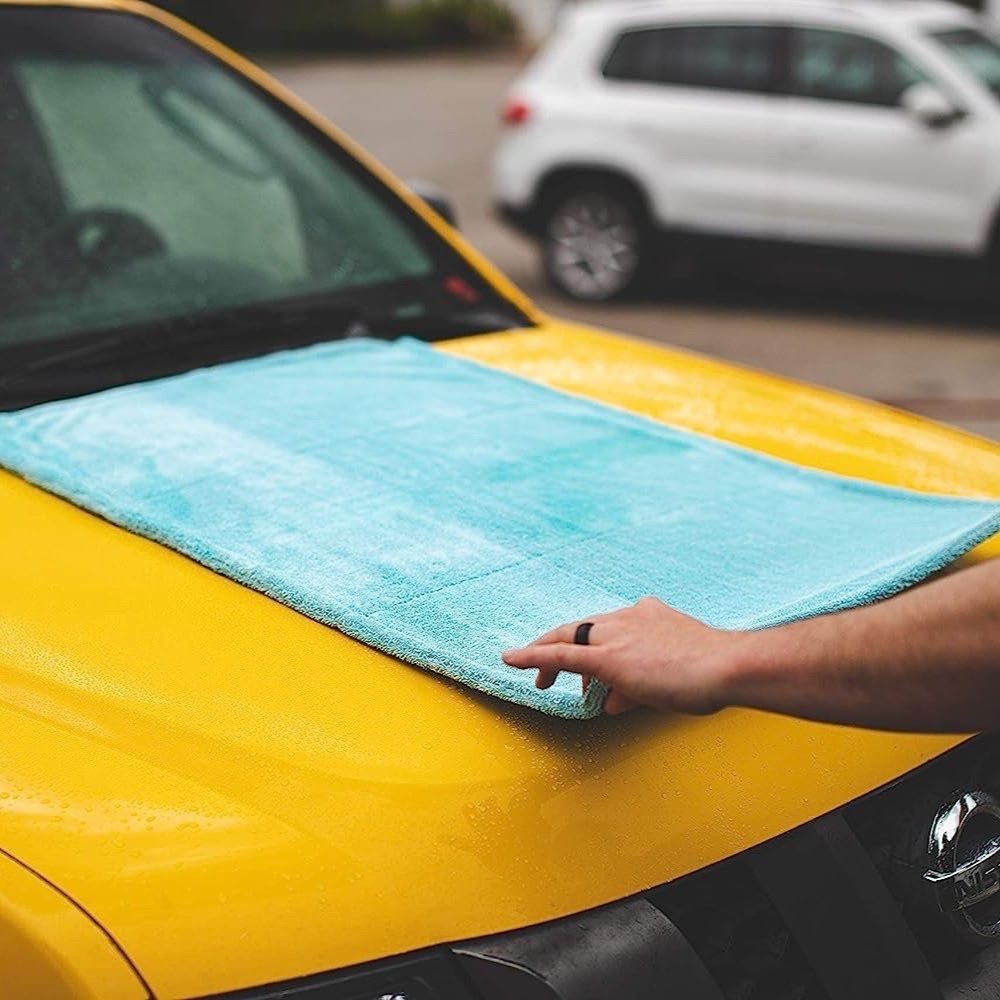
Washing And Drying
Wash your car with soap made for cars. This removes dirt and grime that can scratch the paint during waxing.
Use a soft cloth or sponge to clean gently. Rinse well with water to remove all soap.
- Use cool water to avoid soap drying too fast
- Wash in the shade to prevent water spots
- Dry with a clean microfiber towel for best results
Removing Old Wax
Old wax can block new wax from bonding to your car’s surface. Remove it before applying fresh wax.
Use a wax remover or a clay bar to clean off old wax and contaminants. This helps the new wax last longer.
- Apply wax remover with a clean cloth
- Rub gently in small sections
- Wipe off residue before waxing
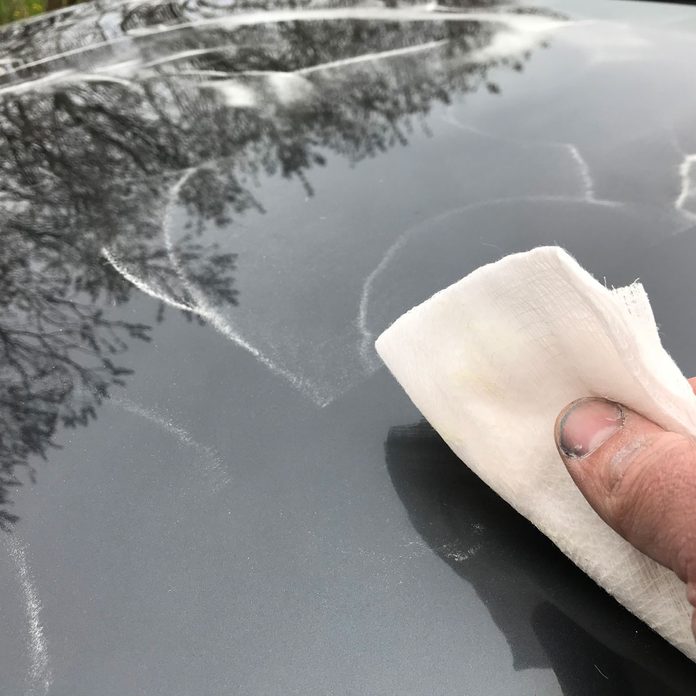
Surface Inspection
Look closely at your car’s paint for scratches, chips, or dirt spots. Fixing these helps your wax job look better.
Use good lighting and feel the surface with your hand. Smooth and clean surfaces hold wax well.
- Check for bird droppings and tar spots
- Note any rough patches or damage
- Consider polishing if needed before waxing
Wax Application Techniques
Applying wax to your car protects the paint and keeps it shiny. Using the right techniques makes waxing easier and more effective.
Good wax application helps your car look smooth and keeps it safe from dirt and water.
Tools You Need
Having the right tools makes waxing faster and neater. You need items that help spread and buff the wax well.
- Soft foam applicator pads for smooth wax spreading
- Microfiber cloths for buffing and wiping off wax
- Car wash soap and water for cleaning before waxing
- Bucket and hose for rinsing your car
- Optional: Clay bar to remove surface dirt before waxing
Applying Wax Evenly
Apply wax in small sections to avoid missing spots. Spread wax with light, circular motions for an even coat.
Work on one panel at a time. This helps the wax dry properly and makes buffing easier.
- Use a foam applicator pad to pick up a small amount of wax
- Apply wax in thin, even layers over the surface
- Move in small circles to cover the area fully
- Let the wax haze before buffing it off
- Buff with a clean microfiber cloth until shiny
Avoiding Common Mistakes
Many beginners make simple errors that reduce waxing results. Avoid these to get a better shine and protection.
- Don’t apply wax to a dirty or wet car
- Avoid using too much wax at once
- Do not wax in direct sunlight or on hot surfaces
- Don’t rush the drying time before buffing
- Use clean cloths to prevent scratches
Buffing For Maximum Shine
Buffing your car after waxing is key to getting a shiny finish. It removes excess wax and smooths the surface.
Doing it right protects your paint and brings out a deep shine. Let’s look at how to buff well.
Choosing The Right Cloth
Use a soft cloth to buff your car. Microfiber cloths work best because they do not scratch.
A clean cloth helps avoid dirt rubbing on the paint, which can cause damage.
- Pick a thick microfiber cloth with a smooth texture
- Avoid rough or old rags that can scratch
- Use a different cloth for each section of the car
Buffing Tips And Tricks
Buff your car in small sections to get the best shine. Move the cloth in gentle circles.
Apply light pressure. Too much force can remove the wax or hurt the paint.
- Buff in a shaded area to avoid quick drying
- Turn or fold the cloth often to keep it clean
- Use circular motions for even shine
When To Stop Buffing
Stop buffing when the wax looks clear and smooth. The shine should be even with no streaks.
If the cloth starts to drag or the surface feels sticky, you have buffed enough.
- Check the surface by touch and sight
- Do not over-buff or wax can wear off
- Finish with a clean cloth for a final polish
Maintaining Your Car’s Shine
Keeping your car shiny makes it look new and clean. Waxing protects the paint and keeps the shine strong. Learning simple waxing tips helps beginners maintain their car’s beauty easily.
This guide covers how often to wax, quick touch-up methods, and protecting wax from the elements. Follow these tips to keep your car bright and safe from damage.
How Often To Wax
Wax your car regularly to keep the shine fresh. The right timing depends on your car’s use and weather conditions. Too much waxing can harm the paint, while too little leaves it unprotected.
- Wax every three months for normal use.
- Wax every six weeks if you park outside a lot.
- Wax after washing to protect the surface.
- Check your car’s finish for dull spots.
Quick Touch-up Methods
Quick touch-ups keep your car shiny between full waxing. Use these easy methods to fix small dull areas fast. They save time and keep your car looking great.
- Use spray wax for fast shine boosts.
- Apply a microfiber cloth to spread wax evenly.
- Focus on areas exposed to sun and dirt.
- Touch up after rain or car washes.
Protecting Wax From Elements
Wax can wear off from sun, rain, and dust. Protect your wax with simple steps to keep your car shining longer. Proper care prevents damage and saves effort.
| Element | Protection Tip |
| Sun | Park in shade or use a car cover. |
| Rain | Dry your car quickly after rain. |
| Dust | Wash your car regularly to remove dirt. |
| Bird Droppings | Clean immediately to avoid paint damage. |
Credit: www.familyhandyman.com
Troubleshooting Waxing Issues
Car waxing can make your vehicle shine and protect it. But, beginners often face issues during the process. These problems can include streaks, uneven coverage, and leftover residue.
Understanding how to fix these issues ensures a smooth waxing experience. Let’s explore some common problems and their solutions.
Removing Streaks And Smudges
Streaks and smudges can occur if wax is not applied evenly. They often happen when too much wax is used or if the car surface is not clean.
To remove streaks, buff the area with a clean microfiber cloth. Ensure the cloth is dry and apply gentle pressure for best results.
- Use less wax for each section
- Work in shaded areas to avoid drying too fast
- Clean car thoroughly before waxing
Fixing Uneven Coverage
Uneven coverage can make some parts of your car look dull. It usually happens when wax is not spread properly.
To fix this, apply a thin layer of wax using circular motions. Make sure each section overlaps slightly with the next.
- Work in small sections
- Use a foam applicator for even distribution
- Check your work under good lighting
Dealing With Wax Residue
Wax residue can leave your car looking messy. It often appears in cracks and edges where wax collects.
Use a soft brush or an old toothbrush to gently remove excess wax. Pay attention to areas like door handles and trim.
- Inspect tight spaces for residue
- Use detailing spray to help clean leftover wax
- Regularly change your cloth to keep it effective
Frequently Asked Questions
What Is The Best Time To Wax My Car?
The best time to wax your car is on a cool, dry day. Avoid direct sunlight and hot surfaces to prevent streaks and uneven application. Early morning or late afternoon works well for optimal results.
How Often Should Beginners Wax Their Car?
Beginners should wax their car every 3 to 4 months. This frequency protects the paint and maintains shine without overdoing it. Regular waxing also helps remove minor dirt and contaminants effectively.
Can I Wax My Car Without Washing It First?
No, always wash your car before waxing. Dirt and debris can cause scratches during waxing. A clean surface ensures better wax adhesion and a smoother, longer-lasting finish.
What Type Of Wax Is Best For Beginners?
Paste and liquid waxes are ideal for beginners. They are easy to apply and remove, providing good protection and shine. Avoid spray waxes as they offer less durability and protection.
Conclusion
Waxing your car protects its paint and keeps it shiny longer. Use gentle, circular motions for the best results. Apply wax in small sections to avoid streaks. Always wax in the shade to prevent quick drying. Regular waxing saves money on repairs and enhances your car’s look.
Enjoy the smooth finish and easy cleaning that follows. Start with simple steps and improve your skills over time. A little effort goes a long way for your car’s care. Keep your vehicle looking fresh and well-maintained every day.


