
Are you ready to upgrade your car’s look and safety with better lighting? Installing new car lights can seem tricky, but it doesn’t have to be.
Whether you want brighter headlights, stylish LED strips, or improved brake lights, this guide will help you do it step-by-step. Imagine driving at night with clearer vision and turning heads with sleek, modern lights. Keep reading, and you’ll learn how to make your car stand out while boosting your confidence on the road.
Let’s get started!

Credit: www.youtube.com
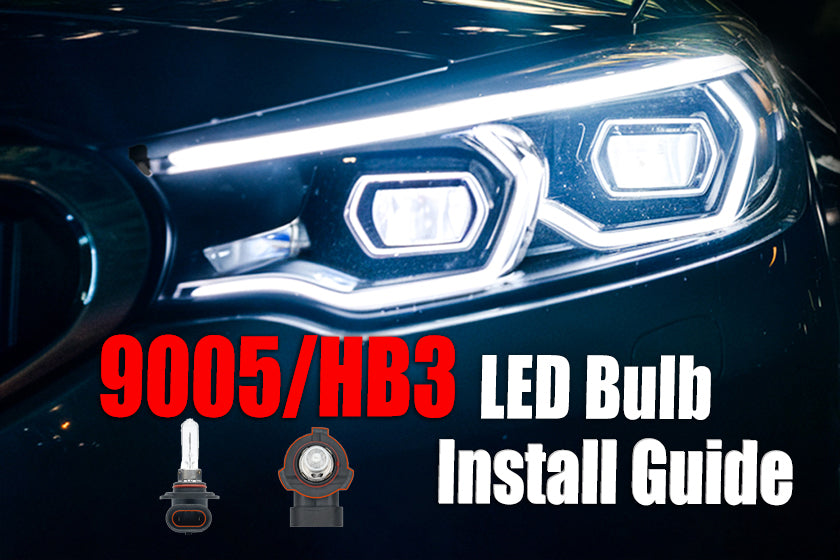
Choosing The Right Car Lights
Car lights are important for safety and visibility. Picking the right lights helps you see better at night and in bad weather.
This guide covers types of car lights, their benefits, and how to check if they fit your vehicle.
Types Of Car Lights
There are many types of car lights. Each type has a special job to keep you safe on the road.
- Headlights: Light the road ahead at night
- Fog Lights: Improve visibility in foggy or rainy conditions
- Brake Lights: Signal to drivers behind you when you slow down
- Turn Signals: Show your intent to turn or change lanes
- Daytime Running Lights: Increase your car’s visibility during the day
Benefits Of Upgrading
Upgrading your car lights can improve your driving experience and safety. New lights often last longer and use less power.
| Benefit | Details |
| Brighter Light | See farther and clearer at night |
| Energy Efficient | Use less battery power |
| Longer Lifespan | Replace bulbs less often |
| Better Style | Improve the look of your car |
Compatibility With Your Vehicle
Not all car lights fit every vehicle. Check your car’s manual or ask a professional before buying new lights.
Here are key points to check for compatibility:
- Bulb size and type
- Voltage and wattage
- Connector style
- Legal regulations in your area
Credit: www.novsights.com
Tools And Materials Needed
Installing car lights requires the right tools and materials. Using proper gear makes the job safer and easier.
This guide covers the essential tools, how to pick quality lights, and necessary safety gear for the job.
Essential Tools
You need specific tools to install car lights correctly. These tools help remove old parts and fit new lights safely.
- Screwdrivers (flathead and Phillips)
- Socket wrench set
- Wire strippers
- Electrical tape
- Multimeter for testing connections
- Panel removal tool
- Gloves to protect your hands
Selecting Quality Lights
Choose lights that fit your car model and meet safety standards. Good lights improve visibility and last longer.
| Light Type | Best Use | Key Feature |
| Halogen | Standard driving | Affordable and easy to replace |
| LED | Energy saving | Bright with low power use |
| HID (Xenon) | High visibility | Strong light output |
Safety Gear
Wear safety gear to protect yourself. This gear reduces the risk of injury during installation.
- Safety glasses to protect your eyes
- Gloves to avoid cuts and electric shock
- Long sleeves to protect your arms
- Work boots for foot protection
Preparing Your Vehicle
Before installing new car lights, prepare your vehicle carefully. Proper preparation helps you work safely and efficiently.
Start by cleaning and accessing the light fixtures, then disconnect the battery, and finally remove the old lights.
Cleaning And Accessing Light Fixtures
Clean the area around the light fixtures to remove dirt and grime. This prevents damage and helps you see all parts clearly.
- Use a soft cloth and mild cleaner to wipe the light covers.
- Open the hood or trunk to reach the back of the lights.
- Remove any screws or clips holding panels near the lights.
- Keep all small parts in a safe place to avoid losing them.
Disconnecting The Battery
Disconnecting the battery stops electrical flow and prevents shocks or shorts. Always disconnect the negative terminal first.
| Battery Terminal | Action |
| Negative (-) | Disconnect first |
| Positive (+) | Disconnect second |
| Reconnecting | Connect positive first, then negative |
Removing Old Lights
Remove the old lights carefully to avoid breaking bulbs or damaging sockets. Follow these simple steps:
- Locate the screws or clips holding the light in place.
- Use the correct screwdriver or tool to remove them.
- Gently pull the light fixture out without forcing it.
- Disconnect the wiring harness by pressing the clip and pulling it apart.
- Set the old light aside safely for disposal or recycling.

Credit: www.youtube.com
Step-by-step Installation Process
Installing car lights can improve your vehicle’s safety and look. Follow the steps carefully to install new lights correctly.
This guide shows how to install new light fixtures, connect wiring safely, and test the lights to ensure they work well.
Installing New Light Fixtures
Start by removing the old light fixture from your car. Use tools like screwdrivers or socket wrenches to loosen screws or bolts.
Place the new light fixture in the same spot. Make sure it fits snugly and aligns with the mounting holes.
- Turn off the car and remove the key
- Remove screws or bolts holding the old light
- Disconnect the old light carefully
- Fit the new fixture into place
- Secure it with screws or bolts
Connecting Wiring Safely
Check the wiring harness and connectors before attaching new wires. Make sure wires are clean and not damaged.
Use electrical tape or wire connectors to join wires. Match wire colors to avoid mistakes and prevent shorts.
- Disconnect the car battery to avoid shocks
- Match wire colors: red to red, black to black
- Strip wire ends about half an inch
- Twist wires together tightly
- Cover connections with electrical tape or connectors
- Secure wires away from moving parts
Testing The Lights
Reconnect the car battery. Turn on the car lights to check if the new lights work properly.
Look for any flickering or dim lights. If the lights do not work, check the wiring connections again.
- Turn the car ignition to “on” position
- Switch on the headlights or signal lights
- Observe the brightness and stability of the lights
- Check all light modes: brake, signal, and headlights
- Fix any loose wires or bad connections
Troubleshooting Common Issues
Installing car lights can sometimes lead to issues. Here, we tackle common problems and solutions.
Read on to find solutions for lights not turning on, flickering or dim lights, and alignment issues.
Lights Not Turning On
Car lights not turning on can be frustrating. Check these common causes:
- Check the bulb installation and ensure it’s secure.
- Inspect the fuse for any signs of damage.
- Test the switch to ensure it’s functioning properly.
Flickering Or Dim Lights
If your car lights flicker or appear dim, consider these potential issues:
First, check if the battery is fully charged. A weak battery can cause dim lights. Next, examine the wiring for any loose connections.
| Issue | Solution |
| Loose Wiring | Tighten connections |
| Weak Battery | Recharge or replace battery |
| Faulty Bulb | Replace bulb |
Alignment And Positioning
Proper alignment is crucial for effective lighting. Misaligned lights can reduce visibility.
Use a flat surface and wall to test alignment. Adjust the lights until the beams are even and centered.
Maintaining Your New Lights
New car lights improve your safety on the road. Keeping them clean and working well is important. Simple care can make your lights last longer.
Check your lights often to avoid problems. This guide helps you keep your lights bright and reliable.
Cleaning Tips
Clean lights help you see better at night. Use soft cloths and mild soap to avoid scratches. Avoid harsh chemicals that can damage the light cover.
- Use a soft cloth or sponge
- Wash with warm water and mild soap
- Rinse well to remove soap
- Dry with a clean, soft towel
- Do not use abrasive cleaners or pads
Regular Checks
Check your lights every few weeks. Look for cracks, dirt, or dimming. Make sure all lights turn on and work well.
| Check Item | What to Look For |
| Headlights | Brightness and cracks |
| Turn Signals | Proper blinking and brightness |
| Brake Lights | Immediate lighting when pressed |
| Fog Lights | Clear lens and function |
When To Replace
Replace lights if they stop working or look damaged. Dull lights reduce your visibility. Replace bulbs or covers as needed for safety.
Signs to replace your car lights:
- Light flickers or goes out
- Lens is cracked or foggy
- Light is dimmer than before
- Water or moisture inside the light
Frequently Asked Questions
What Tools Are Needed For Car Light Installation?
You need screwdrivers, wire strippers, electrical tape, and a voltage tester. These tools ensure a safe and effective installation process.
How Long Does Car Light Installation Usually Take?
Typically, installing car lights takes 30 to 60 minutes. Time varies based on light type and vehicle model.
Can I Install Car Lights Without Professional Help?
Yes, many car lights are DIY-friendly. Follow instructions carefully and ensure proper wiring to avoid damage or safety issues.
What Are Common Mistakes During Car Light Installation?
Common errors include incorrect wiring, poor connections, and ignoring safety precautions. These can cause light failure or electrical problems.
Conclusion
Installing car lights can improve safety and style. Choose the right lights for your needs. Follow instructions carefully to avoid mistakes. Test the lights before driving at night. Proper installation helps your car look great and stay safe. Take your time and enjoy the process.
Bright, clear lights make every trip easier and safer. Simple steps lead to better driving experiences.


