
Have you ever wished you had proof during a tricky moment on the road? Installing a dash cam can be your best move to protect yourself and your vehicle.
It’s not just about capturing accidents; it’s about peace of mind every time you drive. You’ll discover simple steps to install your dash cam quickly and easily. By the end, you’ll feel confident knowing your car is watching out for you.
Ready to take control of your road safety? Let’s get started.
Choosing The Right Dash Cam
Installing a dash cam can protect you on the road. It records your driving and incidents. Picking the right dash cam is important for safety and ease of use.
This guide helps you choose a dash cam that fits your needs and budget. Learn what features to look for and which brands are reliable.
Key Features To Look For
Good dash cams have features that improve video quality and usability. Look for these key features before buying.
- High resolution recording (1080p or higher)
- Wide viewing angle to capture more of the road
- Loop recording to save space by overwriting old footage
- G-sensor to detect sudden impacts and save clips
- Night vision for clear videos in low light
- Easy installation and user-friendly controls
- Wi-Fi or app support for quick video access
Budget Considerations
Dash cams come in many price ranges. Decide your budget before shopping. Spending more can mean better features, but basic models can work well too.
| Price Range | Features Included |
| Under $50 | Basic video, limited features |
| $50 – $100 | Better video, loop recording, some extras |
| $100 – $200 | High resolution, night vision, app support |
| Above $200 | Advanced features, dual cameras, GPS tracking |
Top Brands And Models
Choose dash cams from brands with good reviews and support. Here are some popular models that many drivers trust.
- Brand A: Model X1 – Known for clear video and easy setup
- Brand B: Model Z3 – Offers GPS and parking mode
- Brand C: Model M5 – Affordable with good night vision
- Brand D: Model Pro – High-end with dual cameras and apps
Credit: medium.com
Preparing For Installation
Installing a dash cam requires some preparation to ensure a smooth setup. Planning ahead saves time and avoids mistakes.
This guide covers important steps before installation. Follow each section carefully for the best results.
Gathering Necessary Tools
Collect all tools before starting. Having everything ready makes the process faster and easier.
- Dash cam unit and mounting kit
- MicroSD card for storage
- Car charger or power cable
- Trim removal tool or plastic pry tool
- USB cable or extension cord
- Electrical tape or cable clips
- Cleaning cloth for the windshield
Selecting The Optimal Mounting Location
Choose a spot that records well and stays out of your view. The dash cam should not block the driver’s sight.
| Mount Location | Advantages | Disadvantages |
| Behind rearview mirror | Hidden and central view | May block mirror adjustment |
| Top corner of windshield | Wide angle view | May catch sun glare |
| Dashboard | Easy to reach | Can obstruct air vents |
Checking Vehicle Compatibility
Not all dash cams fit every vehicle. Check your car’s power outlets and windshield shape first.
Key points to check:
- Is your car’s cigarette lighter socket working?
- Does your windshield have tinted or heat-reflective glass?
- Are there any legal restrictions on dash cams in your area?
- Is your car model compatible with the dash cam’s power requirements?
Step-by-step Installation Guide
Installing a dash cam helps record your driving for safety. Follow these simple steps to set it up correctly.
This guide shows how to mount the dash cam, connect power, and hide cables neatly.
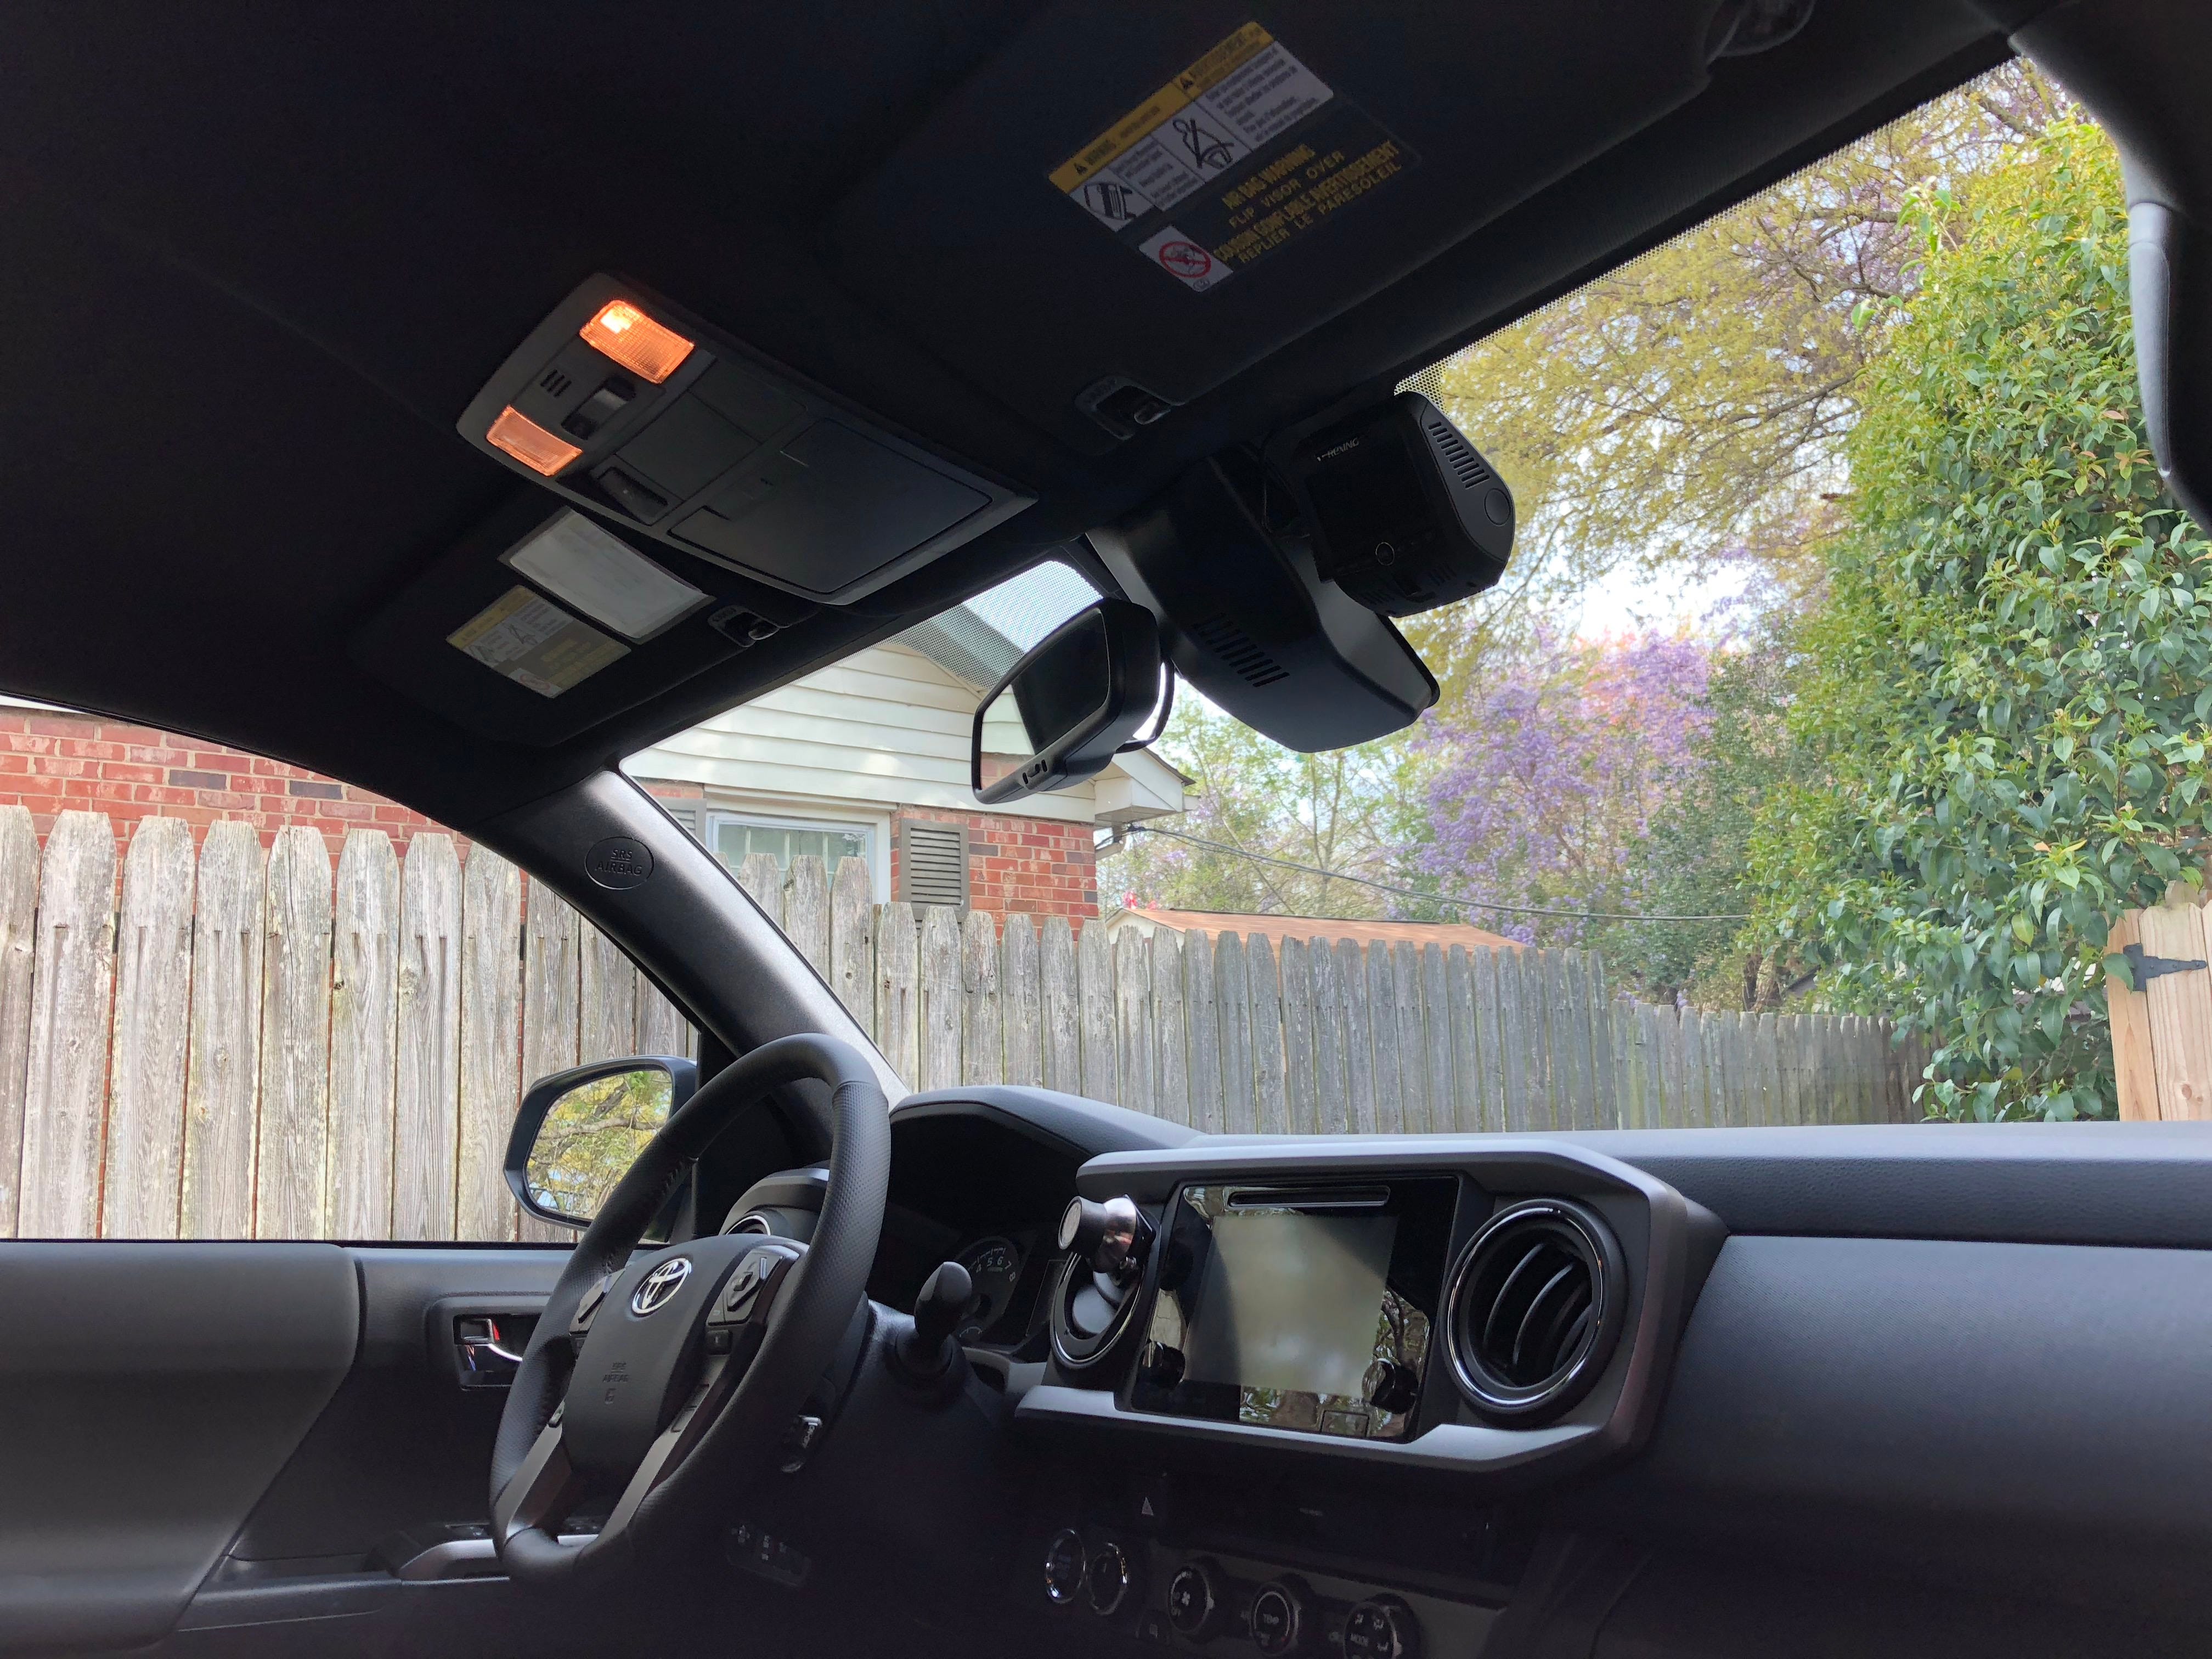
Mounting The Dash Cam
Choose a spot on your windshield with a clear view of the road. Usually, behind the rearview mirror works well.
Clean the glass area well. This helps the mount stick better and keeps the camera stable.
- Wipe the windshield with rubbing alcohol
- Peel off the mount’s adhesive cover
- Press the mount firmly onto the glass
- Adjust the camera angle to cover the road
Connecting Power Sources
Dash cams usually get power from your car’s cigarette lighter or fuse box. Pick the option that suits your car.
Using the cigarette lighter is simple. Plug the power cable into the socket and connect it to the dash cam.
- Locate the cigarette lighter socket
- Plug in the dash cam power cable
- For fuse box power, find a low-power fuse
- Use a fuse tap kit to connect the cable
- Secure any loose wires with clips or tape
Running The Cables Neatly
Hide the cables to avoid distraction and keep your car tidy. Tuck cables along edges and under trims.
Use cable clips or zip ties to secure wires. Make sure cables do not block airbags or controls.
- Start from the dash cam and follow the windshield edge
- Tuck cables into the headliner and down the pillar
- Run cables under the dashboard to the power source
- Use clips or zip ties to hold cables in place
- Check cables do not interfere with pedals or airbags

Credit: www.youtube.com
Securing The Setup
Installing a dash cam requires more than just mounting it on the windshield. It must be secure to work well and last long.
This guide covers important steps to make sure your dash cam stays in place and functions properly.
Testing The Camera Angle
Adjust the camera to cover the road clearly without blocking your view. Check the screen or app to see what the camera records.
- Place the camera in the center of the windshield.
- Point it slightly downward to capture the road ahead.
- Avoid angles that show the car’s interior too much.
- Make small adjustments and test the recording.
Ensuring Stable Power Connection
Power is critical for continuous recording. Use the right cables and connections to avoid interruptions.
| Power Source | Notes |
| Car Charger | Plug into the cigarette lighter socket for easy use. |
| Hardwiring Kit | Connect directly to the fuse box for a clean setup. |
| USB Port | Use if your car has a stable USB power outlet. |
Locking The Device In Place
Keep the dash cam firmly attached to avoid shaking or falling off. Use strong mounts and safety locks.
- Use adhesive mounts designed for dash cams.
- Check the suction cup mount regularly for loss of grip.
- Secure cables to prevent pulling on the camera.
- Consider a locking bracket if your model supports it.
Configuring Settings For Best Performance
After installing your dash cam, setting it up correctly ensures it works well. Proper settings help capture clear videos and save important moments.
Focus on video quality, loop recording, and motion detection. These settings improve your dash cam’s reliability and usefulness.
Adjusting Video Quality
Video quality affects how clear your recordings look. Higher quality means better images but larger files. Lower quality saves space but may lose details.
- Choose 1080p for clear video without large files.
- Use 720p if you need more storage space.
- Set frame rate to 30 FPS for smooth motion.
- Pick a wide-angle view to capture more around your car.
Setting Loop Recording
Loop recording lets the dash cam record continuously by overwriting old files. This keeps storage space free without stopping recording.
| Loop Length | Best Use |
|---|---|
| 1 minute | Quick file replacement, saves space fast |
| 3 minutes | Balanced between file size and detail |
| 5 minutes | Longer clips, easier to review events |
Select the loop length that fits your needs. Short loops save space, longer loops keep more footage per file.
Enabling Motion Detection
Motion detection starts recording only when the camera senses movement. This saves battery and storage.
Benefits of motion detection:
- Saves storage by recording only when needed
- Captures events around the car even when parked
- Helps find important footage faster
Turn on motion detection in your dash cam’s settings menu to use this feature.

Credit: www.reddit.com
Maintenance And Troubleshooting
Keeping your dash cam in good condition is important. Regular maintenance prevents many issues.
In this guide, we cover cleaning, firmware updates, and common problems.
Regular Cleaning Tips
Clean your dash cam regularly to ensure clear recordings. Dust and dirt can affect the lens.
- Use a microfiber cloth to clean the lens gently.
- Avoid using harsh chemicals on the camera.
- Check the mounts and cables for dust buildup.
Firmware Updates
Updating your dash cam’s firmware is crucial. It fixes bugs and adds new features.
Visit the manufacturer’s website for the latest updates. Follow their instructions to install firmware safely.
Common Issues And Fixes
Dash cams sometimes face common issues. Here are some fixes for typical problems.
If your dash cam won’t turn on, check the power connection. Ensure the cable is securely plugged in.
| Issue | Possible Fix |
| No video recording | Check the memory card. Format if necessary. |
| Blurry video | Clean the lens and adjust focus. |
| GPS not working | Ensure clear view of the sky. |
Frequently Asked Questions
How Do I Install A Dash Cam In My Car?
To install a dash cam, clean the windshield first. Attach the mount near the rearview mirror. Connect the power cable to your car’s 12V socket or hardwire it to the fuse box.
Where Is The Best Place To Mount A Dash Cam?
Mount your dash cam behind the rearview mirror. This location offers a clear road view without obstructing your vision. It also keeps the camera discreet and safe from damage.
Can I Hardwire A Dash Cam To My Car Battery?
Yes, you can hardwire a dash cam to your car battery. Use a hardwire kit to connect it to the fuse box. This provides continuous power, enabling parking mode and saving battery life.
How Do I Hide Dash Cam Wires Neatly?
Tuck wires along the windshield edges and under the headliner. Use cable clips or adhesive strips to secure them. This keeps wires out of sight and prevents interference while driving.
Conclusion
Installing a dash cam helps protect you on the road. It records important moments during your drive. You can use the footage in case of accidents. Installation is simple and does not take much time. Make sure to place it where it sees the road clearly.
A good dash cam adds safety and peace of mind. Start using one to feel more secure while driving. It is a smart choice for every car owner.


