
Are your car seats looking worn out or outdated? You don’t have to spend a fortune on new covers or upholstery.
With DIY seat covers for your car, you can give your interior a fresh, personalized look without breaking the bank. Imagine driving with seats that match your style perfectly—comfortable, durable, and unique. Ready to take control of your car’s look and save money?
Keep reading to discover easy steps and tips that will make your DIY seat cover project a success. Your car deserves it, and so do you.

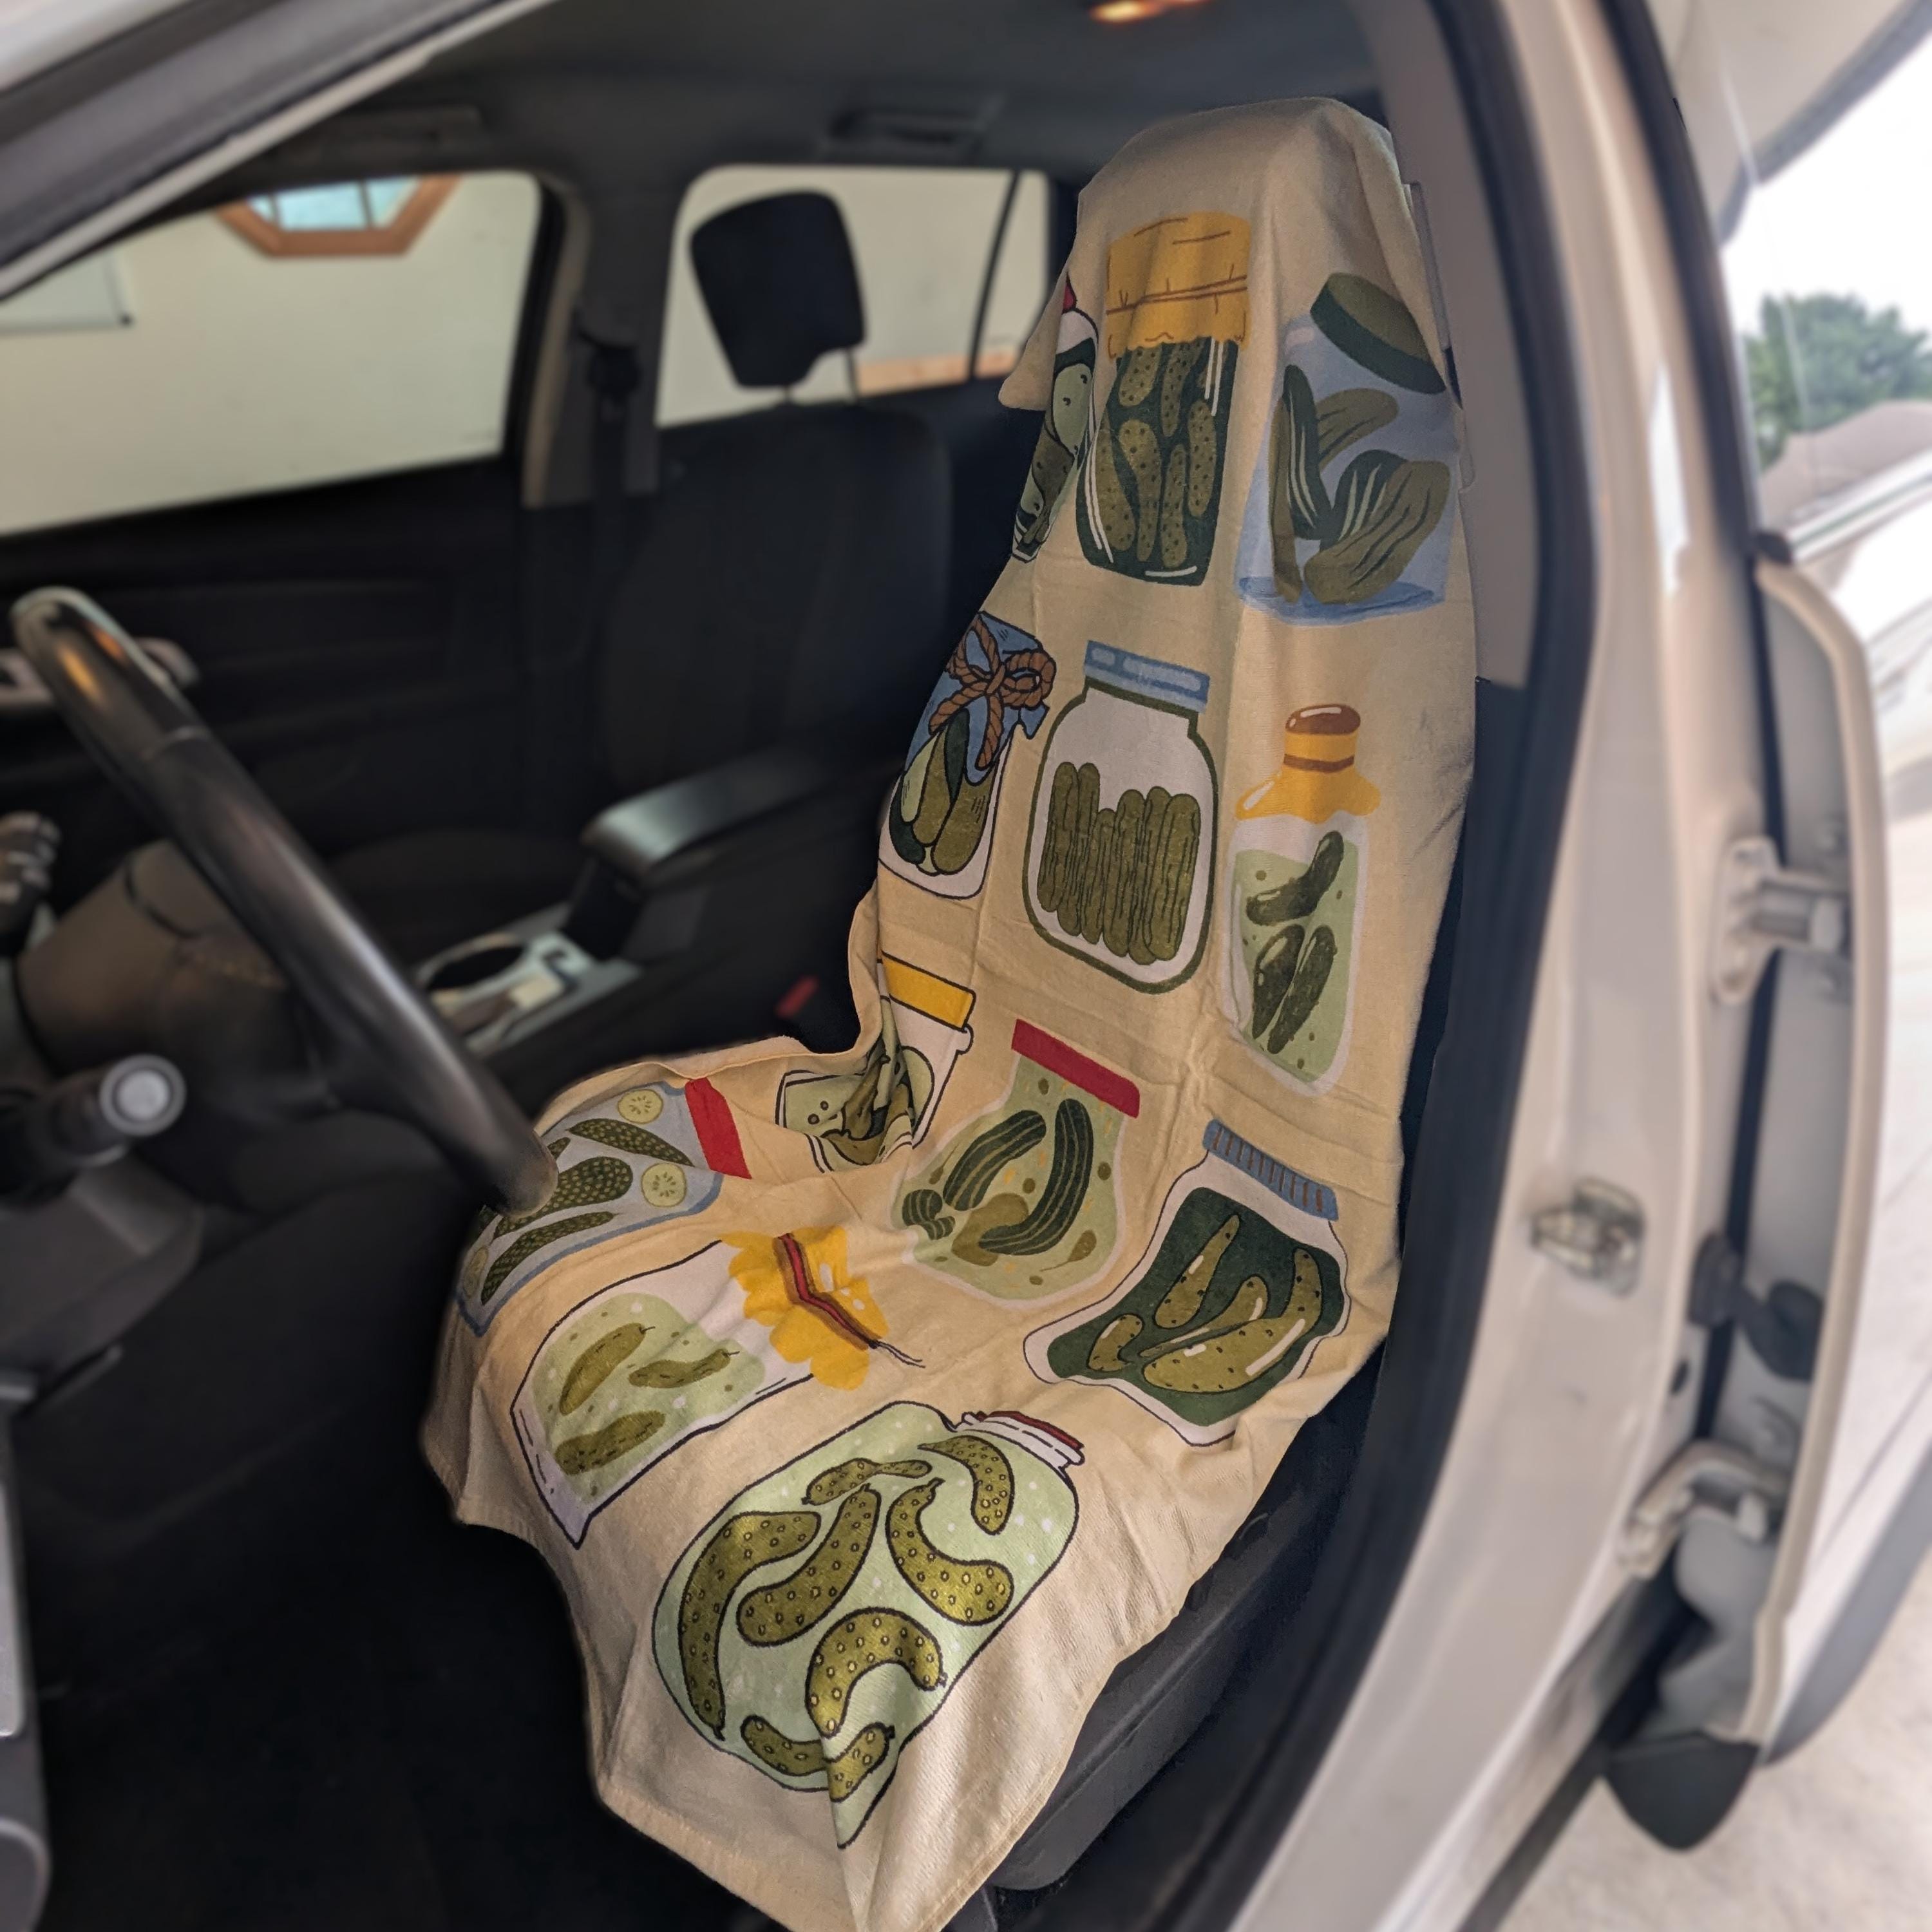
Credit: www.reddit.com
Materials Needed
Making DIY seat covers for your car needs the right materials. Choosing good supplies helps you get a nice and lasting result.
This guide covers the main materials you need to start your project with confidence and ease.
Choosing The Right Fabric
Pick fabric that is strong and easy to clean. It should handle daily use and stay comfortable.
Look for fabrics that resist stains and sun damage. This keeps your seat covers looking good for a long time.
- Canvas: Durable and water-resistant
- Neoprene: Soft and waterproof
- Leather or faux leather: Stylish and easy to clean
- Polyester: Affordable and tough
- Mesh: Breathable and cool
Tools And Accessories
You need some basic tools to make your seat covers fit well and look neat. These tools help you cut, sew, and fasten the fabric.
Having the right accessories speeds up the process and improves the quality of your seat covers.
- Measuring tape for accurate sizing
- Scissors or rotary cutter for clean cuts
- Sewing machine or strong needle and thread
- Fabric glue or adhesive tape for quick fixes
- Elastic bands or Velcro strips for secure fitting
- Chalk or fabric marker to mark patterns
- Clips or pins to hold fabric in place
Measuring Your Seats
Measuring car seats carefully helps you make seat covers that fit well. You need to get exact dimensions for a neat finish.
Use a tape measure and note down the sizes before cutting any fabric. This saves time and material.
Taking Accurate Dimensions
Start by measuring the height, width, and depth of each seat part. Measure the seat base and back separately.
- Measure the width of the seat base from left to right.
- Measure the depth of the seat base from front to back.
- Measure the height of the seat back from bottom to top.
- Measure any armrests or headrests if your seat has them.
- Note the distance between the seat base and back.
Marking Key Points
Mark important points on your measurements to avoid mistakes. Use these marks to guide cutting and sewing.
| Key Point | Description | Why It Matters |
| Seat Width | Left to right measurement | Ensures cover fits horizontally |
| Seat Depth | Front to back measurement | Prevents fabric bunching |
| Back Height | Bottom to top of seat back | Matches cover height |
| Armrest Size | Width and length of armrests | Allows covering armrests properly |
| Distance Between Parts | Gap between base and back | Ensures cover fits joint areas |
Cutting The Fabric
Cutting fabric is a key part of making DIY seat covers for your car. Accurate cutting helps the fabric fit the seats well.
Using the right tools and techniques keeps the fabric clean and prevents mistakes. Take your time to prepare before cutting.
Creating Templates
Templates guide you in cutting fabric pieces that fit your car seats perfectly. You can make templates from paper or cardboard.
- Measure the seat carefully, including curves and edges.
- Draw the shape on paper or cardboard, adding extra space for seams.
- Cut out the template and test it on the seat to check the fit.
- Adjust the template if needed before cutting your fabric.
Safe Cutting Techniques
Cutting fabric safely protects your hands and keeps your workspace clean. Use sharp tools and steady movements.
| Tool | Use | Safety Tip |
| Fabric scissors | Cut fabric smoothly | Keep blades sharp and cut on a flat surface |
| Rotary cutter | Cut straight lines quickly | Use with a cutting mat and guard blade when not in use |
| Measuring tape | Take accurate measurements | Hold firmly to avoid slipping |
| Chalk or fabric marker | Mark cutting lines | Use washable markers to avoid stains |
Sewing The Covers
Sewing your own car seat covers can save money and let you customize the look. You only need basic sewing skills and some patience.
Good stitching helps the covers fit well and last longer. Use the right thread and needle for the fabric you choose.
Basic Stitching Tips
Use a strong, polyester thread for durability. Cotton thread may break easily on car seats.
Choose a stitch length of about 2.5 to 3 mm. Too short stitches can cause puckering, too long stitches may be weak.
- Use a heavy-duty needle for thick fabrics.
- Sew slowly to keep seams straight and even.
- Backstitch at the start and end to secure seams.
- Press seams flat with an iron for a clean look.
Adding Elastic Or Fasteners
Elastic helps keep the cover snug on the seat. Choose a wide elastic for better grip.
Fasteners like Velcro or snaps make the covers easy to remove and clean. Sew them securely on the edges.
- Measure elastic to fit seat contours closely.
- Stretch elastic slightly while sewing for tight fit.
- Place Velcro strips under the seat or along edges.
- Use heavy-duty thread for fasteners to avoid tearing.
Fitting The Covers
Installing DIY seat covers can refresh your car’s look. Proper fitting ensures comfort and style.
It is important to fit the covers correctly for safety. Adjust the covers carefully to prevent any slipping.
Adjusting For A Snug Fit
A snug fit helps the covers stay in place. It also maintains the original shape of your seats.
Make sure to smooth out any wrinkles. Check the alignment with your seat’s curves.
- Start from the top of the seat
- Pull the cover tightly downwards
- Ensure all areas are covered evenly
Securing The Covers In Place
Secure the covers properly to prevent sliding. This ensures the covers remain in position during use.
Use straps or hooks provided with the covers. Double-check that all fastenings are tight.
| Type of Fastening | Usage |
| Elastic Bands | For quick adjustments |
| Velcro Straps | For secure hold |
| Hooks | For firm attachment |
Styling Ideas
DIY seat covers can change your car’s look quickly and affordably. With some creativity, you can make your car seats stylish and unique.
Choosing the right style helps your car feel more comfortable and personal. Let’s explore ideas to style your DIY seat covers.
Color And Pattern Choices
Colors and patterns set the tone for your car’s interior. Pick shades that match your personality and car style.
Simple patterns work well for a clean look, while bold prints add fun and energy. Think about your daily mood when choosing.
- Neutral colors like gray, beige, and black are classic and easy to match.
- Bright colors such as red, blue, or green bring energy to the car.
- Stripes, checks, or floral patterns can make the seats stand out.
- Mix solid colors with patterns for a balanced look.
Adding Personal Touches
Personal touches make your seat covers one of a kind. Use details that show your style and interests.
Simple additions can make a big difference and make you enjoy your car more every day.
- Add embroidery or patches with your favorite symbols or initials.
- Use contrasting stitching to highlight seat edges and shapes.
- Include pockets or holders for small items to improve function.
- Mix different fabrics like leather and cotton for texture.
Maintenance And Care
DIY seat covers for your car can look great and save money. Caring for them well ensures they last longer.
Regular cleaning and minor repairs keep your seat covers in top shape. Here are some tips to help you maintain them.
Cleaning Tips
Keeping your seat covers clean is essential. This prevents dirt and grime build-up. Follow these simple cleaning steps.
- Remove the seat covers and shake off loose dirt.
- Use a mild detergent and warm water for washing.
- Rinse thoroughly to remove soap residue.
- Air dry the covers to avoid shrinking.
Repairing Minor Damage
Small tears or rips can happen over time. Fixing them quickly helps maintain the look of your seat covers.
Here is a simple guide to repair minor damage:
- Inspect the damage closely to assess the repair needed.
- Use fabric glue for small tears.
- For larger rips, sew them using a matching thread.
- Check for loose threads and trim them neatly.
| Cleaning Frequency | Recommended Action |
| Weekly | Vacuum and shake off dirt |
| Monthly | Wash and air dry |
| As needed | Repair minor damages |
Credit: www.etsy.com

Credit: www.youtube.com
Frequently Asked Questions
What Materials Are Best For Diy Car Seat Covers?
The best materials include durable fabrics like neoprene, leatherette, and canvas. These offer comfort, protection, and easy cleaning. Choose materials based on your car’s interior style and usage needs.
How Do I Measure Seats For Diy Seat Covers?
Measure seat width, height, and depth accurately. Include headrests and armrests if covered. Use a flexible tape measure for precise dimensions.
Can I Install Diy Seat Covers Without Professional Help?
Yes, most DIY seat covers come with easy-to-follow instructions. Basic tools like scissors and clips help. Patience and careful fitting ensure a snug, professional look.
How Do Diy Seat Covers Protect Car Seats?
They shield seats from spills, dirt, and UV damage. Covers also prevent wear and tear, extending your car’s interior life. They’re a cost-effective way to maintain resale value.
Conclusion
DIY seat covers for your car save money and add style. You control the fabric, color, and fit. The process is simple and fun to try. You protect your seats from dirt and wear. Plus, you can change covers anytime you want.
Small effort brings big benefits to your car’s look. Ready to give your seats a fresh, personal touch? Start your DIY seat cover project today and enjoy the ride!


