
Are you tired of worn-out car seats that make your ride look old and dull? Imagine giving your car a fresh, personalized look without spending a fortune.
Sewing your own seat covers might sound tricky, but it’s easier than you think—and you’ll gain a sense of pride every time you sit down. In this guide, you’ll learn simple, step-by-step methods to create seat covers that fit perfectly and protect your seats for years to come.
Ready to transform your car’s interior and save money? Let’s get started!
Credit: www.etsy.com
Materials Needed
Sewing seat covers for your car needs the right materials. Using proper supplies helps the covers fit well and last long.
This guide will explain the main materials you need to start making your own seat covers.
Fabric Choices
Choose fabric that is strong and easy to clean. Your car seats face wear and spills every day.
Popular fabric choices include:
- Canvas – heavy and durable
- Vinyl – easy to wipe clean
- Neoprene – water-resistant and soft
- Leather or faux leather – stylish but needs care
- Polyester blends – affordable and strong
Tools And Accessories
You need some basic tools to cut and sew your fabric correctly. These tools help make your work neat and safe.
- Sewing machine – for stitching fabric pieces
- Fabric scissors – sharp and precise cutting
- Measuring tape – to measure fabric and seats
- Pins or clips – to hold fabric in place
- Chalk or fabric marker – to mark cutting lines
- Needles and thread – strong thread matching your fabric
Additional Supplies
Extra items help your seat covers fit well and stay secure. They add to the comfort and safety of the covers.
- Foam padding – for extra comfort and cushioning
- Zippers or Velcro strips – for easy removal and fitting
- Elastic bands – to hold covers tightly around seats
- Thread conditioner – to prevent thread breakage
- Seam ripper – to fix mistakes quickly

Credit: www.fleecefun.com
Measuring Your Seats
Measuring your car seats is the first step in sewing seat covers. It ensures a good fit and comfort. This guide helps you take the right measurements and note important seat features.
Take your time and use a soft tape measure. Write down all numbers clearly. Accurate data will make sewing easier and the covers look better.
Taking Accurate Dimensions
Measure the seat parts carefully. Include the seat base, backrest, and any side bolsters. Record the width, length, and height for each part.
- Measure the seat bottom from left to right (width).
- Measure the seat bottom from front to back (length).
- Measure the seat back from bottom to top (height).
- Measure the seat back from side to side (width).
- Measure any side bolsters or armrests.
- Note the distance between the seat and headrest.
Noting Seat Features
Write down all seat details that affect cover design. These include seat belts, headrests, and adjustment handles. Also note if the seats have built-in airbags or special shapes.
| Seat Feature | What to Note |
|---|---|
| Headrests | Fixed or removable? Measure height and width. |
| Seat Belts | Location and type of belt attachments. |
| Side Bolsters | Size and shape for proper fit. |
| Adjustment Handles | Position and size to allow movement. |
| Airbags | Presence and location for safety. |
Creating A Pattern
Making a pattern is the first step to sew seat covers for your car. It helps you cut the fabric in the right shape and size.
A good pattern fits your car seat perfectly and looks neat. Taking time to create it will save effort later.
Drafting Templates
Start by removing the car seat if possible. Use paper or thin fabric to trace the seat parts.
Trace each section like the seat bottom, backrest, and headrest. Mark edges and seams clearly on your template.
- Use a ruler for straight lines
- Mark curves gently with a pencil
- Label each piece to avoid confusion
- Leave extra space for sewing seams
Adjusting For Curves And Contours
Car seats have many curves and rounded shapes. Your pattern must match these shapes closely.
Use flexible materials like cardboard or pattern paper to shape around curves. Pin templates on the seat to check fit.
- Cut small notches on curves to help fabric bend
- Add darts where fabric needs to shape around bulges
- Test the pattern on the seat before cutting fabric
- Adjust the pattern if the fit is too loose or tight

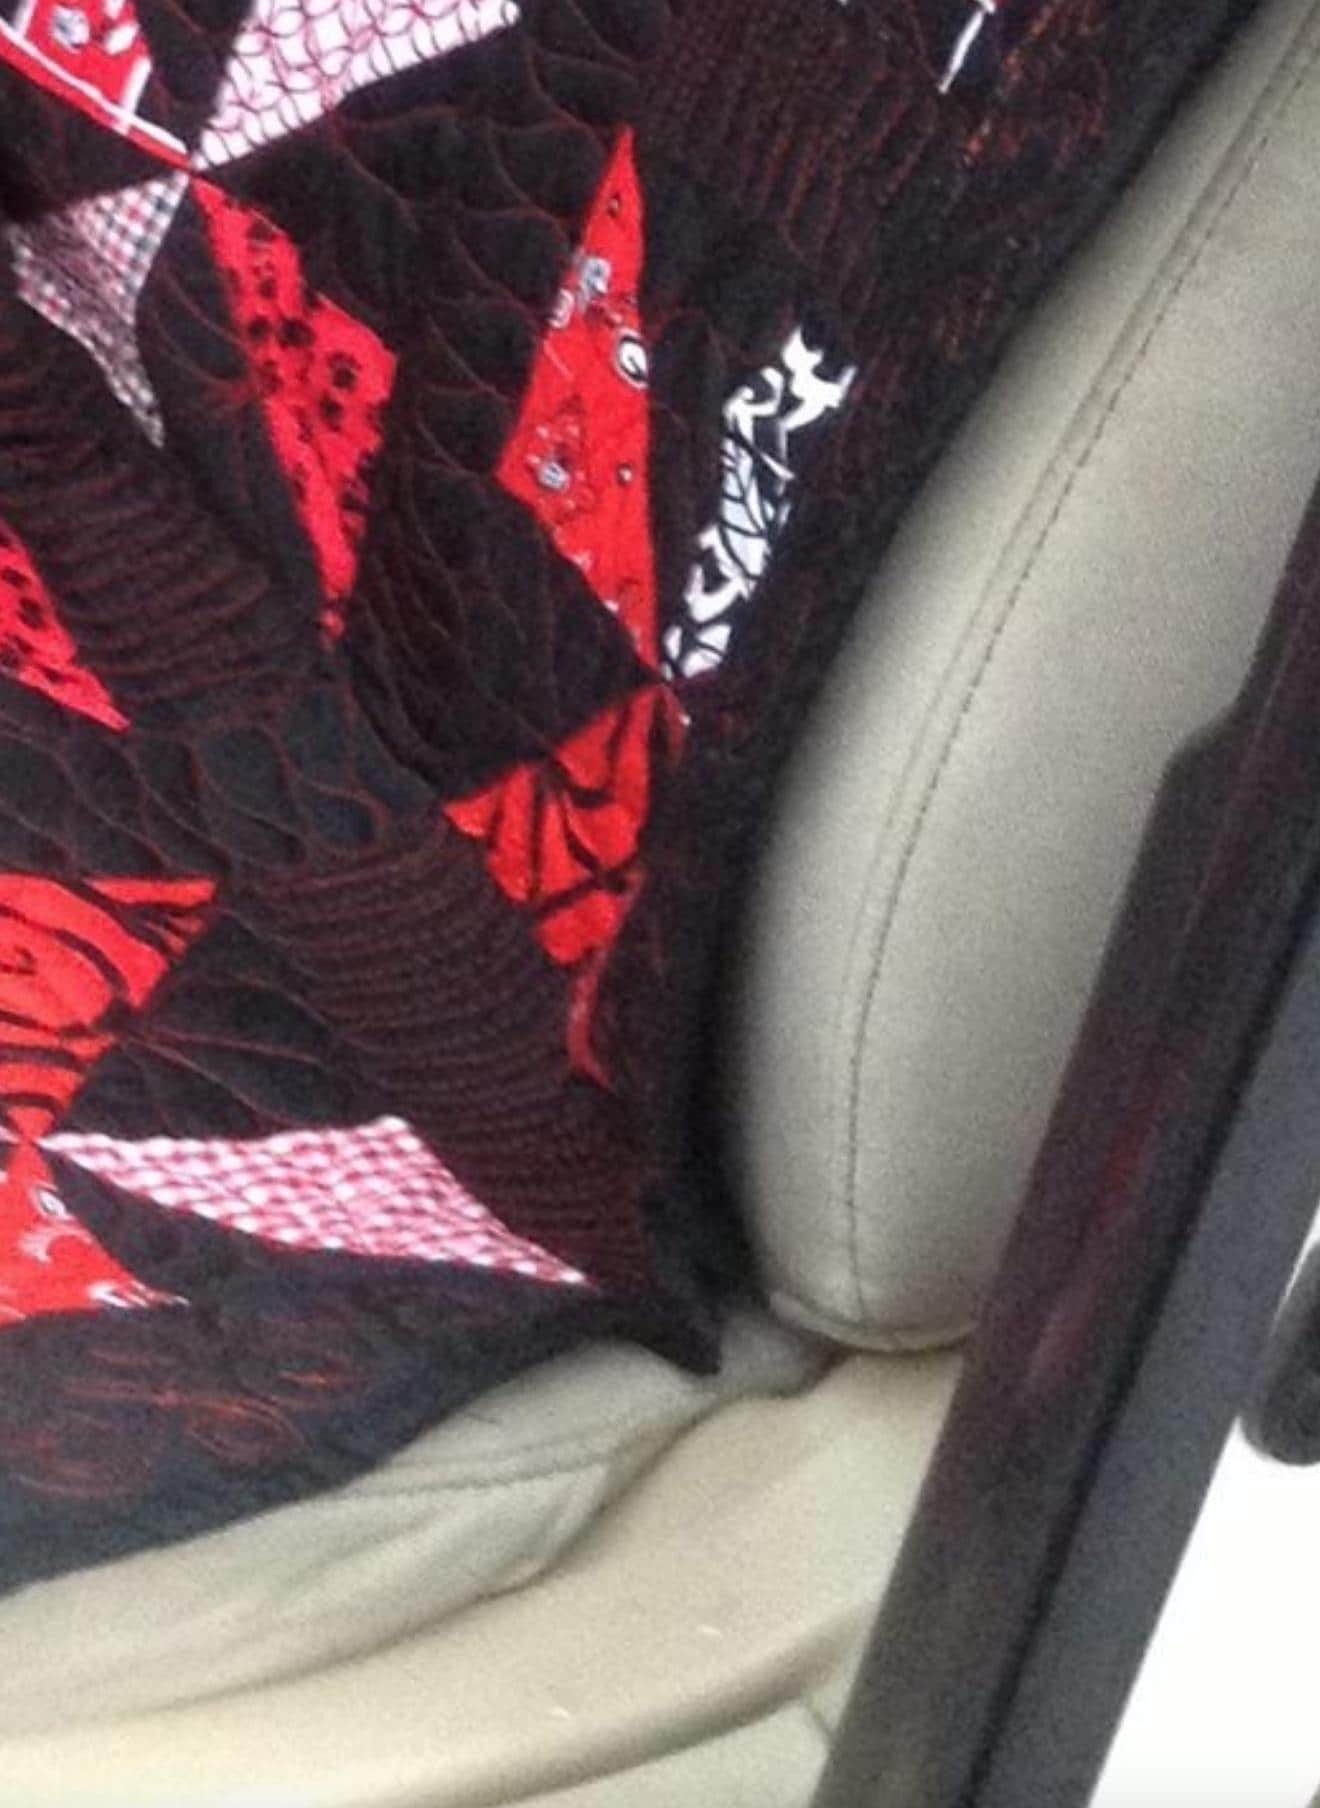
Credit: www.raegunramblings.com
Cutting The Fabric
Cutting the fabric is a key part of sewing car seat covers. You must be accurate to make sure the covers fit well.
Careful cutting helps avoid mistakes and saves fabric. Use sharp scissors and a flat surface.
Marking The Pieces
Start by placing your seat cover patterns on the fabric. Use chalk or a fabric marker to trace around each piece.
- Ensure each piece is traced clearly.
- Mark any notches or seam allowances.
- Label pieces to avoid confusion later.
- Double-check measurements before cutting.
Tips For Precision
Precision helps your seat covers look neat and fit properly. Follow these tips for better cutting results.
| Tip | Description |
| Use sharp scissors | Sharp scissors cut fabric cleanly and prevent fraying. |
| Cut on a flat surface | A steady surface stops fabric from shifting during cutting. |
| Cut slowly | Take your time to follow the marked lines exactly. |
| Keep fabric flat | Smooth out wrinkles before cutting for accuracy. |
| Double-check pieces | Compare cut pieces to pattern shapes before sewing. |
Sewing Techniques
Sewing seat covers for your car needs the right techniques. Using proper stitches and tools makes the covers last longer.
We will look at stitch types, seam strength, and how to use a sewing machine for the best results.
Stitch Types To Use
Choose stitch types that hold fabric tightly and resist wear. Common stitches for seat covers include straight, zigzag, and double stitches.
- Straight Stitch:Simple and strong, good for most seams.
- Zigzag Stitch:Adds flexibility and stops fabric from fraying.
- Double Stitch:Uses two rows of stitching for extra strength.
Seam Reinforcement
Reinforce seams to keep seat covers from tearing. Use backstitching and extra fabric strips to strengthen weak points.
| Method | Description | Purpose |
| Backstitching | Sew backward at the start and end of seams | Prevents stitches from unraveling |
| Topstitching | Sew a row of stitches on the top side | Adds strength and a neat finish |
| Reinforcement Tape | Place tape inside seams | Supports stress areas on seat covers |
Using A Sewing Machine
A sewing machine speeds up the work and gives clean, even stitches. Use a heavy-duty needle for thick fabrics.
- Set the stitch length to medium for seat covers.
- Use polyester thread for strength and durability.
- Test stitches on fabric scraps before sewing.
- Keep fabric flat and guide it gently through the machine.
Assembling The Covers
Assembling seat covers for your car requires patience and attention to detail. Follow these steps to ensure a snug fit and a professional look.
Proper assembly of the fabric pieces and careful fitting around headrests and armrests are key to a seamless finish.
Joining Fabric Pieces
Start by joining the fabric pieces that make up the main body of the seat cover. Use a sewing machine for strong, even stitches.
- Align the fabric pieces with the right sides facing each other.
- Pin the edges together to keep them from shifting.
- Sew along the pinned edges with a straight stitch.
- Trim excess fabric for a clean edge.
Fitting Around Headrests And Armrests
Fitting the fabric around headrests and armrests can be tricky. Take your time to ensure a precise fit.
| Area | Technique |
| Headrests | Cut slits in the fabric to slide it over the posts |
| Armrests | Use elastic bands to secure the fabric in place |
Final Adjustments
Once the seat covers are sewn, it’s time to make them fit perfectly. Adjusting the fit ensures they look neat and stay in place.
Proper adjustments help in maintaining the longevity of the seat covers. Follow these steps for a snug fit and secure placement.
Fitting The Covers On Seats
Begin by gently placing the covers over the seats. Make sure the fabric aligns with the seat’s shape.
Ensure that the seams match the seat edges for a clean look. Adjust the material to remove any wrinkles or folds.
- Start at the top and work your way down
- Smooth out any creases with your hands
- Check for proper alignment regularly
Securing With Straps Or Fasteners
After fitting, secure the covers using straps or fasteners. This keeps them from moving when you sit.
Straps or fasteners should be tight but not too tight. They help in maintaining the cover’s position.
- Use straps to tie under the seat
- Clip fasteners to the seat base
- Double-check all connections for security
Care And Maintenance
Keeping your car seat covers clean helps them last longer. Proper care keeps your car interior fresh and neat.
Regular cleaning and smart habits protect your seat covers from damage and dirt buildup.
Cleaning Instructions
Remove the seat covers before cleaning. Check the care label for fabric type and washing tips.
- Vacuum the covers to remove loose dirt and crumbs.
- Use mild detergent and cold water for hand washing.
- Avoid bleach or harsh chemicals that weaken fabric fibers.
- Let the covers air dry; do not use a dryer.
- Spot clean stains quickly with a gentle cleaner.
Tips To Prolong Cover Life
| Tip | Reason |
| Keep sharp objects away | Prevents tears and holes |
| Use sunshades | Protects fabric from UV damage |
| Remove covers for deep cleaning | Keeps dirt from settling in |
| Rotate covers if possible | Even wear on all areas |
| Store covers properly when not in use | Avoids wrinkles and damage |
Frequently Asked Questions
How Do I Choose Fabric For Car Seat Covers?
Choose durable, stain-resistant fabric like neoprene or leatherette. Consider comfort, color, and ease of cleaning to match your car’s interior and lifestyle needs.
What Basic Tools Are Needed To Sew Seat Covers?
You need a sewing machine, fabric scissors, measuring tape, pins, and strong thread. These tools ensure precise cutting and durable stitching for your covers.
How Do I Measure Car Seats For Custom Covers?
Measure seat width, height, and depth precisely. Include headrests and armrests if needed. Accurate measurements prevent fitting issues and enhance cover appearance.
Can Beginners Sew Their Own Car Seat Covers?
Yes, beginners can sew seat covers with patience and simple patterns. Start with easy designs and use tutorials to improve sewing skills gradually.
Conclusion
Sewing your own car seat covers saves money and adds style. It also protects your seats from dirt and wear. Choose the right fabric and measure carefully for a good fit. Take your time stitching each piece with care. The process is simple and rewarding.
Enjoy your custom seat covers every time you drive. Try this project to improve your car’s look today.


