
Removing tinted window film from your car can feel like a tough job. You might worry about damaging your windows or leaving sticky residue behind.
But what if you could do it quickly and easily, without stress? In this guide, you’ll discover simple steps to get your windows clear again. By the end, you’ll have the confidence and know-how to handle the job yourself—and save money on expensive services.
Keep reading to learn how to make your car’s windows look fresh and spotless once more.
Credit: carlikefilm.com
Tools And Materials Needed
Removing tinted window film from a car requires the right tools and materials. Using proper supplies makes the job easier and safer.
Gather everything before you start. This guide lists what you need in two parts: essential supplies and safety gear.
Essential Supplies
These items help you remove the tint film cleanly and quickly. Prepare them in advance for best results.
- Heat gun or hair dryer to loosen adhesive
- Plastic scraper or razor blade for peeling film
- Spray bottle filled with soapy water
- Lint-free cloths for wiping residue
- Adhesive remover or rubbing alcohol
- Paper towels for cleanup
Safety Gear
Protect yourself from sharp tools and chemicals. Wear safety gear to avoid injuries and irritation.
| Safety Item | Purpose |
| Safety glasses | Protect eyes from flying debris and chemicals |
| Gloves | Prevent skin contact with adhesive remover |
| Mask | Reduce inhalation of fumes from chemicals |
| Long sleeves | Shield skin from cuts and irritation |
Credit: www.drifted.com
Preparing The Workspace
Removing tinted window film from a car needs a clean and organized workspace. A good workspace makes the job safer and easier.
Take time to prepare your area before starting. This helps avoid damage and keeps tools close at hand.
Choosing The Right Location
Pick a flat, dry place to work on your car. Avoid windy spots to stop dust and dirt from sticking to the windows.
Good lighting is important. It helps you see the edges of the film clearly for safe removal.
- Choose a shaded area to prevent sun glare
- Work in a place with enough space around the car
- Make sure there is access to electrical outlets if needed
Protecting Car Surfaces
Cover parts of the car near the windows to protect the paint. Use soft materials to avoid scratches.
Keep tools and chemicals away from sensitive areas. This prevents accidental damage during the removal process.
- Use painter’s tape to cover edges of trim and seals
- Place towels or cloths on car doors and panels
- Clear the workspace of sharp or heavy objects
Heating The Window Film
Removing tinted window film requires heating the film first. Heat softens the adhesive. This step makes peeling easier.
Use controlled heat tools carefully. Too much heat can damage the glass or car interior.
Using A Heat Gun Or Hair Dryer
Heat guns and hair dryers work well to warm the window film. Hold the tool a few inches away from the glass. Move it slowly to avoid overheating one spot.
- Use a low or medium heat setting.
- Keep the heat tool moving steadily.
- Heat the entire film area evenly.
- Wear gloves to protect your hands.
- Test a small corner before the full removal.
Maintaining Safe Temperature
Keeping the right temperature protects your car windows. Avoid overheating to prevent cracks or warping.
| Temperature Range | Recommended Time | Effect |
| Below 120°F (49°C) | Longer (5-10 min) | Safe, slower adhesive softening |
| 120°F to 150°F (49-65°C) | Moderate (3-5 min) | Good balance of safety and speed |
| Above 150°F (65°C) | Short (under 3 min) | Risk of damage to glass or tint |
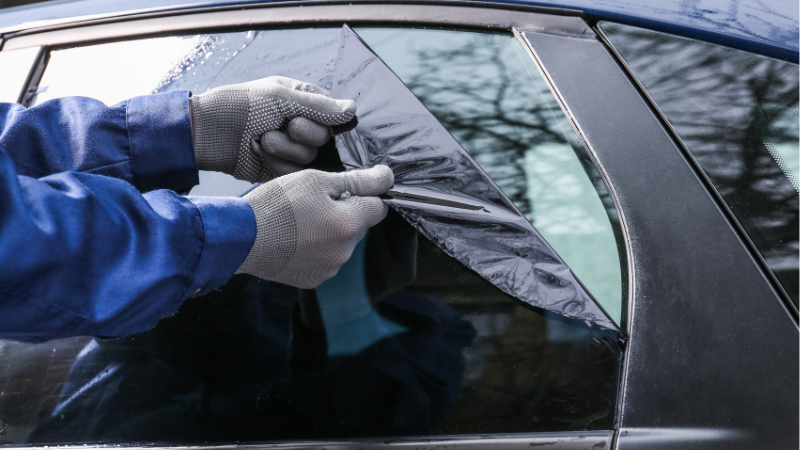
Peeling Off The Film
Removing tinted window film from a car can be done by peeling it off carefully. This process takes patience and a gentle touch.
Start by finding an edge of the film to lift. Then pull the film slowly to avoid tearing or leaving residue.
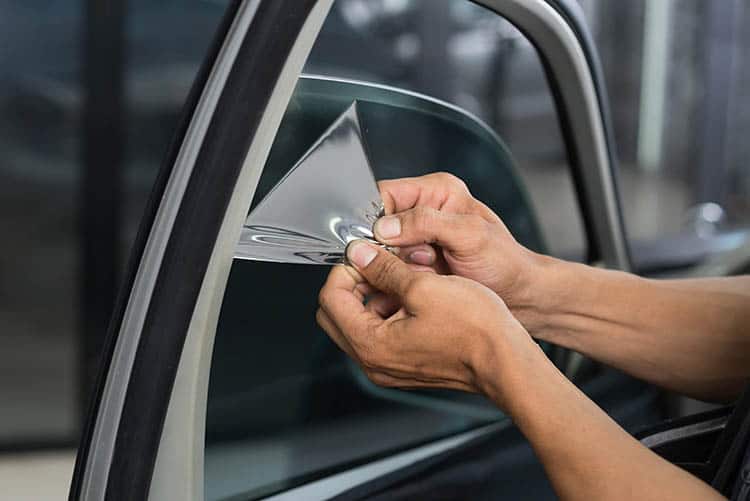
Starting At A Corner
Look for a corner of the tinted film on the inside of the window. Use your fingernail or a plastic tool to lift the edge gently.
If the corner is hard to lift, try warming the film with a hairdryer. This will soften the adhesive and make peeling easier.
- Choose a corner near the bottom or side
- Lift slowly to avoid ripping
- Use heat if needed to loosen adhesive
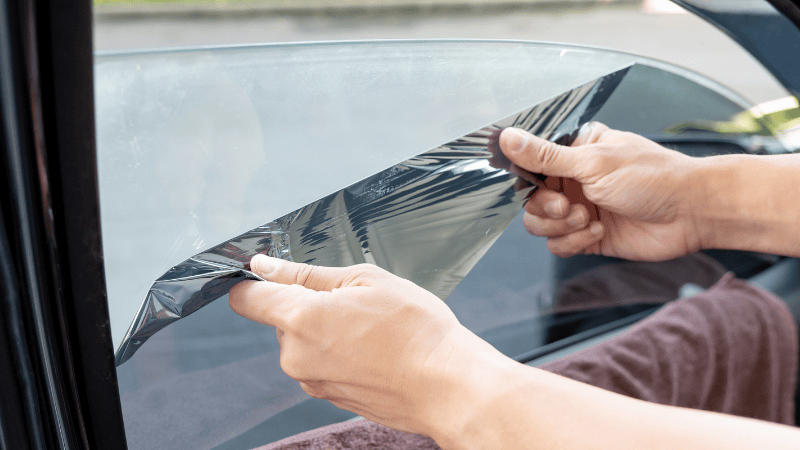
Removing Film Slowly
Pull the film away from the glass at a low angle. Move slowly to keep the film in one piece.
Stop if you feel resistance. Use heat again if the film sticks. This helps prevent damage to the glass or paint.
- Pull film gently and evenly
- Keep a steady, low angle
- Apply heat if the film resists
- Take breaks if needed
Removing Adhesive Residue
Removing tinted window film from a car can be tricky. The adhesive residue left behind is often the hardest to remove. Here, we explore two methods to tackle this sticky problem.
These techniques will help make your car windows clear and clean again. Let’s dive into the details.
Using Soapy Water Or Adhesive Remover
Soapy water is a gentle way to loosen adhesive. Mix warm water with dish soap. Use a spray bottle for easy application.
Adhesive remover is stronger. Apply it to the residue directly. Let it sit for a few minutes to break down the glue.
- Spray soapy water generously on the residue
- Use a soft cloth to scrub the area
- Apply adhesive remover carefully to avoid damage
- Wipe off with a clean cloth
Scraping Gently With A Razor Blade
A razor blade can scrape off stubborn residue. Hold the blade at a 45-degree angle. Be gentle to avoid scratching the glass.
It’s best to use a new blade for a clean cut. Always keep the glass wet with soapy water while scraping.
- Moisten the glass with soapy water
- Hold the razor blade at a safe angle
- Scrape gently in one direction
- Clean the area with a damp cloth
Cleaning The Window
After removing tinted window film, the glass may have residue and dirt. Cleaning the window well helps restore clear vision.
Using the right cleaner and wiping technique removes marks and avoids streaks on the glass.
Choosing The Right Cleaner
Pick a cleaner made for glass surfaces. Avoid harsh chemicals that can damage glass or car paint.
Cleaners with ammonia may harm tint edges or rubber seals. Use mild, ammonia-free glass cleaners instead.
- Use commercial glass cleaner without ammonia
- Try a mix of water and mild dish soap
- Avoid abrasive cleaners or scrubbers
- Test cleaner on a small area first
Wiping For A Streak-free Finish
Use a clean microfiber cloth to wipe the window. Microfiber traps dirt and avoids scratches.
Wipe in a circular motion first, then finish with vertical strokes. This helps reduce streaks and spots.
- Use separate cloths for cleaning and drying
- Replace cloth if it gets too dirty
- Work on one window section at a time
- Dry the glass quickly to prevent water marks
Tips To Avoid Common Mistakes
Removing tinted window film from a car can be tricky. Doing it wrong might damage the glass or leave sticky residue. Knowing the right steps will help you avoid common mistakes.
These tips focus on preventing glass damage and handling stubborn adhesive. Follow them for a clean and safe removal process.
Preventing Glass Damage
Use the right tools when removing window film. Avoid sharp objects that can scratch the glass. A plastic scraper is safer than a metal one.
Apply heat to loosen the film. A hairdryer or heat gun works well. Heat softens the adhesive, making it easier to peel without force.
- Use a plastic scraper to avoid scratches
- Apply heat gently with a hairdryer
- Peel the film slowly to avoid tearing
Handling Stubborn Adhesive
Adhesive residue can be stubborn. Special cleaners or vinegar can dissolve it. Spray the cleaner on the adhesive and let it sit for a few minutes.
Use a soft cloth to wipe away the residue. Repeat the process if needed. Patience is key to removing all traces of adhesive.
- Use vinegar or a special adhesive cleaner
- Let the cleaner sit for a few minutes
- Wipe with a soft cloth
- Repeat if necessary for clean glass
Credit: carlikefilm.com
Frequently Asked Questions
How Do I Remove Tinted Window Film From My Car?
To remove tint, use a heat gun or hairdryer to warm the film. Peel it off slowly starting at a corner. Use adhesive remover to clean leftover glue for a clear window finish.
Can I Remove Window Tint Without Damaging Glass?
Yes, by heating the tint gently and peeling carefully, you avoid scratches. Use plastic tools, not metal, to lift edges. Clean residue with a mild solvent for safe glass care.
What Tools Are Needed To Remove Car Window Tint?
You need a heat source (heat gun or hairdryer), a razor blade or plastic scraper, adhesive remover, and microfiber cloths. These tools help peel off tint smoothly and clean the glass afterward.
How Long Does It Take To Remove Car Window Tint?
Removal typically takes 30 to 60 minutes per window. Time varies by tint age and quality. Older or darker films may require more effort and adhesive cleaning.
Conclusion
Removing tinted window film from your car can be easy with patience. Take your time and use the right tools for best results. Clean the glass well to avoid sticky residue. Avoid rushing to prevent damage to your windows. Following simple steps helps keep your car looking good.
You can do this yourself without costly help. Clear windows improve visibility and safety while driving. Remember, careful work leads to a clean finish every time.


