
Have you noticed those annoying paint marks on your car and wondered how to get rid of them fast? Paint transfer can ruin your car’s look, but you don’t have to live with it.
Imagine driving around with your car looking spotless again—no scratches, no stains, just clean and shiny. In this guide, you’ll discover simple, effective ways to remove paint transfer from your car. By the end, you’ll have the confidence to fix your car’s appearance yourself, saving time and money.
Keep reading to learn the easy steps that will bring your car back to its best.
Identify Paint Transfer
Paint transfer happens when paint from one object sticks to your car. It usually appears after a minor collision or scrape. Knowing how to spot paint transfer helps you fix it quickly.
This guide shows how to identify paint transfer and check how bad the damage is. Use this to decide the best way to clean your car’s surface.
Types Of Paint Transfer
Paint transfer can look different depending on the source and how strong the impact was. Recognizing these types helps you choose the right cleaning method.
- Smudged Paint:Soft marks that look like smears or streaks on your car’s paint.
- Scuffed Paint:Rough patches where paint has rubbed off but no deep scratches are visible.
- Chunky Paint Transfer:Thick chunks of paint stuck on your surface, often from plastic or metal parts.
- Embedded Paint:Paint that has soaked into tiny scratches or grooves, making it harder to remove.
Assessing Damage Extent
Check how bad the paint transfer is before cleaning. This helps you pick the right tools and products. Use this simple table to assess the damage.
| Damage Type | Description | Cleaning Difficulty |
|---|---|---|
| Light Smudges | Thin paint marks on the surface | Easy |
| Scuffs | Paint rubbed off but no deep scratches | Moderate |
| Chunky Transfer | Thick paint pieces stuck on paintwork | Hard |
| Embedded Paint | Paint inside scratches or grooves | Very Hard |

Credit: www.youtube.com
Gather Necessary Materials
Removing paint transfer from your car needs the right tools. Using proper materials protects your car’s surface.
Prepare everything before starting to make the process easier and safer.
Cleaning Supplies
Cleaning supplies help remove dirt and prepare the surface for paint removal.
- Car wash soap
- Microfiber cloths
- Bucket with water
- Soft sponges
- Detailing brush
Paint Removal Products
Choose the right paint removal product to avoid damage to your car’s paint.
| Product | Use |
| Rubbing compound | Remove light paint transfer |
| Clay bar kit | Lift paint particles off surface |
| Automotive polish | Restore shine after removal |
| Isopropyl alcohol | Clean residue before polishing |
Protective Gear
Wear protective gear to keep yourself safe from chemicals and dust.
- Rubber gloves
- Safety goggles
- Face mask
- Old clothes or apron
Prepare The Affected Area
Removing paint transfer from your car starts with preparing the affected area. Proper preparation helps avoid further damage to the car’s surface.
This guide covers washing and drying the spot and protecting the nearby surfaces before cleaning.
Wash And Dry
First, clean the area with water and a mild car soap. This removes dirt and loose particles that can scratch the paint during removal.
- Use a soft sponge or microfiber cloth.
- Rinse the area thoroughly with clean water.
- Dry the spot using a clean, soft towel.
Protect Surrounding Surfaces
Cover parts of the car near the paint transfer to stop accidental damage. Use painter’s tape and plastic sheets for good protection.
| Material | Purpose |
| Painter’s tape | Protect edges of panels and trim |
| Plastic sheets | Cover larger areas around the spot |
| Cloth towels | Absorb any cleaning liquids that may spill |

Credit: www.turtlewax.com
Use Soap And Water
Removing paint transfer from your car can be simple with soap and water. This method cleans the surface gently without damage.
Knowing when and how to use soap and water helps get the best results for light paint marks.
Basic Cleaning Steps
Start by rinsing the affected area with water to remove loose dirt. Then, mix mild car soap with warm water. Use a soft sponge to apply the soapy water on the paint transfer spot. Rub gently in circular motions to lift the paint. Rinse the area with clean water and dry with a soft cloth.
- Rinse the area with clean water.
- Prepare a mixture of mild car soap and warm water.
- Apply the soapy water using a soft sponge.
- Gently rub in circular motions over the paint transfer.
- Rinse thoroughly with clean water.
- Dry the surface with a soft cloth.
When This Method Works Best
| Condition | Description |
|---|---|
| Light Paint Transfer | Small, fresh paint marks that are not deeply set. |
| Clean Surface | Area without heavy dirt or grime buildup. |
| Non-porous Paint | Paint that is smooth and sealed, not damaged or oxidized. |
This method is gentle and works best on fresh, light paint marks. Avoid using it on heavy or old paint transfer. For tough stains, stronger methods may be needed.
Apply Rubbing Compound
Removing paint transfer from your car can restore its smooth finish. Using a rubbing compound helps erase marks and scratches effectively.
This guide covers how to select the right compound and the best way to apply it for good results.
Choosing The Right Compound
Select a rubbing compound suited for your car’s paint type. Some compounds are coarse, while others are fine.
- Coarse compounds remove heavy scratches and paint transfer.
- Fine compounds polish light marks and restore shine.
- Check the compound label for compatibility with your car’s paint.
- Avoid abrasive compounds on delicate or clear coat finishes.
Application Techniques
Applying rubbing compound correctly helps protect your paint and remove marks without damage.
| Step | Action | Tip |
| 1 | Clean the area with soap and water | Dry fully before applying compound |
| 2 | Apply a small amount of compound to a soft cloth | Use a microfiber cloth for best results |
| 3 | Rub the compound gently on the paint in circular motions | Apply light to medium pressure |
| 4 | Keep rubbing until the paint transfer starts to fade | Do not rush; take your time |
| 5 | Wipe off excess compound with a clean cloth | Inspect the area and repeat if needed |
Credit: blog.detailstore.com.au
Try Commercial Paint Removers
Paint transfer on your car can be annoying. Commercial paint removers can help. They are designed to tackle such problems effectively.
Using the right product is essential to avoid damaging your car’s surface. Let’s look at how to choose and use these products safely.
Selecting Safe Products
Choose products that are safe for your car’s paint. Not all removers are created equal, so pick wisely.
- Read the label carefully before buying.
- Look for non-abrasive options.
- Ensure compatibility with your car’s paint type.
Proper Usage Guidelines
Using paint removers correctly prevents damage. Follow these guidelines to ensure a smooth process.
| Step | Action |
| 1 | Test the remover on a small area first. |
| 2 | Apply the remover with a soft cloth. |
| 3 | Gently rub the affected area. |
| 4 | Wipe off any residue with a clean towel. |
Use Nail Polish Remover Or Acetone
Removing paint transfer from your car can be simple. You can use nail polish remover or acetone for this task.
These solutions are effective for taking off unwanted paint marks. Follow the steps below carefully.
Precautions To Take
Before starting, ensure you take the right precautions. This keeps your car safe from damage.
- Test on a small area first
- Wear gloves to protect your skin
- Work in a well-ventilated area
- Avoid using too much pressure
Step-by-step Process
Follow these steps to remove paint transfer effectively. Make sure to do each step carefully.
| Step | Action |
| 1 | Pour a small amount of nail polish remover on a clean cloth |
| 2 | Gently rub the cloth on the paint transfer |
| 3 | Wipe the area with a damp cloth to remove residue |
| 4 | Dry the area with a clean towel |
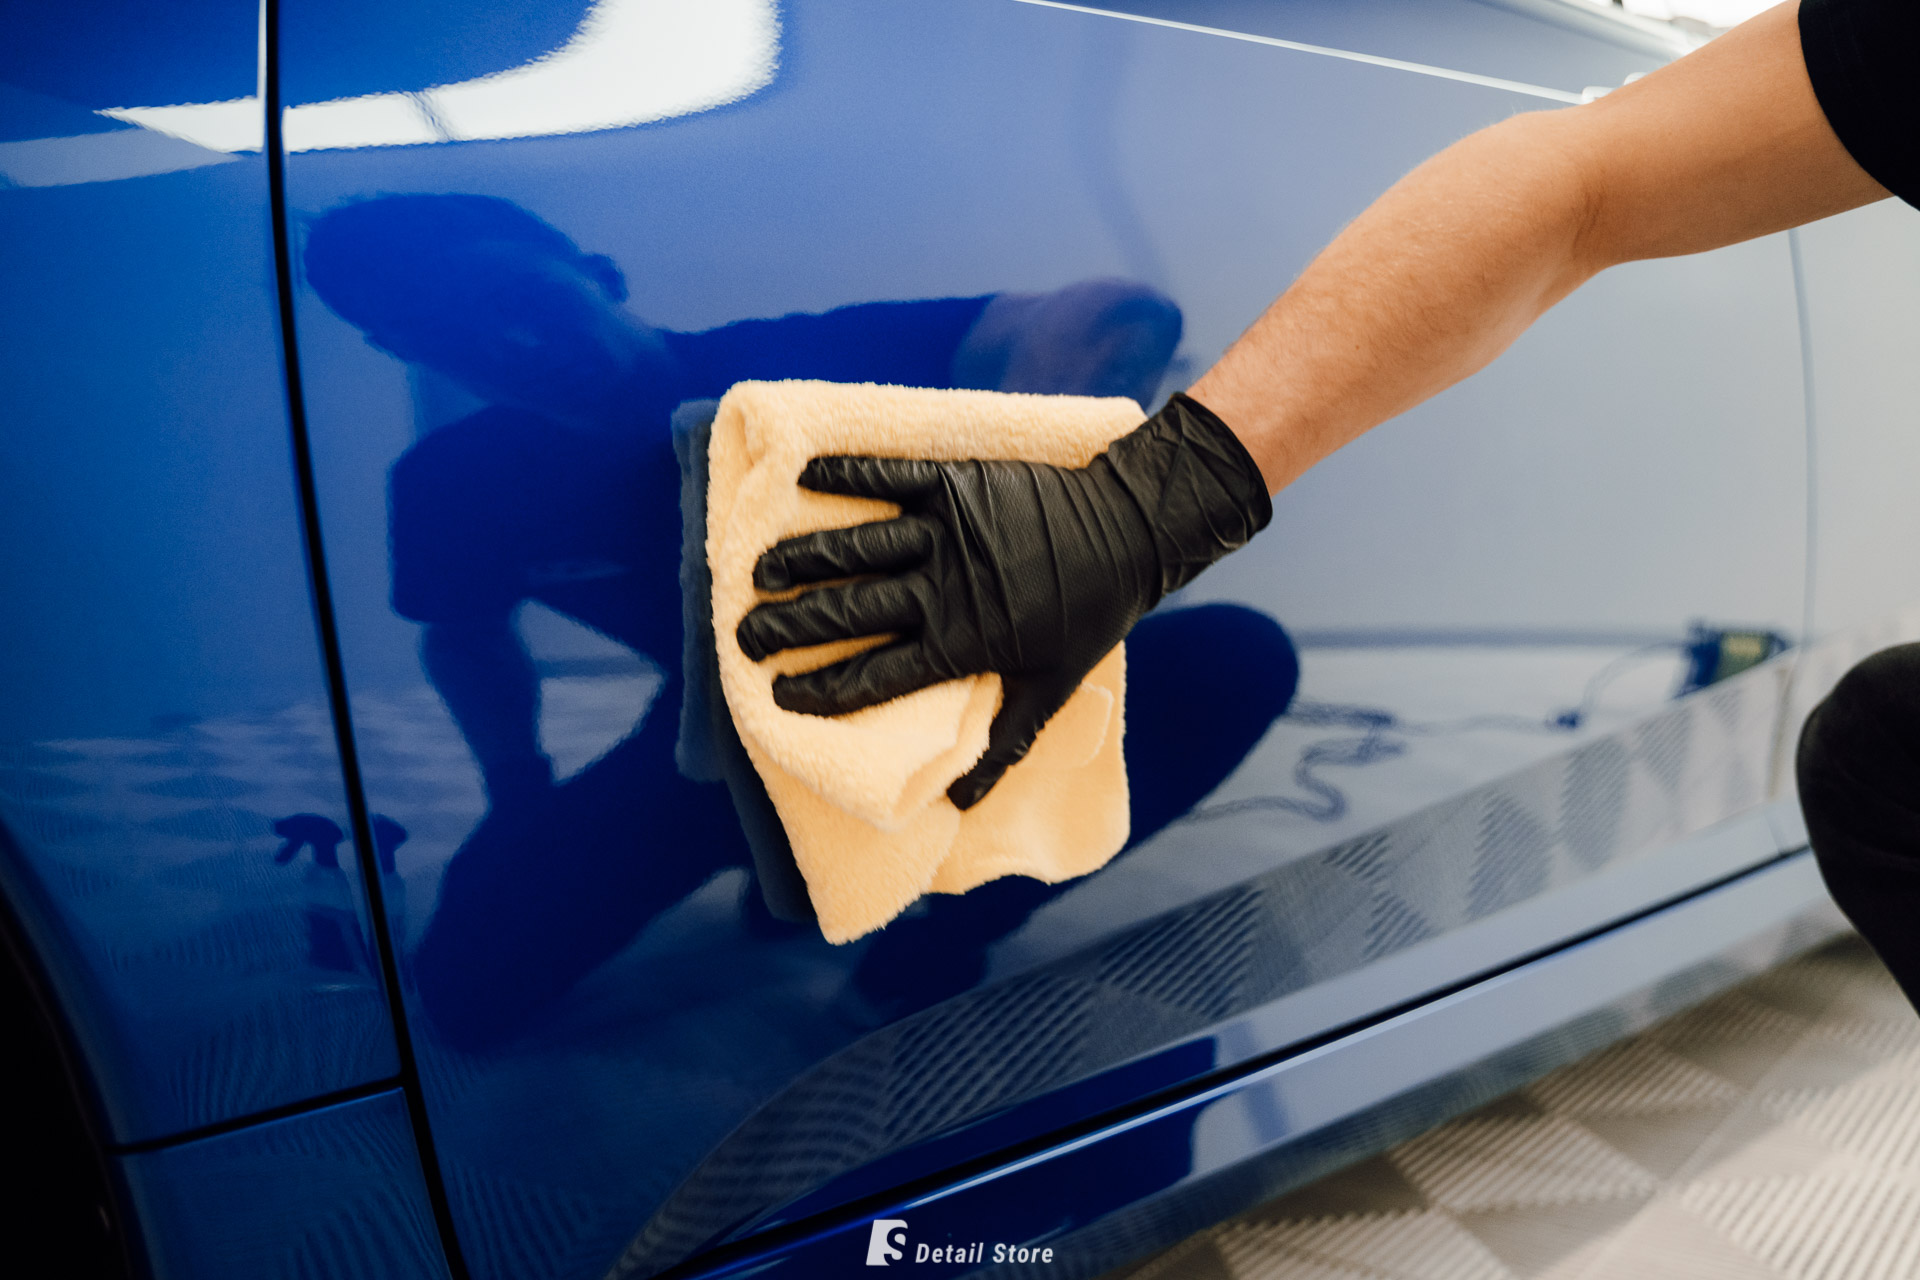
Polish And Wax After Removal
Removing paint transfer from your car can leave the surface dull or rough. Polishing and waxing restore the car’s shine and protect the paint. These steps help keep your vehicle looking new and prevent future damage.
Take your time with each step. Use the right products and tools for the best results. A smooth, glossy finish will make your car look clean and cared for.
Restoring Shine
Polishing removes fine scratches and smooths the paint surface after paint transfer is gone. Use a gentle polish and a soft cloth or buffer. Work in small sections and apply polish with light pressure.
- Choose a polish suitable for your car’s paint type
- Apply a small amount of polish to the cloth or buffer
- Rub in circular motions until the polish starts to clear
- Wipe off any residue with a clean microfiber cloth
- Repeat if needed for deeper scratches or dull areas
Protecting The Paint
Waxing seals the paint and protects it from dirt, moisture, and UV damage. Wax also enhances the gloss created by polishing. Use a high-quality car wax and apply it evenly over the painted surface.
| Wax Type | Durability | Application |
| Paste Wax | High (up to 3 months) | Apply with foam or cloth |
| Liquid Wax | Medium (up to 2 months) | Easy to spread and buff |
| Spray Wax | Low (1 month or less) | Quick and simple application |
Apply wax in thin, even layers. Let it dry to a haze, then buff it off with a clean cloth. Regular waxing keeps your car’s paint safe and shiny after paint transfer removal.
When To Seek Professional Help
Removing paint transfer from a car can be simple in some cases. Small marks may come off with gentle cleaning. But some damage needs expert care to avoid making it worse.
Knowing when to get help can save your car’s finish. Professionals have the tools and skills to fix tough paint problems safely.
Signs Of Severe Damage
Some paint transfer issues are more than just surface marks. These signs show you should not try to fix the damage yourself.
- The paint looks scratched or deep gouged.
- There are cracks or chips in the clear coat.
- The damage covers a large area of the car.
- The paint feels rough or uneven to the touch.
- You see rust or metal exposed under the paint.
If you notice any of these signs, it is best to contact a professional. Trying to remove paint transfer in these cases may worsen the damage.
Finding Reliable Services
Choosing the right repair service is important to get good results. Look for shops that have experience with paint repairs and car finishes.
Check reviews and ask about the methods they use. A good shop will explain the process and give a clear estimate before starting work.
- Find shops that specialize in auto body and paint repair.
- Ask for examples of past work or customer feedback.
- Ensure they use quality materials and proper tools.
- Look for certifications or professional memberships.
- Compare prices and services from multiple providers.
Prevent Future Paint Transfer
Paint transfer can ruin your car’s look. It happens when your car’s paint rubs off on other surfaces or cars. Preventing paint transfer helps keep your car clean and smooth.
Taking simple steps can protect your car’s paint. You can avoid damage by parking smart and keeping your car well-maintained.
Safe Parking Tips
Choose parking spots carefully to avoid paint scratches and transfers. Park away from tight spaces or busy areas where cars or shopping carts may hit your car.
Look for spots with enough room on both sides. Avoid parking next to cars with visible damage or peeling paint. This lowers the risk of paint rubbing off on your car.
- Park in the center of the space
- Avoid parking near large trucks or delivery vans
- Use covered parking to protect from elements
- Keep distance from shopping cart return areas
Regular Maintenance
Clean your car often to remove dirt and small debris. Dirt can cause scratches that lead to paint transfer. Use gentle soap and a soft cloth for washing.
Apply wax or paint sealant regularly. This adds a protective layer to your car’s paint. It makes the surface harder and less likely to pick up paint from other objects.
- Wash your car every two weeks
- Use soft sponges and microfiber towels
- Apply wax every three months
- Fix small scratches quickly to avoid paint peeling
Frequently Asked Questions
What Is The Best Method To Remove Paint Transfer From Cars?
Using a clay bar, rubbing compound, or specialized paint remover works best to safely remove paint transfer without damaging the car’s finish. Always start gently to avoid scratches.
Can Household Items Remove Paint Transfer On Cars?
Some household items like baking soda or toothpaste may help with minor paint transfer. However, they are less effective and can risk damaging the car’s paint if used improperly.
How Long Does It Take To Remove Paint Transfer?
Removing paint transfer typically takes 15 to 30 minutes depending on the severity and method used. Gentle and careful application ensures the best results without harming the car.
Is Professional Help Necessary For Paint Transfer Removal?
Professional help is recommended for extensive or stubborn paint transfer to prevent paint damage. Experts use advanced tools and techniques for safe, effective results.
Conclusion
Removing paint transfer from your car takes patience and the right tools. Start with gentle methods to avoid damage. Use products made for cars to get the best results. Clean the area well after removing the paint. Regular care keeps your car’s surface smooth and shiny.
Small scratches heal better with quick action. Remember, a clean car looks newer and lasts longer. Take your time, and your car will thank you. Simple steps make a big difference in car care.


