
Installing a dash cam might seem tricky at first, but it’s easier than you think. Imagine having clear video proof if something unexpected happens on the road.
Wouldn’t that give you peace of mind every time you drive? In this guide, you’ll learn simple, step-by-step instructions to install your dash cam quickly and securely. By the end, you’ll be ready to capture every moment without any hassle.
Keep reading to make your car safer and smarter right now.
Credit: www.blindspotmonitor.com
Choosing The Right Dash Cam
Installing a dash cam helps keep your car safe and records important moments. Picking the right dash cam is the first step before installation.
There are many types and features to consider. Think about what fits your needs and budget.
Types Of Dash Cams
Dash cams come in different styles. Each type offers unique benefits for drivers.
- Single-lens dash cams record only the front view.
- Dual-lens dash cams record front and rear views.
- 360-degree dash cams capture all angles around the car.
- Wireless dash cams connect to your phone via Wi-Fi or Bluetooth.
Choose a type based on your driving habits and what you want to record.
Key Features To Look For
Some features make dash cams more useful. Look for these to get the best experience.
- High video resolution for clear images.
- Wide-angle lens to capture more of the road.
- Loop recording to save space by overwriting old files.
- G-sensor to detect impacts and save important videos.
- Night vision for recording in low light.
- Parking mode to record when the car is parked.
Check if the dash cam has easy controls and good customer support.
Budget Considerations
Dash cams vary in price. Set a budget before choosing one.
Basic models cost less and cover simple needs. Advanced models have more features but cost more.
- Basic dash cams: $30 to $70
- Mid-range dash cams: $70 to $150
- High-end dash cams: $150 and above
Balance price with features you need. Avoid overspending on extras you won’t use.
Preparing For Installation
Installing a dash cam can improve your safety on the road. Before starting, prepare well to make the process smooth.
Proper preparation helps avoid mistakes and saves time during installation.
Gathering Necessary Tools
Collect all the tools you need before you begin. This helps the installation go faster and easier.
- Dash cam device and mounting kit
- Car charger or power cable
- Trim removal tool or plastic pry tool
- Micro SD card for recording
- Cleaning cloth for the windshield
- Optional: cable clips or zip ties
Selecting The Best Mounting Spot
Choose a place on your windshield that gives a clear view of the road. The spot should not block your vision.
The dash cam should not interfere with airbags or sensors inside the car.
- Near the rearview mirror for a central view
- Avoid spots with direct sunlight glare
- Place it high enough to capture the road
- Check if the mount sticks well on the chosen spot
Checking Vehicle Compatibility
Make sure your car supports the dash cam’s power needs. Some cars have different power outlets or fuse boxes.
Verify if your car’s windshield material allows the mount to stick firmly.
- Check power outlet type and voltage
- Inspect windshield surface for smoothness
- Confirm space around rearview mirror
- Review your car manual for electrical system info
Step-by-step Installation Guide
Installing a dash cam helps record your driving for safety. This guide will show you clear steps to install it properly.
Follow these simple instructions to mount the dash cam, route the power cable, and connect it to the power source.
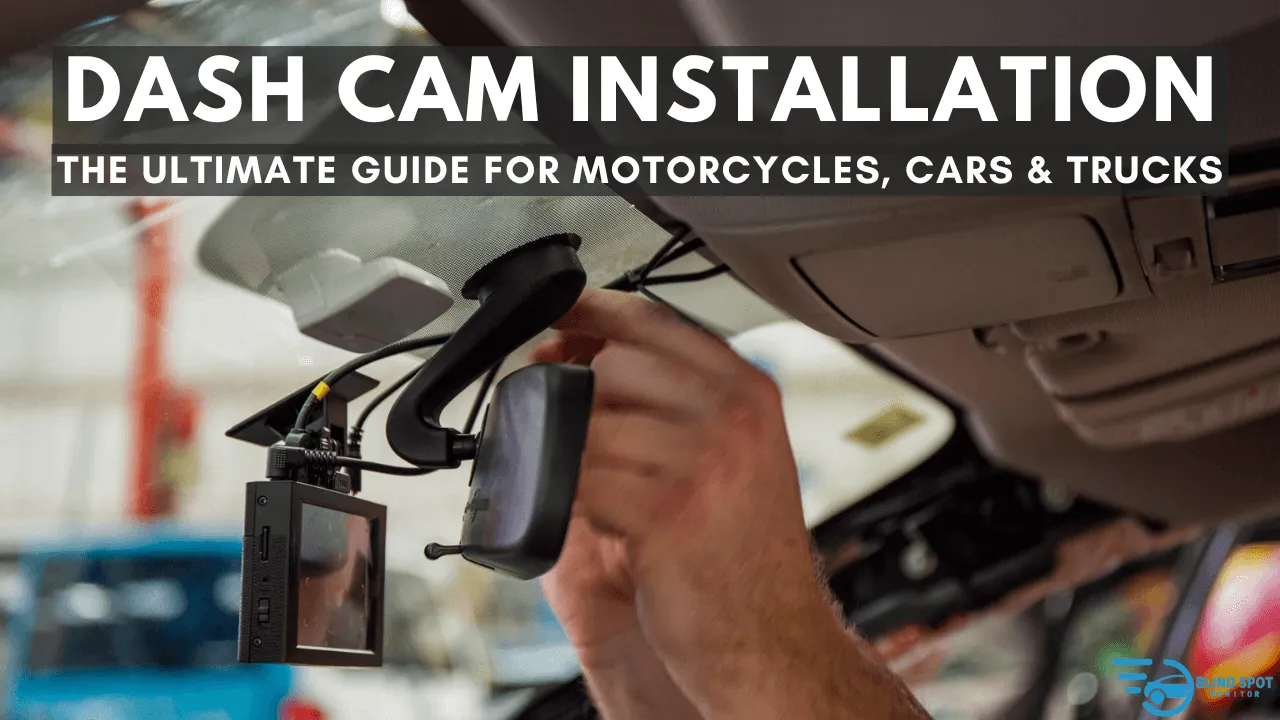
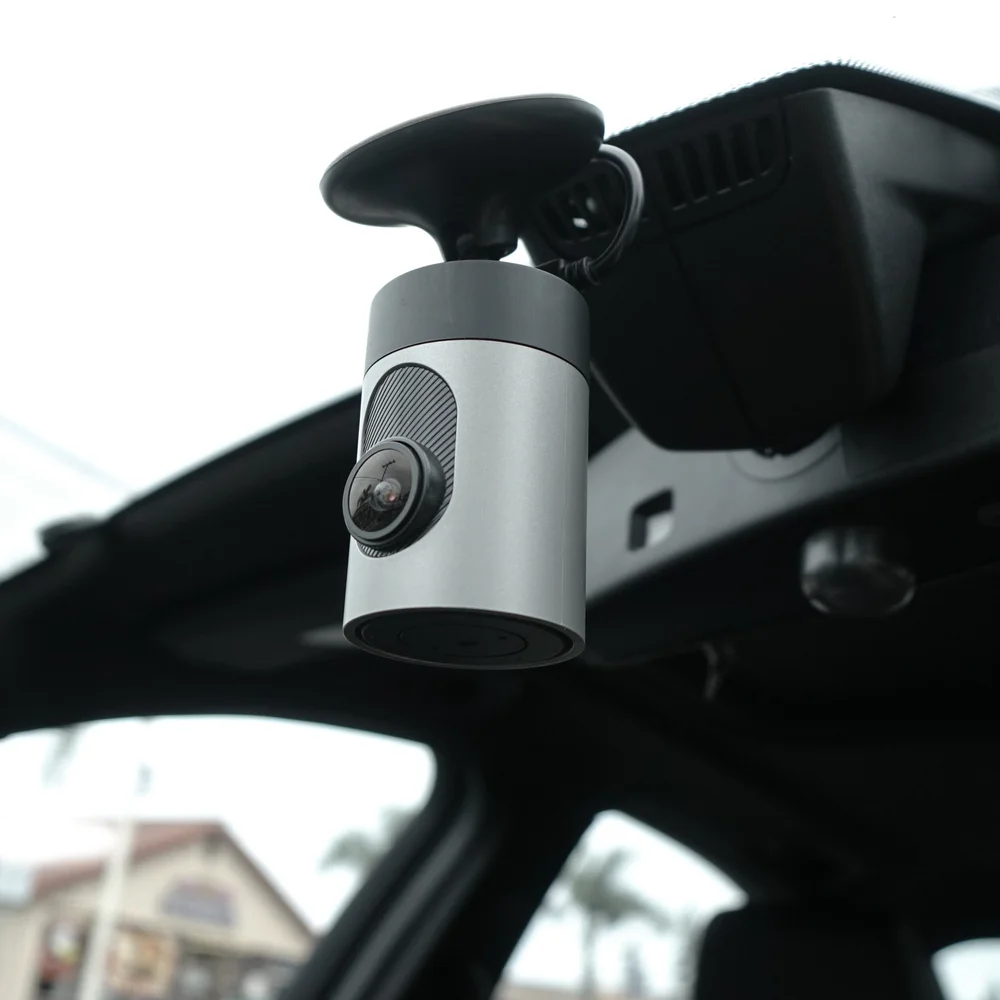
Mounting The Dash Cam
Choose a spot on your windshield that does not block your view. The area behind the rearview mirror is best.
Clean the glass with a cloth to remove dust. This helps the mount stick well and stay secure.
- Peel off the protective film from the mount
- Press the mount firmly on the chosen spot
- Attach the dash cam to the mount until it clicks
Routing The Power Cable
Run the power cable from the dash cam along the edge of the windshield. Hide it under the headliner and side panels.
Use a plastic pry tool or your fingers to tuck the cable neatly. Avoid letting the cable block your view or interfere with airbags.
- Start at the dash cam and follow the windshield edge
- Hide the cable under the roof lining and A-pillar
- Keep the cable away from moving parts and airbags
Connecting To The Power Source
Plug the power cable into your car’s 12V socket or fuse box. The 12V socket is usually near the dashboard or center console.
For a clean setup, you can hardwire the dash cam to the fuse box. Use a fuse tap to connect the power wire safely.
- Use the car charger for easy plug-and-play
- For permanent power, use a fuse tap in the fuse box
- Connect the ground wire to a metal part of the car
- Test the dash cam to ensure it powers on correctly

Credit: www.youtube.com
Configuring Your Dash Cam
Setting up your dash cam correctly helps capture clear and useful footage. This guide shows how to configure important settings.
Proper configuration ensures your dash cam works well every time you drive.
Setting Date And Time
Correct date and time make it easier to review your videos. It also helps in case you need to use footage for evidence.
- Turn on your dash cam and open the settings menu.
- Find the date and time option.
- Set the current date using the on-screen controls.
- Adjust the time to match your local time zone.
- Save the changes before exiting the menu.
Adjusting Video Settings
Video quality affects file size and clarity. Choose settings that fit your needs and storage space.
| Setting | Description | Recommendation |
| Resolution | Determines video clarity | 1080p for clear footage |
| Frame Rate | Frames per second in video | 30 fps for smooth video |
| Loop Recording | Overwrite old files automatically | Enable for continuous recording |
| Exposure | Adjusts brightness | Set to automatic |
Enabling Safety Features
Safety features help protect you and your dash cam data in case of accidents or theft.
- G-Sensor:Automatically saves video on impact to prevent overwriting.
- Parking Mode:Records when motion or impacts are detected while parked.
- Speed Alerts:Notifies if you exceed set speed limits.
- Audio Recording:Captures sound inside the vehicle.
Testing And Maintenance Tips
Installing a dash cam is just the first step. Regular testing and care keep it working well. Follow simple tips to maintain your device.
Check the camera’s angle, update its software, and clean it often. These steps help you capture clear footage anytime.
Verifying Camera Angle And Recording
Make sure the dash cam points correctly on the road. Check recordings to confirm it captures all important views.
- Adjust the camera so it covers the full windshield view.
- Record a short video and review it for clarity.
- Check for any blind spots or glare on the video.
- Reposition the camera if needed for better coverage.
Regular Firmware Updates
Keep your dash cam’s software up to date. Updates fix bugs and add new features for better performance.
| Update Frequency | How to Check | Why Important |
| Monthly or quarterly | Use app or website | Improves stability and recording quality |
| After alerts | Dash cam notifications | Fixes security issues and bugs |
| Before long trips | Manual check | Ensures all features work well on the road |
Cleaning And Care
Keep your dash cam lens and body clean. Dust and smudges reduce video quality and sensor accuracy.
- Use a soft microfiber cloth to wipe the lens gently.
- Avoid harsh chemicals; use mild soap if needed.
- Clean the mounting area to keep the camera stable.
- Store the dash cam in a cool, dry place when not in use.
Troubleshooting Common Issues
Installing a dash cam can enhance driving safety. Sometimes, issues may arise during setup. This guide helps you troubleshoot common problems.
By following these tips, you can ensure your dash cam functions correctly. Let’s explore solutions to common issues.
Power Problems
If your dash cam does not power on, check the power source. Ensure the cable is connected properly to the car’s power outlet.
- Check the fuse in the car’s power outlet.
- Ensure the power cable is not damaged.
- Try a different power outlet if available.
Recording Errors
If your dash cam is not recording, it might be due to incorrect settings. Verify that the recording mode is activated.
Storage And Memory Issues
Storage issues can prevent recordings from saving. Check the memory card for adequate space. Sometimes, a card needs formatting.
| Memory Card Type | Recommended Use |
| Class 10 | High-quality video |
| Class 6 | Standard video |
| Class 4 | Basic recording |
To prevent loss of data, regularly back up your recordings. This keeps your footage safe and your dash cam ready for use.
Credit: www.grdian.com
Frequently Asked Questions
How Do I Choose The Best Dash Cam For Installation?
Choose a dash cam with good video quality, reliable storage, and easy installation. Consider features like night vision and GPS for added value.
Where Is The Ideal Spot To Install A Dash Cam?
Install the dash cam behind the rearview mirror. This spot offers a clear road view without obstructing the driver’s sight.
Can I Install A Dash Cam Without Professional Help?
Yes, most dash cams come with user-friendly instructions. Basic tools like adhesive mounts and power cables make DIY installation easy.
How Do I Power A Dash Cam In My Car?
Use the car’s cigarette lighter socket or hardwire to the fuse box. Ensure proper voltage to avoid draining the car battery.
Conclusion
Installing a dash cam is easier than it seems. Follow the steps carefully and take your time. Secure the camera well for clear road views. Connect the power source properly to avoid issues. Test the dash cam before driving to ensure it works.
A dash cam helps keep you safe on the road. It records important moments in case of accidents. Now, you can enjoy peace of mind while driving. Simple installation brings big benefits. Give it a try today.


