
Tree sap on your car can be more than just an eyesore—it can damage your paint if not removed carefully. You might have tried scrubbing it off, only to end up with scratches or dull spots.
What if you could get rid of that sticky mess without risking your car’s finish? You’ll discover simple, safe methods to remove tree sap quickly and effectively. Keep reading, and learn how to protect your car’s shine while saying goodbye to stubborn sap for good.
Credit: www.fresh-layer.com
Identify Tree Sap On Car
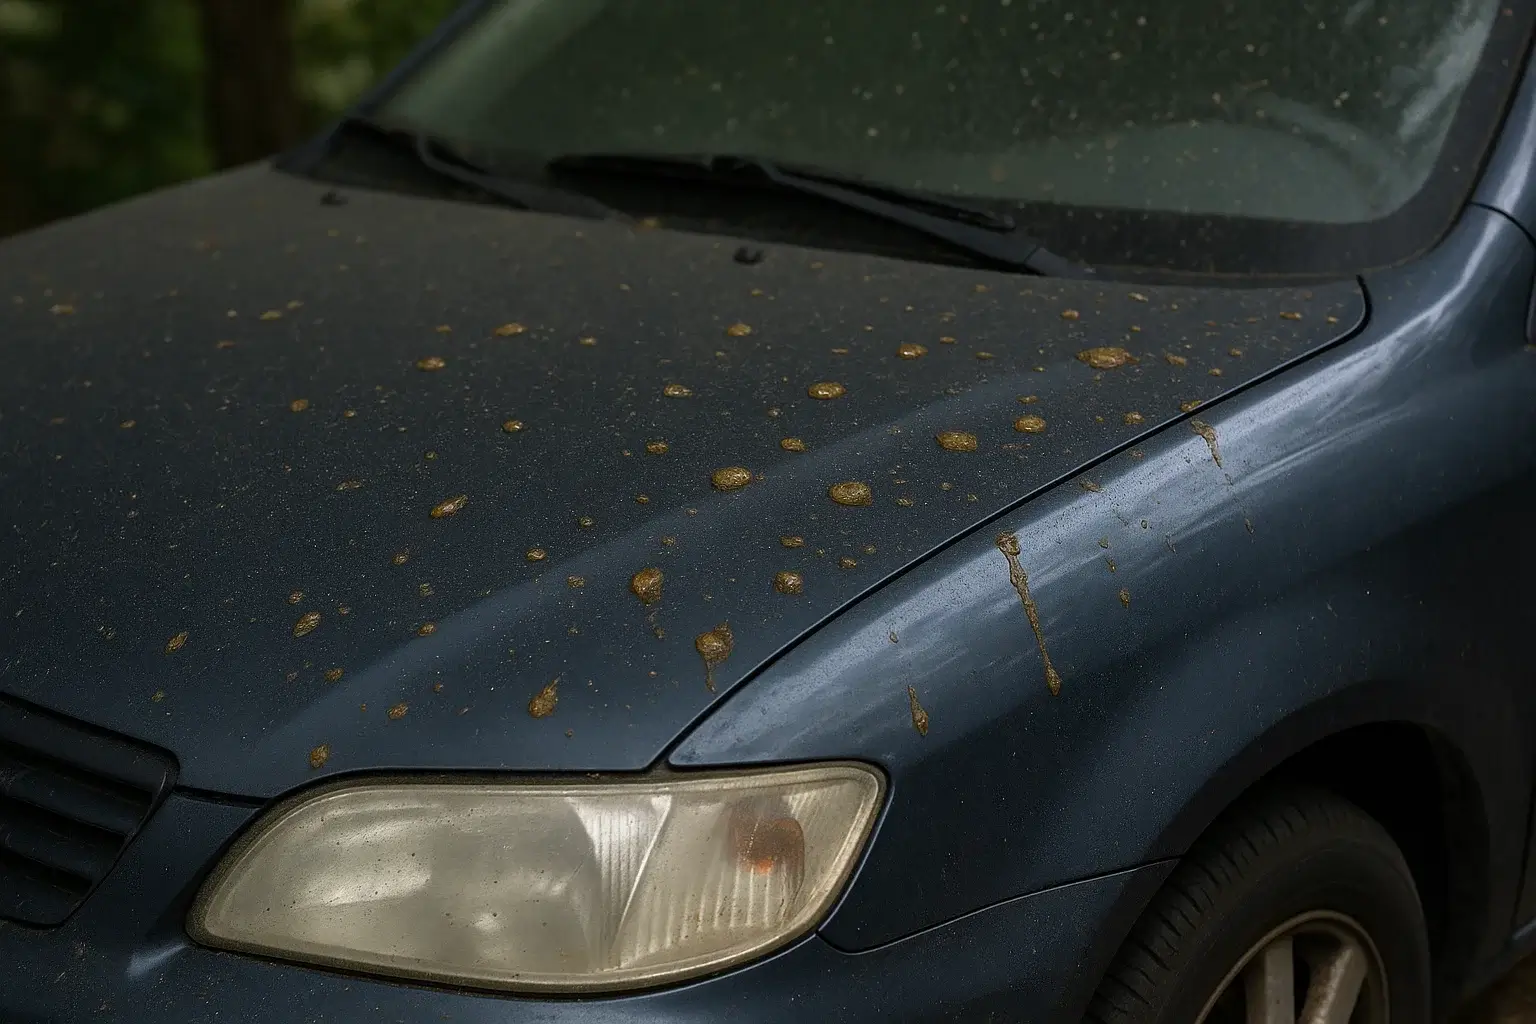
Tree sap can stick to your car’s surface and cause damage if not removed. It looks like small, shiny spots or sticky blobs on the paint.
Knowing how to spot tree sap early helps protect your car’s paint. This guide will help you recognize sap and prepare for safe removal.
Look For Sticky, Raised Spots
Tree sap often appears as sticky, raised spots on your car’s paint. These spots can vary in size from tiny dots to larger blobs.
Check For A Glossy Or Shiny Surface
Sap usually has a glossy or shiny look compared to the car’s paint. It may catch light differently, making it easier to spot in sunlight.
Identify Color Differences
Tree sap can be clear, yellowish, or brownish. It may stand out against your car’s paint color, making it easier to see.
Feel The Texture
Run your fingers gently over the surface. Tree sap feels sticky or tacky, unlike smooth car paint.
Common Tree Types That Produce Sap
- Pine trees
- Maple trees
- Oak trees
- Birch trees
- Fir trees
Sap Appearance By Tree Type
| Tree Type | Sap Color | Sap Texture |
| Pine | Golden yellow | Sticky and thick |
| Maple | Clear to amber | Sticky but smooth |
| Oak | Dark brown | Sticky and hardens over time |
| Birch | Clear or milky | Sticky and soft |
| Fir | Amber to dark brown | Sticky and resinous |
Gather Safe Cleaning Supplies
Removing tree sap from your car needs careful cleaning. Use safe supplies to protect your car’s paint.
Picking the right tools and cleaners helps remove sap without causing damage. Prepare everything before you start.
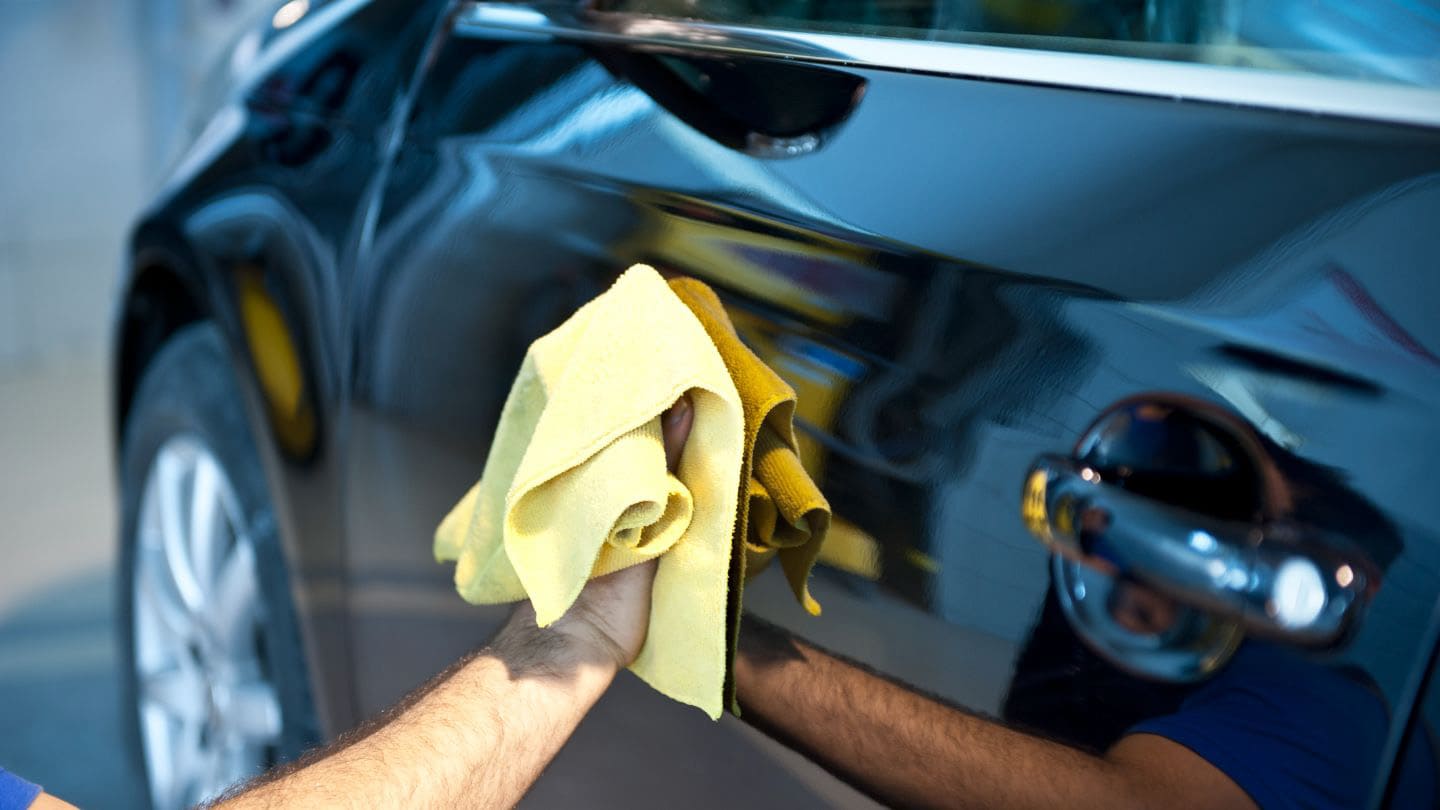
Microfiber Cloths
Microfiber cloths are soft and gentle on car paint. They do not scratch or leave lint behind.
Use clean microfiber cloths to apply cleaning solutions and wipe sap away carefully.
Isopropyl Alcohol
Isopropyl alcohol helps dissolve tree sap without harming paint. Use a small amount on a cloth.
Test alcohol on a hidden spot first. This ensures it won’t damage your car’s surface.
Car Wash Soap
Car wash soap removes dirt and sticky sap residue safely. Avoid household soaps that can strip wax.
Wash the area with soap and water after sap removal to clean and protect the paint.
Plastic Scraper Or Credit Card
A plastic scraper or old credit card helps lift sap gently. Avoid metal tools that can scratch paint.
Use the scraper at a low angle and with light pressure to prevent damage.
Car Wax Or Polish
Apply car wax or polish after cleaning sap. It restores shine and adds a protective layer to the paint.
This step helps keep your car’s surface smooth and prevents future sap from sticking easily.
Use Warm Soapy Water
Tree sap can stick to your car and make it look messy. Removing it quickly helps protect the paint. Warm soapy water is a safe way to clean sap without causing damage.
This method uses gentle soap and warm water to soften the sap. It makes the sap easier to wipe off without harsh chemicals.
Prepare Your Cleaning Solution
Start by mixing warm water with a mild car wash soap. Use enough soap to create bubbles. Avoid strong detergents that might harm the paint.
Warm water helps soften the sticky sap. It makes cleaning easier and safer for your car’s finish.
Apply The Solution To The Sap
Dip a soft cloth or sponge into the warm soapy water. Gently place it over the sap spot. Let it sit for a few minutes to soften the sap.
Do not scrub hard. This can scratch the paint. Gentle soaking loosens the sap for easy removal.
Wipe Away The Sap
After soaking, use a clean, soft cloth to wipe the sap off. Use gentle circular motions to lift it away. Repeat soaking if needed.
- Use soft microfiber cloths to avoid scratches
- Do not use abrasive pads or brushes
- Be patient to prevent paint damage
Rinse And Dry The Area
Rinse the cleaned area with plain water to remove soap residue. Dry it with a clean towel to prevent water spots.
Keeping the paint clean and dry helps protect it from further damage.
Credit: www.chase.com
Apply Rubbing Alcohol Or Nail Polish Remover
Tree sap can stick to car paint and cause damage if not removed. Using rubbing alcohol or nail polish remover is a safe method.
These items dissolve the sap without harming your car’s paint. It’s important to follow the steps carefully to avoid scratches.
Gather Materials
Before starting, you need a few materials. This ensures the process is smooth and effective.
- Rubbing alcohol or nail polish remover
- Microfiber cloth
- Soft sponge
- Bucket of warm water
Apply The Solution
Pour a small amount of rubbing alcohol or nail polish remover onto a microfiber cloth. Gently rub the sap area until it dissolves.
Wash And Rinse
After removing the sap, wash the area with a soft sponge and warm water. This removes any residue left from the remover.
| Step | Action |
| 1 | Wet the sponge |
| 2 | Gently scrub the area |
| 3 | Rinse thoroughly with clean water |
Dry And Inspect
Use a dry microfiber cloth to gently dry the area. Check for any remaining sap or residue.
If needed, repeat the process for any leftover spots to ensure your car’s paint remains flawless.
Try Commercial Sap Removers
Tree sap can stick hard to your car’s paint. It leaves a sticky, ugly spot that is tough to clean. Using a commercial sap remover can help remove sap safely.
These products are made to break down sap without harming the paint. They work faster than many home remedies and protect your car’s surface.
Choose The Right Sap Remover
Not all sap removers are the same. Look for one that is safe for car paint and clear about its use. Avoid harsh chemicals that can damage the finish.
Read the label to check if it suits your car type. If unsure, test the remover on a small hidden area first.
Prepare The Area Before Application
Wash the car area with water and mild soap to remove dirt. Dry the spot completely before applying the sap remover.
Removing dirt helps the product work better. It also stops scratches during the cleaning process.
Apply The Sap Remover Correctly
Follow the product instructions closely. Usually, you spray or dab the remover on the sap spot.
Let it sit for a few minutes to soften the sap. Do not leave it for too long to avoid paint damage.
Remove Sap Gently
Use a soft cloth or sponge to wipe the sap away. Avoid scrubbing hard or using abrasive tools.
If sap remains, repeat the application and wiping process. Be patient to protect your car’s paint.
Clean And Protect The Area After Removal
Wash the area again with soap and water to remove any leftover remover. Dry the surface with a soft towel.
Consider applying wax or polish to protect the paint and keep it shiny after sap removal.
Use Clay Bar For Stubborn Sap
Tree sap can stick hard to your car’s paint. It can be tough to remove without damage. A clay bar is a useful tool for this job.
Clay bars gently lift sap and other contaminants from the paint surface. They work without harsh chemicals or scrubbing.
Prepare Your Car For Clay Bar Treatment
Wash your car thoroughly before using the clay bar. This removes dirt and loose debris that can scratch the paint during the process.
- Rinse the car with water
- Use car shampoo and a soft sponge
- Dry with a microfiber towel
How To Use A Clay Bar Safely
Follow these steps to use a clay bar without damaging your car’s paint:
- Break off a small piece of clay
- Knead it until soft and flat
- Spray lubricant on the paint surface
- Gently rub the clay bar in straight lines
- Wipe off residue with a clean microfiber cloth
Keep Your Clay Bar Clean During Use
Clay bars pick up dirt that can scratch paint. Keep your clay bar clean by folding it often. This exposes a clean surface for continued use.
| Tip | Reason |
|---|---|
| Fold clay bar regularly | Expose clean clay surface |
| Use plenty of lubricant | Reduce friction and prevent scratches |
| Do not press too hard | Avoid paint damage |
After Clay Bar Treatment Care
After removing sap, apply a car wax or sealant. This protects the paint and keeps it smooth. It also makes future cleaning easier.
Polish And Wax After Cleaning
After removing tree sap, polishing and waxing your car is important. This process helps protect the paint and maintain its shine.
Polishing removes small scratches and gives the paint a smooth finish. Waxing adds a protective layer to shield your car from future damage.
Choose The Right Polish
Select a polish that is safe for your car’s paint. Read labels and choose a product designed for your paint type.
Apply polish with a soft cloth, using circular motions. This helps to gently smooth out imperfections.
Apply Wax For Protection
Use a quality car wax to create a protective barrier. This keeps your car’s paint safe from sap, dirt, and weather.
Spread wax evenly across the surface. Buff it with a clean cloth for a shiny finish.
- Use a microfiber cloth for best results
- Wax in a shaded area to prevent drying
- Reapply wax every few months
Prevent Future Sap Damage
Tree sap can harm your car’s paint if left untreated. Taking steps to prevent sap buildup saves time and money. Protect your car by acting early and using simple habits.
Preventing sap damage helps keep your car looking clean and shiny. Use these easy tips to avoid sap stains and protect your paint.
Park Away From Trees
Choose parking spots far from trees that drip sap. Avoid parking under pine, maple, or oak trees. This reduces the chance of sap falling on your car.
Use A Car Cover
A car cover protects the paint from sap and other debris. Use a breathable, waterproof cover if you park outside. This keeps your car safe during long periods.
Wash Your Car Regularly
Regular washing removes sap before it hardens. Clean your car at least once a week during sap season. Use gentle car soap and soft cloths to protect paint.
- Rinse the car with water first
- Apply car-safe soap with a sponge
- Gently scrub sap spots
- Rinse thoroughly and dry
Apply Protective Wax
Wax creates a barrier on your paint. It helps sap slide off without sticking. Apply wax every few months to keep paint safe and shiny.
Keep Cleaning Supplies Handy
Have sap remover or rubbing alcohol ready for quick cleaning. Remove sap as soon as you notice it to prevent paint damage. Test any cleaner on a small spot first.
Credit: drivingdiary.com
Frequently Asked Questions
How Can I Safely Remove Tree Sap From Car Paint?
Use rubbing alcohol or a commercial sap remover. Apply gently with a microfiber cloth to avoid paint damage. Test on a small spot first to ensure safety. Rinse thoroughly and wash the area afterward for best results.
What Household Items Remove Tree Sap From Cars?
Rubbing alcohol, hand sanitizer, and baking soda can remove sap effectively. Apply gently with a soft cloth, then wash the area with soap and water. Avoid harsh scrubbing to protect the paint.
Is It Safe To Use Wd-40 On Tree Sap?
Yes, WD-40 can dissolve tree sap safely on car paint. Spray a small amount, let it sit briefly, then wipe off with a clean cloth. Always wash the area afterward to remove residue.
How Long Should Sap Stay On Car Paint Before Removal?
Remove sap as soon as possible, ideally within 24 hours. The longer sap stays, the harder it is to remove and the more damage it may cause to the paint.
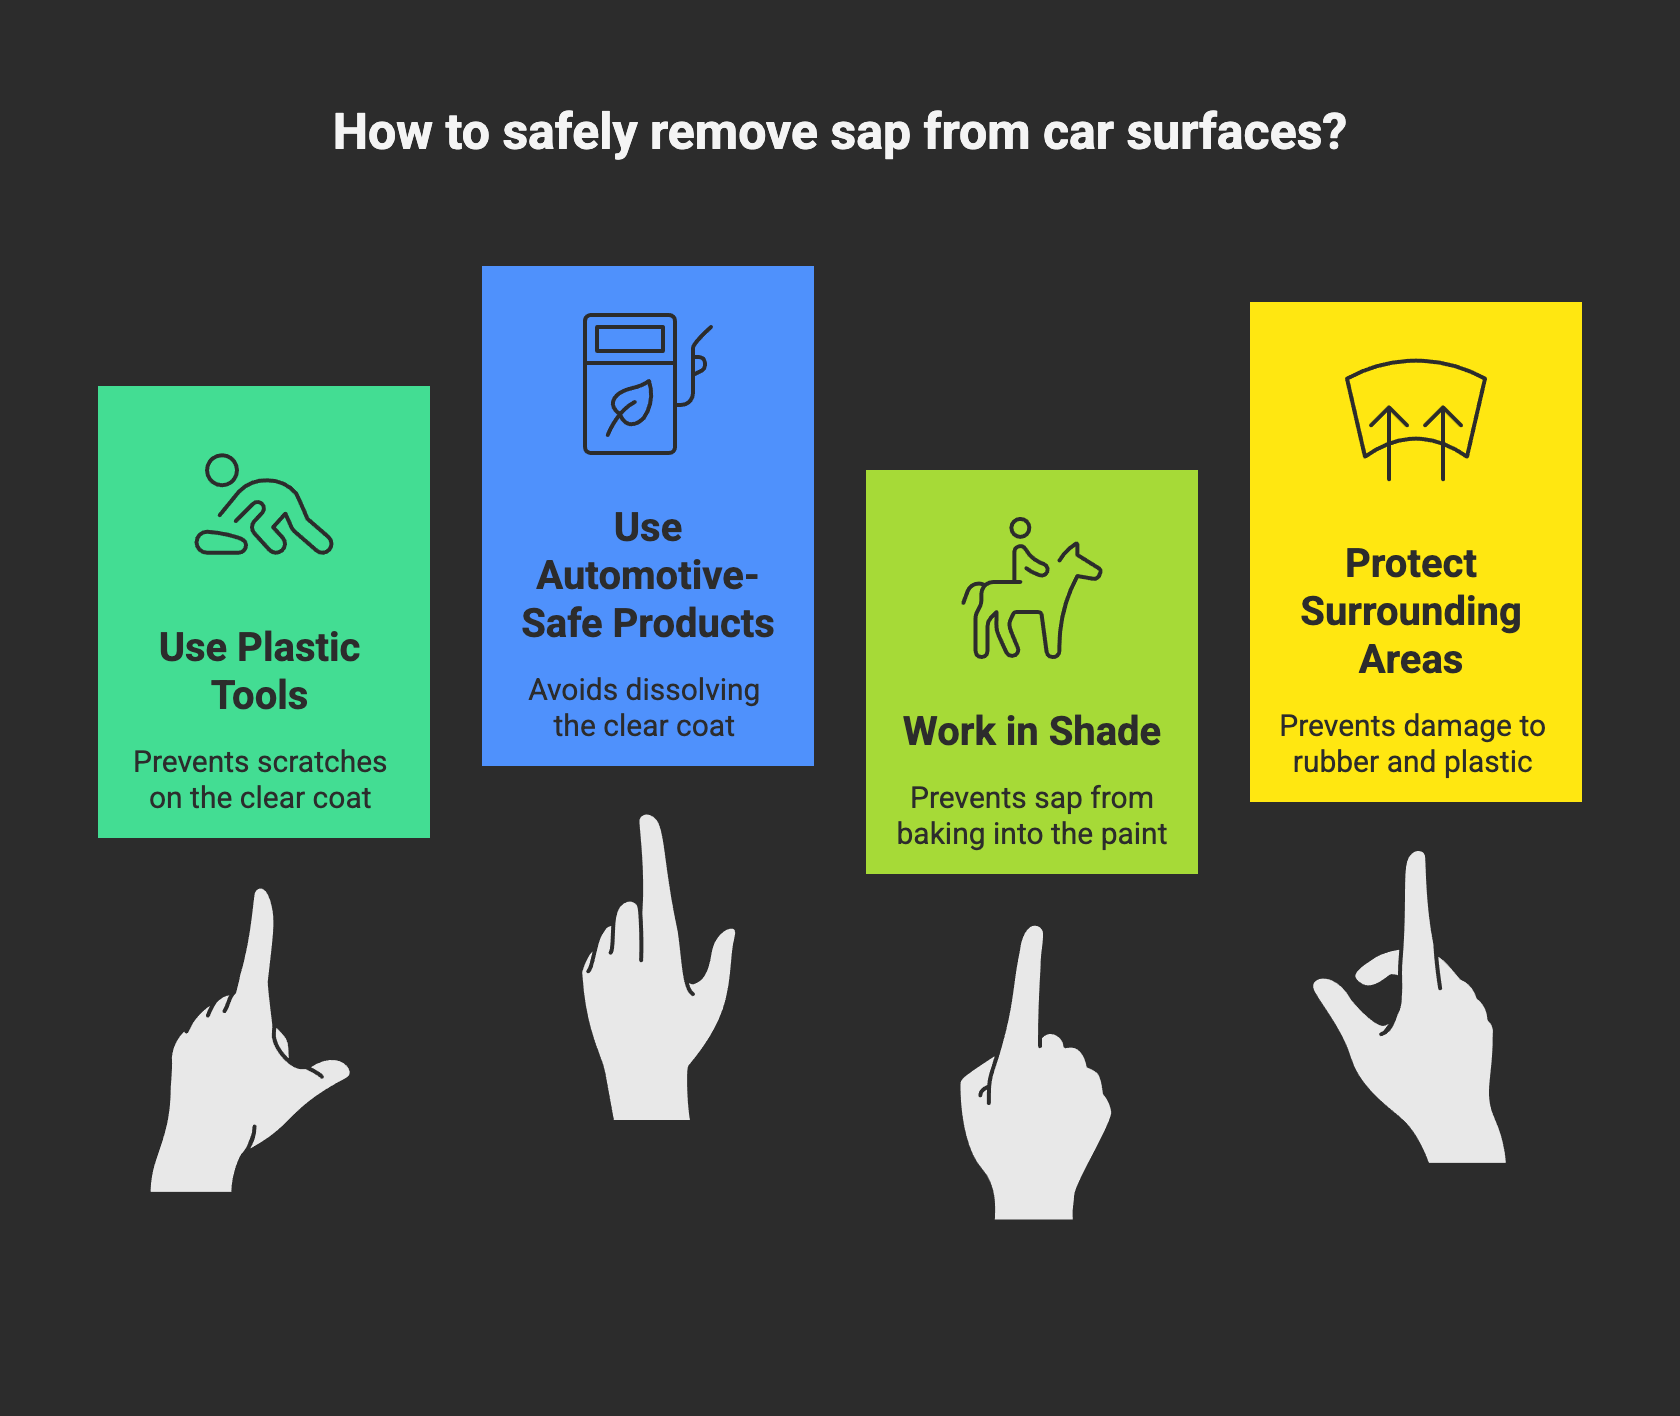
Conclusion
Removing tree sap from your car does not have to be hard. Use gentle products and soft cloths to protect the paint. Take your time and avoid scraping or harsh chemicals. Clean sap quickly to prevent stains and damage. Regular washing helps keep your car safe from sap build-up.
A clean car looks better and lasts longer. Keep these tips in mind and enjoy your shiny ride. Simple steps make all the difference.


