
Are you ready to boost your car’s safety and capture every moment on the road? Installing a dash cam is easier than you think, and it can protect you from unexpected surprises like accidents or false claims.
In this guide, you’ll discover simple steps to set up your dash cam quickly and correctly. By the end, you’ll feel confident knowing your car is watching out for you every time you drive. Keep reading to learn exactly how to install your dash cam hassle-free!
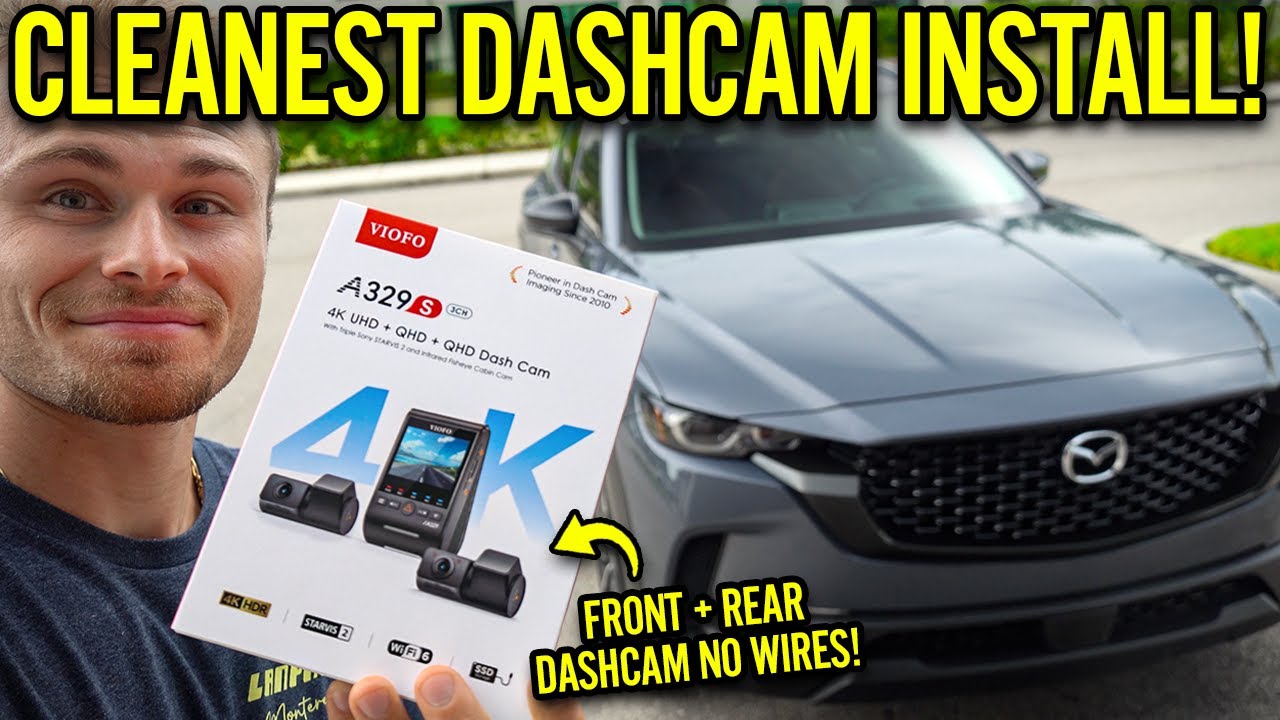
Choosing The Right Dash Cam
Selecting the right dash cam is important for capturing clear videos. It helps protect you in case of accidents.
Think about what features you need and how much you want to spend. This makes finding the right dash cam easier.
Key Features To Look For
Look for a dash cam with good video quality and wide viewing angles. These help record more details clearly.
Other important features include night vision, loop recording, and a G-sensor to save files during a crash.
- High resolution (at least 1080p)
- Wide-angle lens (120° or more)
- Night vision for low light
- Loop recording to save space
- G-sensor to lock important videos
- Easy-to-use controls
Budget Considerations
Dash cams come in many price ranges. Choose one that fits your budget and needs.
Cheaper models may lack some features but can still record basic videos. Higher-priced cams have better quality and extras.
- Low budget: Basic video, fewer features
- Mid-range: Good video, some extras
- High-end: Best video, many features
Types Of Dash Cams
There are several types of dash cams. Choose one based on how you want to use it.
Single-lens cams record only the front view. Dual-lens cams record front and inside or rear views. Some have GPS or Wi-Fi features.
- Single-lens: Records front road view
- Dual-lens: Records front and rear or inside
- GPS dash cams: Track location and speed
- Wi-Fi dash cams: Connect to phone for easy access
Credit: www.youtube.com
Preparing For Installation
Installing a dash cam in your vehicle is a smart way to record your drives. Before you start, prepare well. This will make the process smooth and safe.
Gathering the right tools and checking your vehicle’s features help avoid problems during installation. Also, choosing the right spot for the dash cam is important.
Gathering Necessary Tools
Before installation, collect all tools and parts. This saves time and helps you work safely inside your car.
- Dash cam unit with mounting bracket
- Power cable compatible with your car
- Trim removal tool to hide wires
- Micro SD card for recording storage
- Cleaning cloth for the windshield
- Double-sided tape or suction mount
Selecting The Best Mounting Location
Pick a spot that gives a clear view of the road. The camera should not block your vision or interfere with airbags.
| Location | Advantages | Considerations |
|---|---|---|
| Behind the rearview mirror | Central view, hidden from sight | Check if it blocks your view or sensors |
| Near the windshield top corner | Less distraction for the driver | May require longer cable routing |
| Dashboard mount | Easier to install and adjust | Can obstruct view and be affected by sunlight |
Checking Vehicle Compatibility
Ensure your car supports the dash cam’s power needs. Check the voltage and power outlet type. Some cars have USB ports, others use cigarette lighter sockets.
- Find your vehicle’s fuse box and identify the power source.
- Check if your car has a constant or switched power supply.
- Confirm the dash cam voltage matches your car’s system (usually 12V).
- Look for any dashboard sensors that may be affected by the installation.
Mounting The Dash Cam
Mounting your dash cam correctly is important for clear video recording. It also keeps the device stable while driving.
This guide will help you set up the dash cam on your windshield step-by-step.
Cleaning The Windshield
Start by cleaning the windshield where you want to place the dash cam. A clean surface helps the mount stick well.
Use glass cleaner and a soft cloth to remove dust, dirt, and grease. Let it dry completely before mounting.
Attaching The Mount Securely
Press the mount firmly against the cleaned area on the windshield. Hold it in place for 30 seconds to ensure it sticks well.
If your mount uses adhesive tape, peel off the backing carefully before pressing. For suction mounts, push the suction cup and lock it tight.
- Check the mount is not loose or wobbly
- Choose a spot that does not block your view
- Place the mount near the rearview mirror if possible
Adjusting The Camera Angle
Adjust the dash cam so it captures a clear view of the road ahead. The lens should point straight forward, not too high or low.
Test the angle by recording a short video. Make small changes if needed until you get a good view.
Wiring And Power Setup
Installing a dash cam requires proper wiring and power setup. Choosing the right power source keeps your dash cam running smoothly.
This guide covers common power options and how to manage wires neatly inside your vehicle.
Using The Cigarette Lighter Adapter
Most dash cams come with a cigarette lighter adapter. This plug fits into your car’s 12V socket.
This method is easy and requires no special tools or wiring skills. Just plug it in and start using the dash cam.
- Locate the 12V socket, usually near the dashboard
- Plug the adapter into the socket
- Route the cable along the windshield edge
- Turn on the car to power the dash cam
Hardwiring For A Clean Look
Hardwiring connects the dash cam directly to the car’s fuse box. This setup hides cables and powers the device always or with the ignition.
You may need a hardwire kit with a fuse tap and voltage regulator to protect your car’s electrical system.
- Turn off the car and disconnect the battery
- Find a fuse that works with your dash cam (usually ACC or battery)
- Use a fuse tap to connect the dash cam power wire
- Ground the black wire to a metal surface in the car
- Test the dash cam by turning on the car
Hiding And Securing Wires
Keeping wires hidden improves safety and looks better. Use trim tools to tuck cables behind panels and headliners.
Secure wires with clips or tape to stop them from dangling or moving while driving.
- Run wires along edges of the windshield and dashboard
- Use plastic trim tools to lift panels gently
- Hide cables inside the A-pillar and under the glove box
- Use zip ties or double-sided tape to fix wires in place
- Check all wires do not block airbags or controls
Configuring The Dash Cam
After installing your dash cam, you need to set it up for the best use. Proper configuration ensures clear videos and correct data.
This guide covers setting the date and time, adjusting video resolution, and enabling safety features.
Setting Date And Time
Start by setting the correct date and time on your dash cam. This helps when reviewing footage later.
Use the menu buttons to find the date and time settings. Adjust the values to match your local time.
Adjusting Video Resolution
Set the video resolution to balance quality and storage space. Higher resolution records clearer videos but uses more memory.
- Open the settings menu on your dash cam.
- Select the video resolution option.
- Choose from available resolutions like 1080p, 720p, or lower.
- Confirm your choice and exit the menu.
Enabling Safety Features
Dash cams often have safety features to protect your footage and improve driving safety.
| Feature | Description |
| G-Sensor | Detects sudden impacts and locks important videos. |
| Parking Mode | Records while your car is parked to catch incidents. |
| Lane Departure Warning | Alerts you if you drift out of your lane. |
| Speed Camera Alerts | Notifies you when approaching speed cameras. |
Turn on these features in the settings menu to improve your dash cam’s usefulness.
Testing The Dash Cam
After installing your dash cam, testing it ensures everything works properly. This step checks if all functions are active and reliable.
Follow these steps to make sure your dash cam is ready for daily use. Begin by verifying the power connection, recording a test video, and checking playback quality.
Verifying Power Connection
Ensuring your dash cam has a stable power connection is crucial. Make sure the power cable is securely connected to both the dash cam and the power source.
- Check the power LED indicator on the dash cam to confirm it’s on.
- Inspect the cable for any visible damage or loose connections.
- Ensure the vehicle’s power outlet is functioning properly.
Recording A Test Video
Record a short video to check that the dash cam captures footage correctly. This helps verify that the camera settings are working as intended.
Press the record button to start filming. Drive for a few minutes to capture various angles.
Observe the recording process on the dash cam screen to ensure it’s smooth.
Checking Playback Quality
Review the recorded video to assess the quality of the footage. Clear and stable video is essential for effective dash cam use.
| Aspect | Requirement |
| Video Clarity | Should be clear and sharp |
| Audio Quality | Sound should be audible |
| Frame Stability | No shakes or skips |
If any issues are found during testing, adjust the settings or check the installation. Testing ensures your dash cam is reliable for everyday use.
Maintenance Tips
Taking care of your dash cam ensures it works well over time. Regular maintenance helps avoid problems and keeps recordings clear.
Here are some simple tips to keep your dash cam in top condition. Follow these steps to ensure your device runs smoothly.
Regular Cleaning
Clean your dash cam regularly to keep the lens clear. Dust and dirt can affect the quality of your recordings.
- Use a soft cloth to wipe the lens gently.
- Avoid using water or harsh chemicals.
- Check for dust buildup on the camera mount.
Updating Firmware
Firmware updates can improve performance and add new features. Keeping your dash cam’s software up to date is essential.
Visit the manufacturer’s website for the latest firmware version.
Follow their instructions for downloading and installing updates.
Managing Storage
Proper storage management ensures you have enough space for new recordings. Regularly check and clear your dash cam’s storage.
| Task | Frequency |
| Delete old files | Weekly |
| Format SD card | Monthly |
| Check storage capacity | Bi-weekly |

Credit: www.youtube.com

Credit: www.youtube.com
Frequently Asked Questions
How Do I Mount A Dash Cam Properly?
To mount a dash cam, clean the windshield first. Use the adhesive mount or suction cup. Position the camera behind the rearview mirror for a clear view. Adjust the angle to capture the road ahead without obstruction.
Where Should I Place The Dash Cam Power Cable?
Route the power cable along the windshield edge and tuck it into the headliner. Then run it down the A-pillar carefully. Avoid blocking airbags or controls. Connect the cable to the car’s 12V socket or hardwire kit.
Can I Install A Dash Cam Myself?
Yes, installing a dash cam is simple and DIY-friendly. Follow the user manual steps carefully. Most cameras use adhesive mounts and plug into the cigarette lighter. Hardwiring may require professional help for safety.
What Tools Do I Need For Dash Cam Installation?
You generally need a dash cam, adhesive or suction mount, and power cable. A plastic pry tool helps hide cables neatly. For hardwired setups, use a fuse tap, wire stripper, and multimeter for safety.
Conclusion
Installing a dash cam is simple and helps keep you safe. Follow the steps carefully for the best results. Place the camera where it records clearly without blocking your view. Connect it to power and test its functions before driving.
A dash cam records important moments on the road. It can protect you from accidents and false claims. Taking a little time now saves trouble later. Enjoy safer and smarter driving with your new dash cam.


