
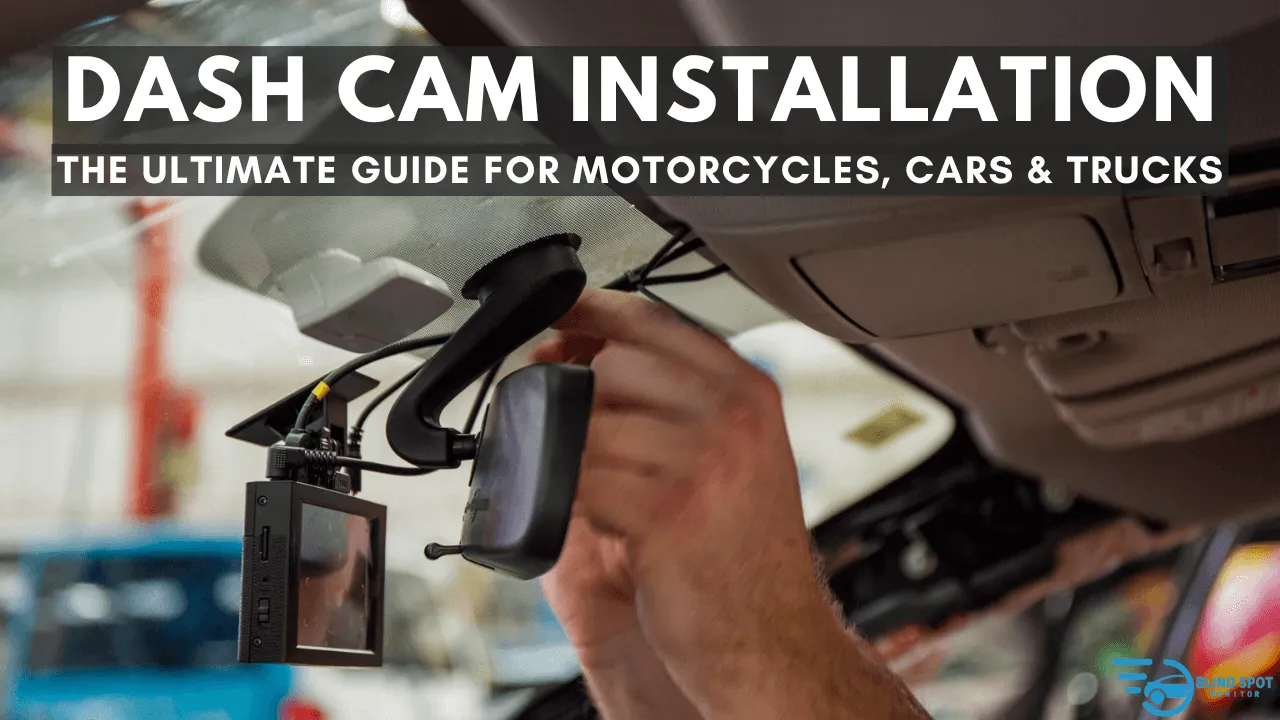
Have you ever wished you had proof after a tricky situation on the road? Installing a dash cam could be the answer you’ve been looking for.
Imagine having a silent witness that records every moment while you drive, protecting you from false claims and helping you stay safe. You’ll discover how easy it is to install a dash cam and why it’s a smart move for every driver.
Keep reading, and you’ll learn everything you need to get started right away.
Credit: www.blindspotmonitor.com
Choosing The Right Dash Cam
Dash cams help record your driving and keep you safe. Picking the right dash cam matters for good video quality and ease of use.
Many dash cams come with different features. Understanding what you need will help you make the best choice.
Key Features To Look For
Look for features that suit your driving style and needs. Some features add safety and convenience.
- Video resolution: Clear images help with evidence.
- Night vision: Good recording in low light is important.
- Wide-angle lens: Captures more of the road.
- Loop recording: Saves space by overwriting old files.
- G-sensor: Automatically saves video after a crash.
- Parking mode: Records events when parked.
Types Of Dash Cams
Choose a dash cam type that fits your car and budget. Each type has different uses and installation methods.
| Type | Description | Best For |
| Single-lens | Records front view only | Basic coverage |
| Dual-lens | Records front and rear views | Full vehicle coverage |
| Interior | Focuses inside the car | Rideshare drivers and taxis |
| Wireless | Easy to install and move | Renters and frequent travelers |
Budget Considerations
Dash cams come in many price ranges. Decide how much you want to spend before buying.
- Low budget: Basic features, good for simple recording.
- Mid-range: Better video quality and some extra features.
- High-end: Advanced features like GPS, Wi-Fi, and cloud storage.
Preparing For Installation
Installing a dash cam needs some planning. You must prepare tools and know where to place the camera. Power options are also important to consider.
This guide helps you get ready before you start the install. Follow these tips to make the process smooth and safe.
Tools You’ll Need
Gathering the right tools saves time and avoids problems. Here are common tools needed for dash cam installation.
- Phillips screwdriver
- Trim removal tool
- Wire cutters or strippers
- Electrical tape
- Fuse tap (if hardwiring)
- Zip ties
- Multimeter (optional for checking power)
Selecting The Best Mounting Spot
Choose a mounting spot that gives a clear view of the road. It should not block your view or interfere with airbags.
| Mounting Spot | Pros | Cons |
|---|---|---|
| Behind rearview mirror | Hidden, central view | May block mirror adjustment |
| Top corner of windshield | Good view, less obtrusive | Possible glare from sun |
| Dashboard mount | Easy to install and remove | Can obstruct view, less stable |
Power Source Options
Dash cams need power from your vehicle. You can use a cigarette lighter adapter or hardwire to your car’s fuse box.
- Cigarette Lighter Adapter:Easy to plug in and unplug. No wiring needed.
- Hardwiring Kit:Connects directly to fuse box for a clean look. Allows parking mode features.
- Battery Pack:Some dash cams use an internal battery for short use without power.
Step-by-step Installation
Installing a dash cam can improve your driving safety. It records video while you drive. This guide shows how to install your dash cam easily.
Follow these steps to mount the camera, route the cables, and connect power safely.
Mounting The Dash Cam
Choose a spot behind the rearview mirror. This area does not block your view. Clean the windshield to help the mount stick well.
Attach the mount or suction cup to the windshield. Press firmly to secure it. Then, fix the dash cam onto the mount.
- Pick a clear view of the road
- Clean the glass with alcohol wipes
- Secure the mount tightly
- Adjust the camera angle to capture the front
Routing The Cables
Hide the cable to keep your car neat. Start from the dash cam and run the cable along the edge of the windshield. Use the headliner and side panels.
Tuck the cable under trim pieces carefully. Avoid blocking airbags or controls. Leave some slack near the dash cam for adjustments.
- Follow the windshield edge
- Use trim to hide cables
- Avoid blocking airbags
- Keep slack near the camera
Connecting To Power
Most dash cams use the car’s 12V power outlet or fuse box. Plug the power adapter into the cigarette lighter socket. This powers the camera when the car is on.
You can also hardwire the dash cam to the fuse box. Use a fuse tap for a clean connection. This lets the camera work even when the car is off.
- Use 12V outlet for easy power
- Hardwire for constant power
- Use fuse tap to connect safely
- Check the car manual for fuse locations
Securing Your Setup
Installing a dash cam correctly keeps your device safe and working well. A secure setup helps record clear footage without interruptions.
Focus on stable mounting, neat cables, and protection from theft or damage. These steps make your dash cam reliable every day.
Ensuring Stable Mounting
Mount your dash cam on a clean, flat surface. This prevents shaking and keeps the camera steady while driving.
Use strong suction cups or adhesive mounts made for dash cams. Check the mount regularly to make sure it stays tight.
- Clean the windshield before mounting
- Press firmly when attaching the mount
- Position the camera to avoid glare
- Test stability by gently shaking the camera
Cable Management Tips
Organize cables to avoid loose wires hanging around. This keeps your car tidy and prevents cables from getting damaged.
Hide cables along the edges of the windshield and tuck them into the car trim. Use clips or ties to keep wires in place.
- Run cables along the headliner and pillars
- Use cable clips to secure wires
- Avoid blocking airbags or vents
- Leave slack near the camera for easy adjustment
Preventing Theft And Damage
Protect your dash cam from theft by hiding it from view when possible. Use tinted mounts or place it behind the rearview mirror.
Remove the dash cam when parking in unsafe areas. Use anti-theft screws or locks designed for dash cams for extra security.
- Park in well-lit, secure locations
- Cover or remove the dash cam after use
- Use locking mounts or screws
- Check the camera often for damage
Configuring Settings
Setting up your dash cam correctly is important for getting the best results. You need to adjust the settings to suit your needs and ensure smooth operation.
Let’s look at some key settings you should configure on your dash cam for optimal performance.
Adjusting Video Quality
Video quality is crucial for capturing clear footage. You can set your dash cam to record in different resolutions. Higher quality means more storage use.
Choose a balance between quality and storage. High-definition videos are clearer, but take more space.
- 1080p for clear images
- 720p for saving storage
- 4K for the best detail
Setting Loop Recording
Loop recording ensures that your dash cam never runs out of space. It overwrites the oldest files when the memory card is full.
Set the loop duration to your preference. Shorter loops mean less data loss if an incident occurs.
| Loop Duration | Recommended Use |
| 1 minute | Frequent overwrite |
| 3 minutes | Balanced option |
| 5 minutes | Longer footage segments |
Enabling Parking Mode
Parking mode protects your car when parked. The dash cam records when it detects motion or impact.
This feature is useful for preventing vandalism. Make sure your dash cam supports parking mode before enabling it.
- Motion detection activates recording
- Impact detection triggers video capture
- Requires reliable power source
Credit: dashcamcanada.ca
Testing And Troubleshooting
After installing a dash cam, it is important to test it. Testing helps make sure the camera works well. Troubleshooting fixes common problems that may appear.
Good testing and troubleshooting keep your dash cam reliable. This guide shows how to check the main functions and solve issues.
Verifying Camera Angle
Check the camera angle to capture the road clearly. Adjust the camera so it covers the front view well. Avoid blocking the lens with parts of the car.
Make small movements to find the best angle. Test by recording a short video while driving. Watch the video to confirm the angle is correct.
Checking Power And Recording
Ensure the dash cam is connected to power properly. The camera should turn on when the car starts. Check the power cable and adapter for damage.
Verify that the camera records video and saves files. Insert a memory card and check if the files play on a computer. Make sure the card is not full or corrupted.
Common Issues And Fixes
Dash cams can have issues like no power, bad recordings, or error messages. Many problems can be fixed with simple steps. Check common issues below.
- No power:Check fuse and cable connections.
- Memory card error:Format card or try a new one.
- Recording stops:Ensure enough storage space is free.
- Video is unclear:Clean the camera lens.
- Camera resets:Update the firmware if available.
Maintenance And Upgrades
Dash cams are essential for road safety. Keeping them in top shape is important. Regular maintenance ensures clear recordings and longevity.
Upgrading your dash cam can enhance its features. It helps in capturing better quality footage and adds new functionalities.
Cleaning The Lens
A clean lens is crucial for clear video. Dust and smudges can blur the footage. Clean your dash cam lens regularly.
Use a soft cloth for cleaning. Avoid harsh chemicals. Gently wipe the lens to remove any dirt.
- Turn off the dash cam before cleaning
- Use lens cleaner or mild soap and water
- Dry with a microfiber cloth
Firmware Updates
Firmware updates improve dash cam performance. They fix bugs and add new features. Check for updates regularly.
Visit the manufacturer’s website for updates. Download and install the latest firmware. Follow instructions carefully to avoid issues.
- Check the current firmware version in settings
- Download updates from the official site
- Use a formatted SD card for installation
Adding Extra Features
Extra features enhance dash cam functionality. GPS tracking and night vision are popular upgrades. They provide more detailed recordings.
Consider adding a rear camera. It gives a complete view of your surroundings. Choose features that fit your needs and budget.
- GPS helps with location tracking
- Night vision improves low-light recording
- Rear cameras offer a full view
Credit: www.youtube.com
Frequently Asked Questions
How Do I Install A Dash Cam In My Car?
To install a dash cam, mount it on the windshield behind the rearview mirror. Connect the power cable to the car’s 12V socket or hardwire it to the fuse box for continuous power. Adjust the camera angle for a clear road view.
Can I Install A Dash Cam Myself Easily?
Yes, most dash cams are designed for easy DIY installation. Basic steps include mounting the camera, routing the power cable neatly, and connecting it to the car’s power source. Follow the manufacturer’s instructions carefully for a secure setup.
Where Is The Best Place To Mount A Dash Cam?
The best place is behind the rearview mirror on the windshield. This location provides an unobstructed front view and keeps the cam discreet. Ensure it doesn’t block your vision or interfere with airbags.
Do Dash Cams Require Professional Installation?
Professional installation is optional but recommended for hardwiring or advanced setups. DIY installation suits most users with simple plug-and-play models. Professionals ensure neat wiring and proper connection to the vehicle’s electrical system.
Conclusion
Installing a dash cam adds safety to your driving experience. It records important moments on the road clearly. The process is simple and does not take long. Choose the right spot for a clear view. Secure the camera firmly to avoid distractions.
Regularly check the footage to stay informed. This small device protects you in tricky situations. Drive with confidence knowing your dash cam works. A dash cam is a smart choice for every driver.


